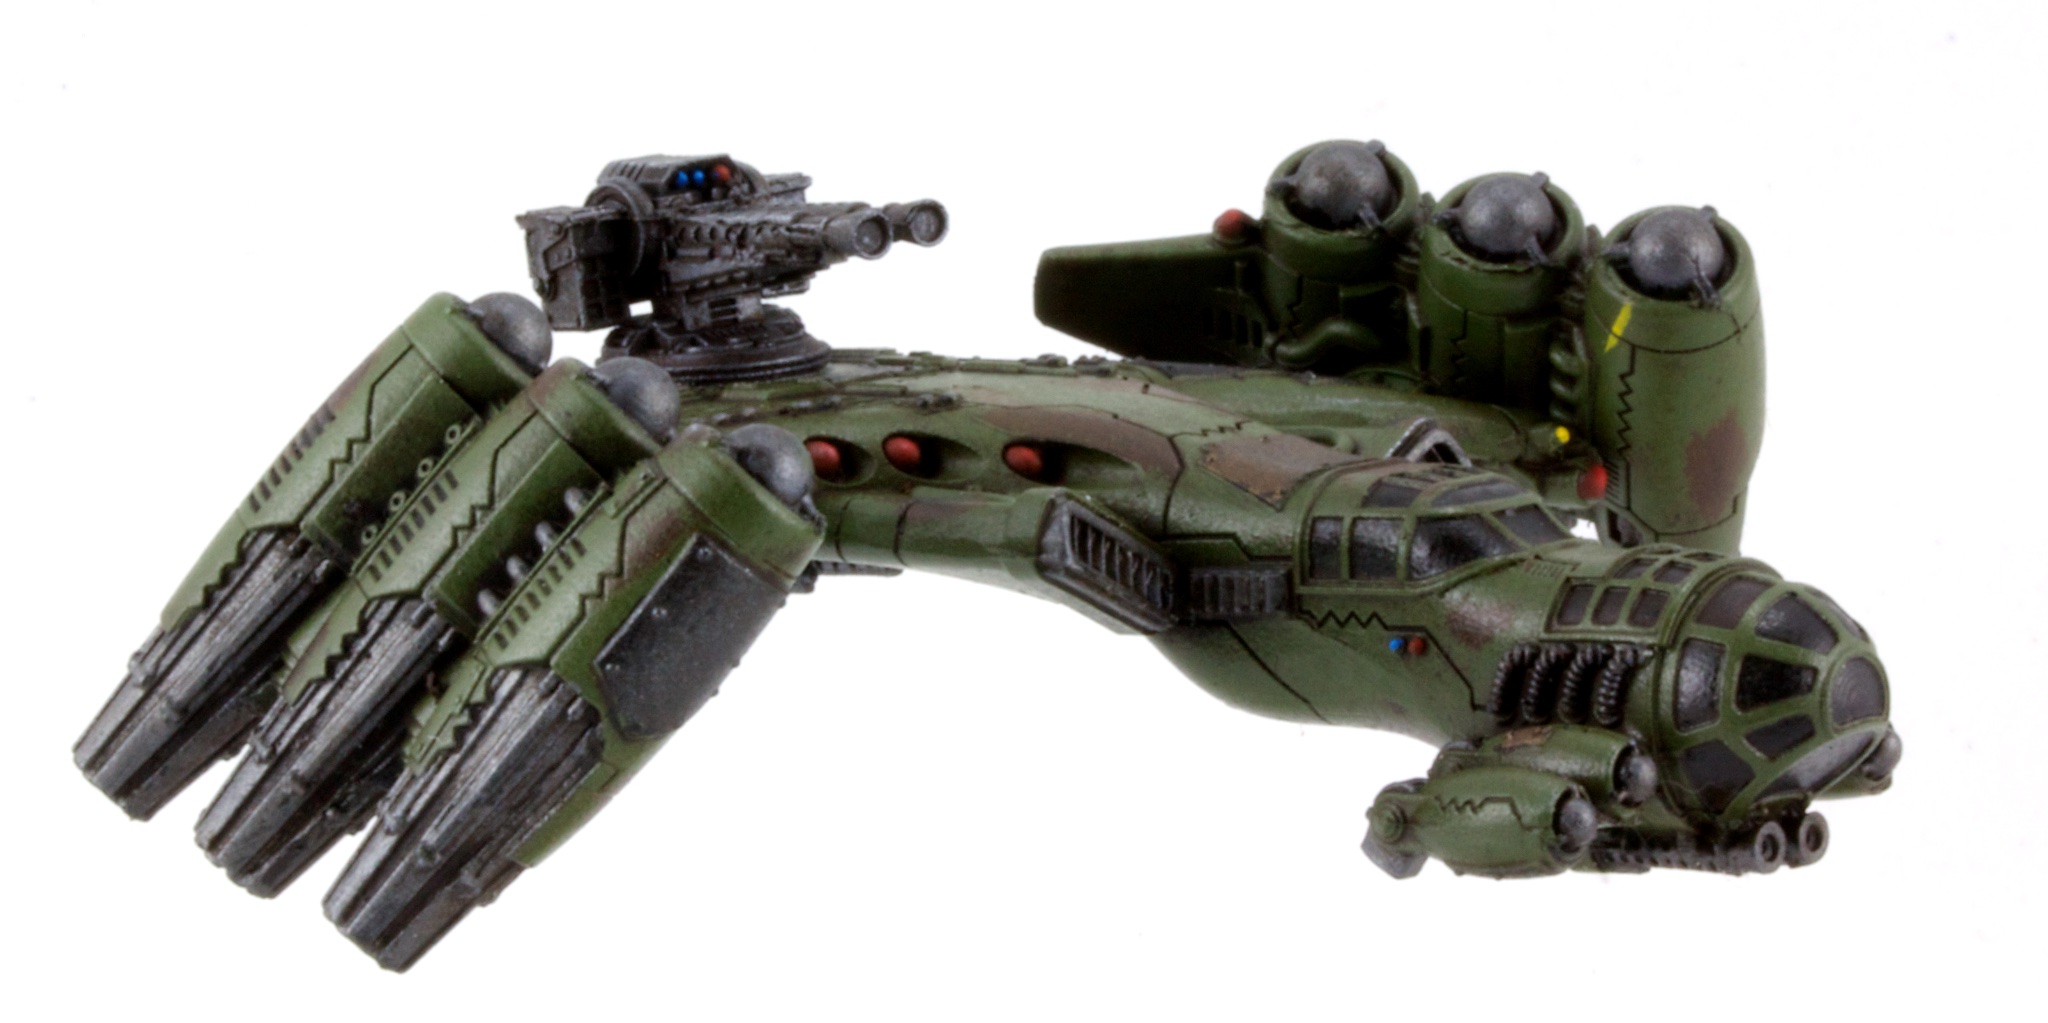
The Dropzone starter boxes are nice, but they don’t have any commanders. Resistance gets to choose between the giant hovercraft of doom or giant tank of doom. The hovercraft seems a little silly on the table. Giant tank it is.
Salakahn (Alexander)
I bought the famous commander version of the Alexander, Salakahn. I don’t really intend to use it as Salakahn much, but the famous commander models are usually extra awesome. Nobody’s given me any trouble for my Cato/Ferrum.
Alexander and Lifthawk
Continuing with the magnetic transport theory, I needed another customized Lifthawk. The only way for the barrel of the main cannon to fit is to mount it backwards. It’s a little finicky, but it’s worth it.
I’ve been eyeing Resistance from Dropzone for as long as I’ve been playing the game. Who wouldn’t love a bunch of Mad Max dudes in heavily weathered military and civilian gear? Rich from Green Stuff Industries suggested we could do some kind of escalation league, so I took the plunge.
Resistance Starter
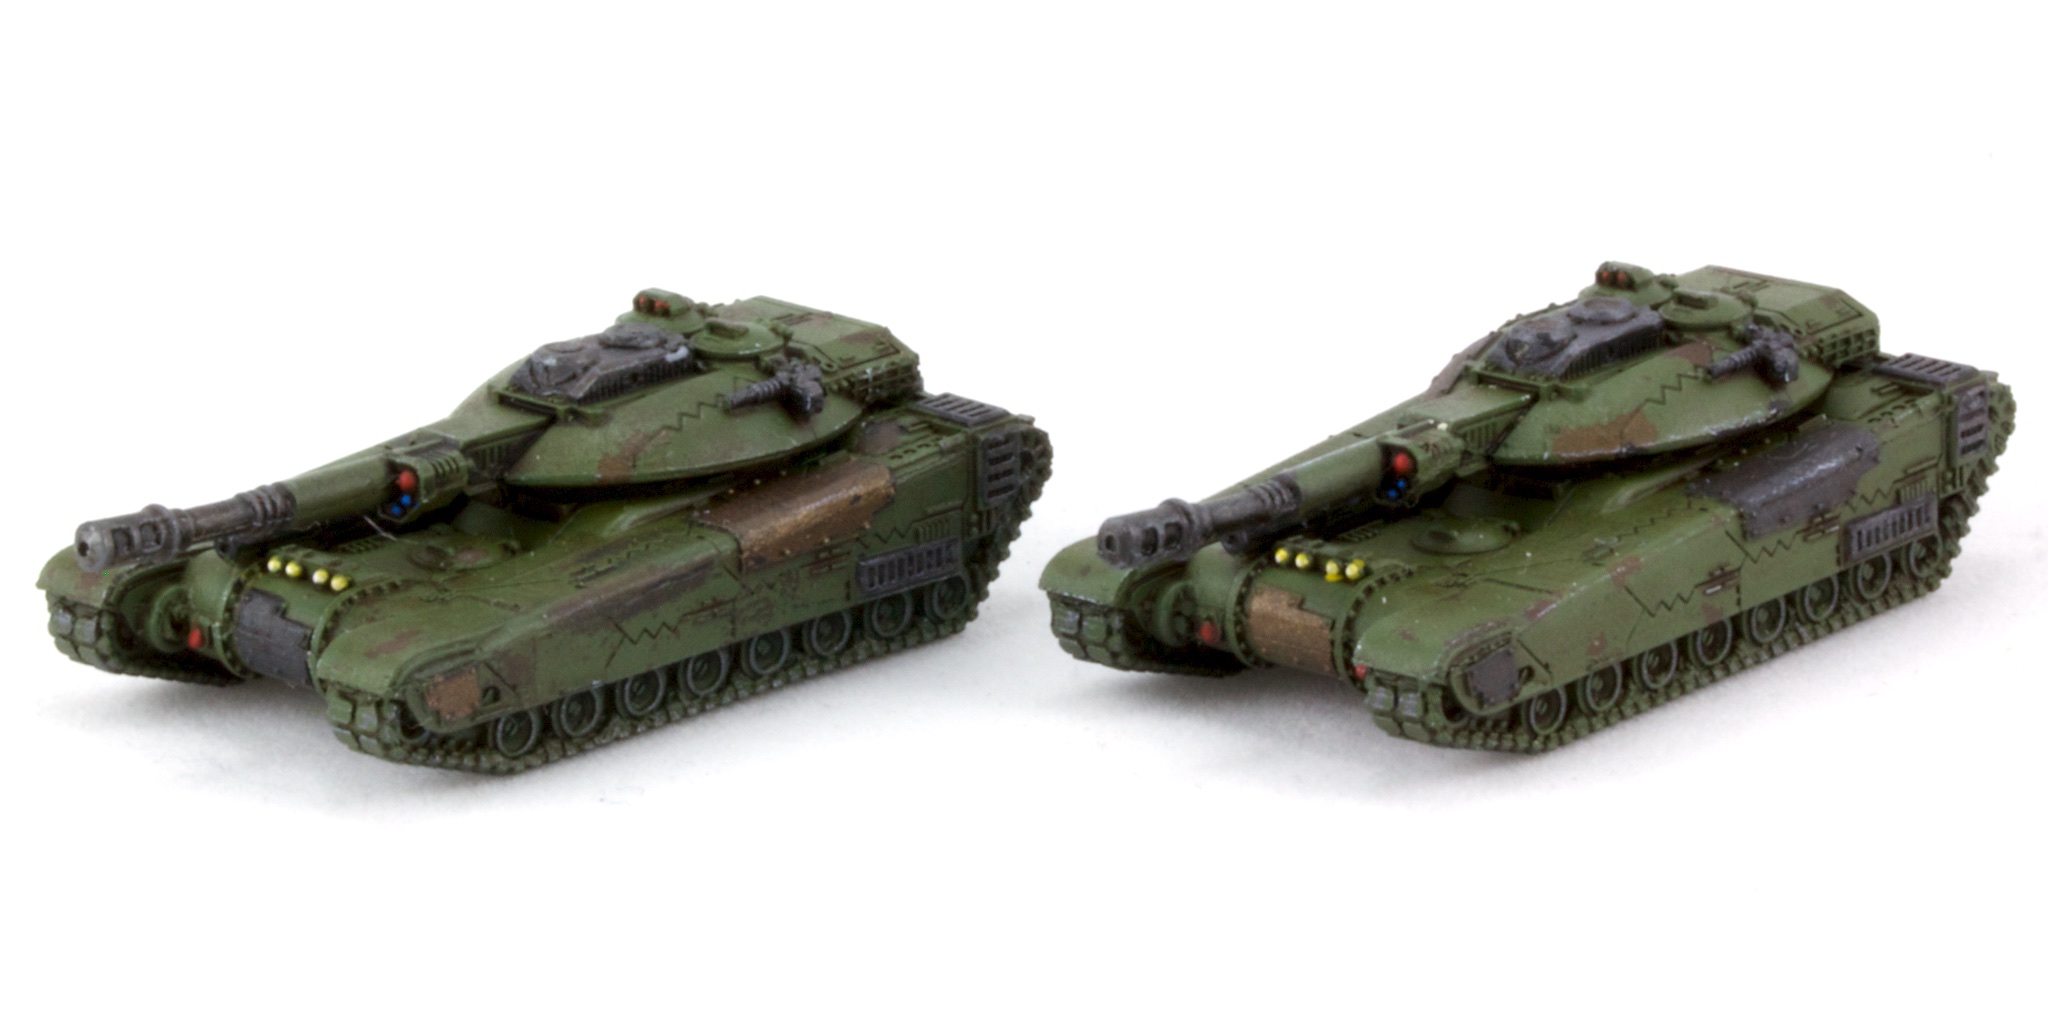
Every time I start something new, I try to do some new modeling techniques. This time I added hairspray chipping and oil washes to my repertoire. I undercoated the primed models in rusty browns, reds, and oranges from Secret Weapon’s rust acrylics. After letting it cure overnight, I covered with two coats of hairspray. I bought the cheapest I could find at the store that didn’t claim to be humidity resistant. The goal is to have it come off in humidity, after all. I should have bought unscented.
Kraken
After letting the hairspray dry, I went back to airbrush the main color — NATO green for the military vehicles, others for the Gun Wagons. After an hour or so, before it fully cured, I started wiping off the topcoat using a brush with warm water. This dissolves the hairspray, pulling off chunks of topcoat. It’s hard to control, but makes nice chaotic patches that are rusted through. I had a few parts where I took off the primer, too, but that can be covered with more rust colors later.
Lifthawk
Once that’s all dry and cured, I hit it with a later of glosscote to prevent any more chipping later. I painted the metallic parts before putting on another layout of glosscote to prepare for the oil wash.
Gun Wagons
I made the oil wash with Winsor and Newton oil paints from the craft store. I mixed a dab of burnt umber with odorless turpentine until it had a consistency like melted butter. Then I slathered it on everything. I can clean it up later. In a few places (like panel lines), I added a little black to the mix to make it stand out a bit more.
Jacksons
After letting it dry overnight, the oil can still be wiped off. At first I used Q-tips, but it left little fibers everywhere. I bought some foam swabs and life was better. Just wipe anywhere you don’t want the wash. With a little care, going over texture will leave it in the recesses. Once done, a layer of dullcote seals it in, and brings it back towards my preferred matte/satin finish.
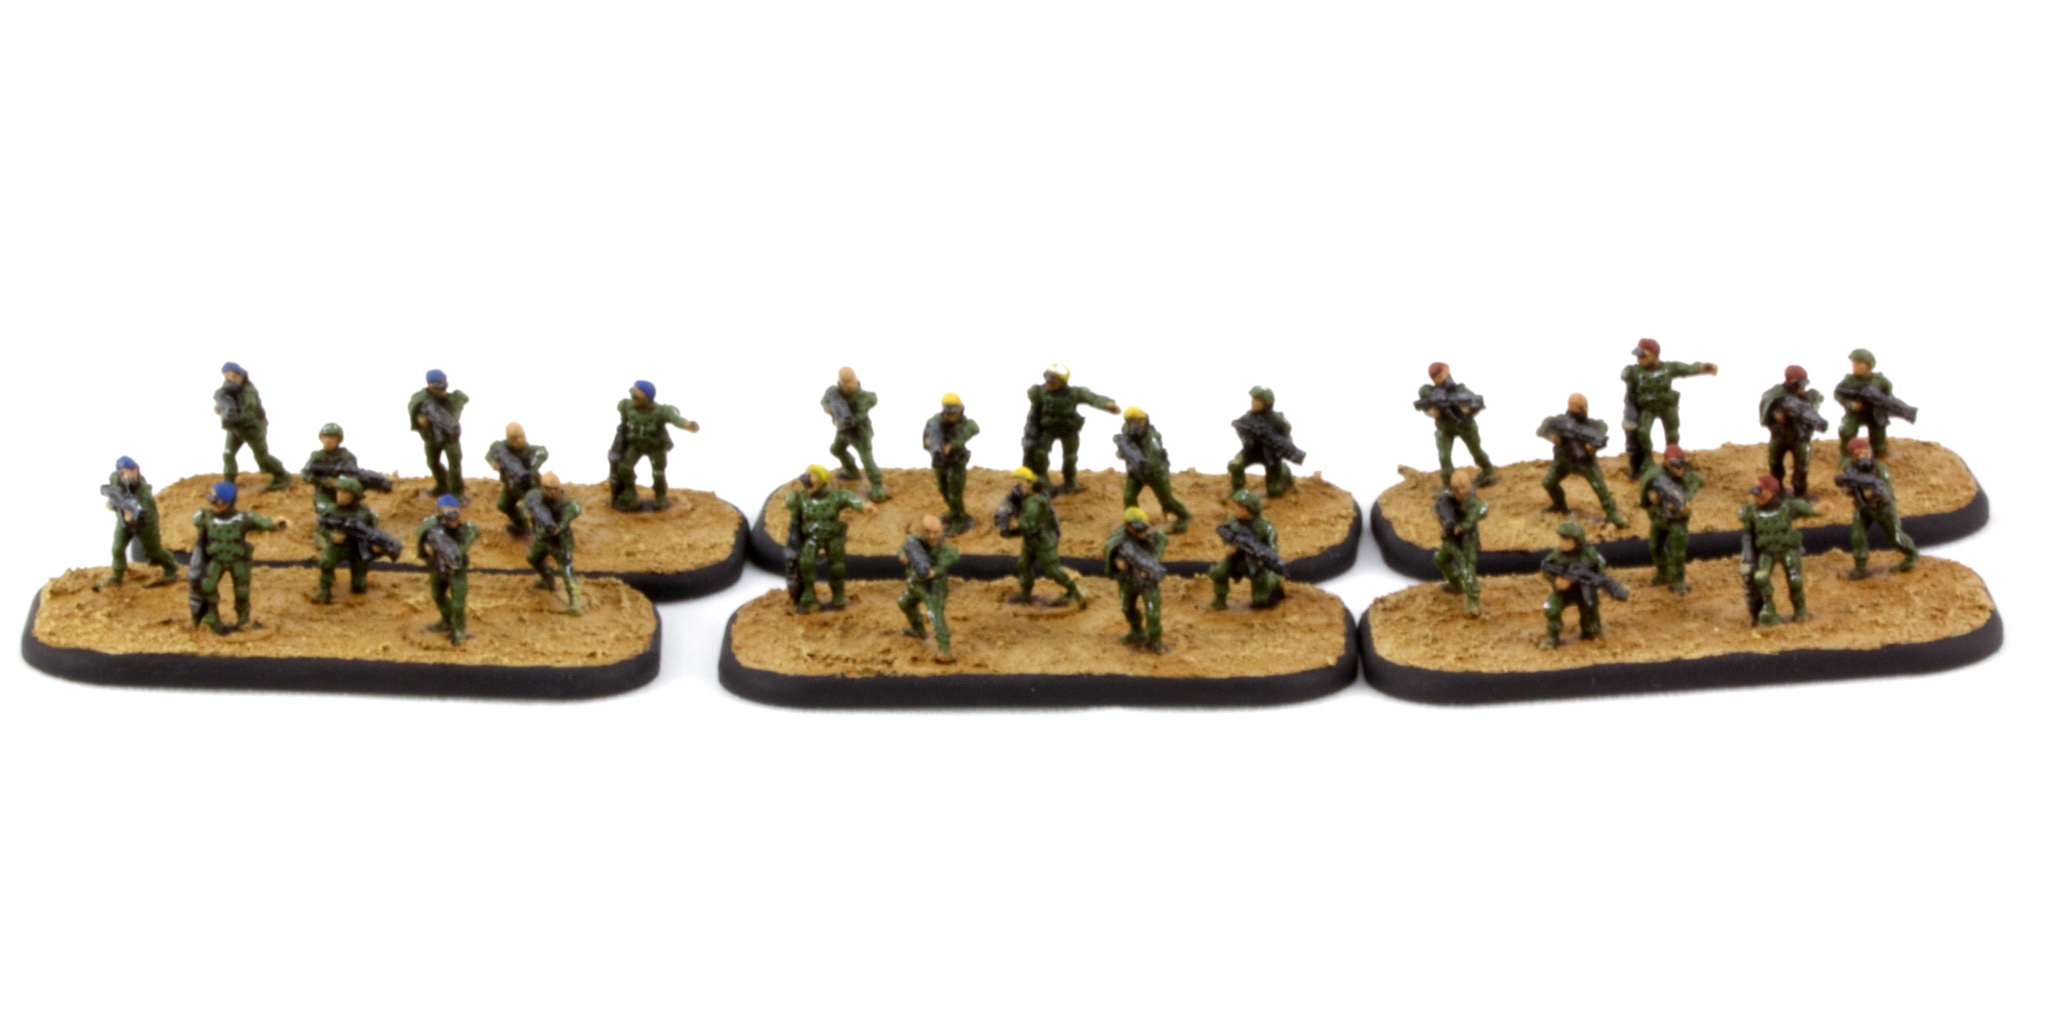
Resistance Fighters
That all done, the final details of lights and lenses could be picked out. I also tried edge highlighting via paint pencil. Jury’s out on whether I stick with it, but at least it’s fast.
Hannibals
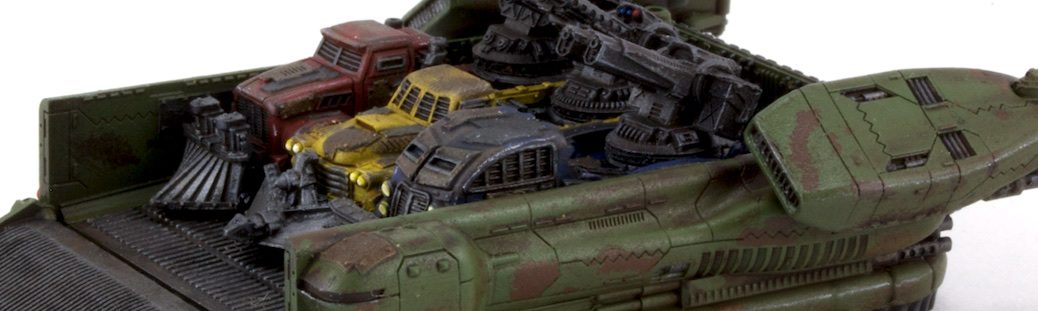
Another choice I made for this army was to magnetize the transports. I decided not to do it for UCM partially because that would mean doing something about the turret arms for pretty much all the tanks, and I didn’t want to deal with it. I think that was the right choice, but empty transports aren’t cinematic. The challenge for Resistance is the hole for the Lifthawk flight stand overlaps with the central mount point. I relocated the hole forward, in the nose. That makes the model really back heavy. To keep it from toppling, I had to weigh the base. At first I just used some loose bits of metal. Combined with green stuff, it would make a hill. Then I realized I had an ancient metal Epic Thunderhawk that’s been sitting around for over a decade. I cut it up to make into multiple crashed wrecks.
Lifthawk bases
I’m really happy with how these models turned out, although all the dull/glosscote trips can slow things down. Especially in the winter, where the weather doesn’t always cooperate with rattlecan action. Maybe I can switch to spraying Future through an airbrush for some of them.
Catching up with Guild Ball releases since I bought in, Veteran Velocity.
Veteran Velocity
I heartily approve of the gear on the base. Regular Velocity’s base connection is precarious. This model is basically just that one turned up to 11, so I let the sculpt speak for itself.I dig the anime charging-special-attack pose., but there isn’t really a lot of room for extra awesome in the paint job.
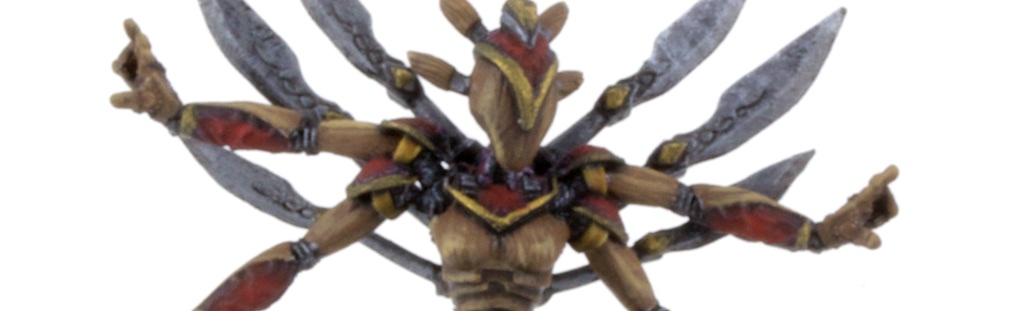
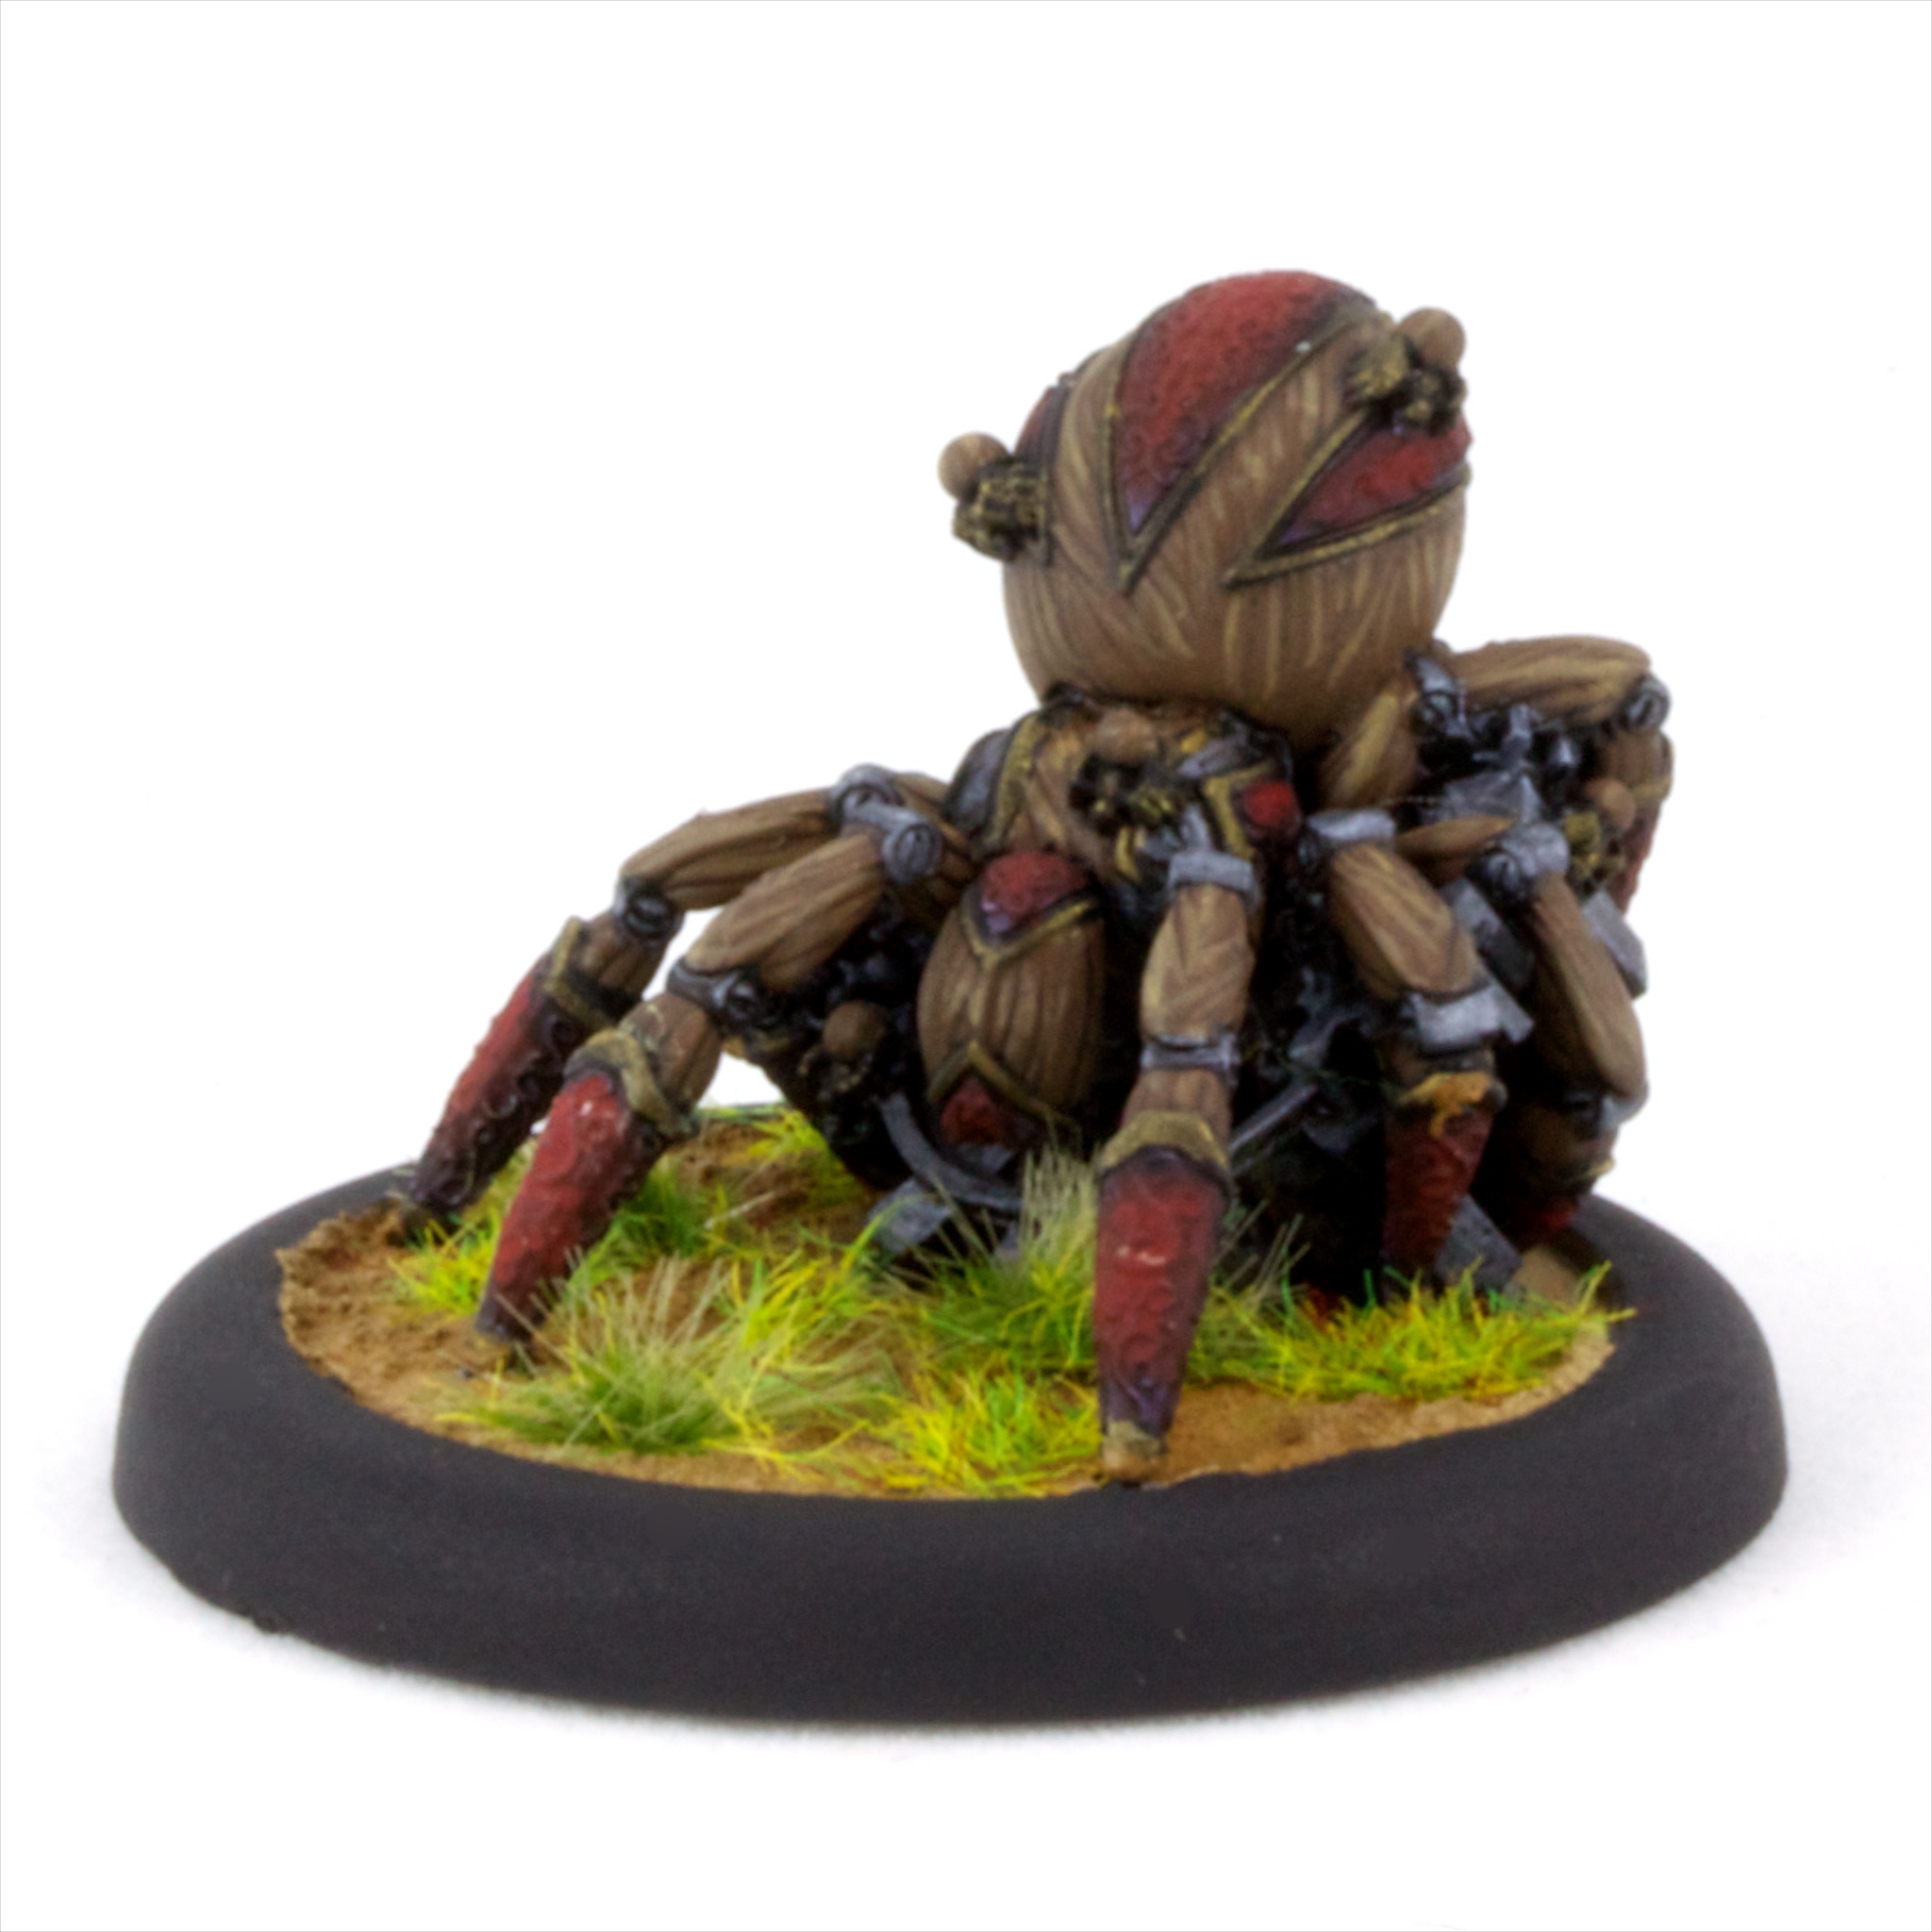
I haven’t played very many games of Guild Ball, but that hasn’t stopped me from preordering new releases. Mother is the Season 2 Engineers mascot. Steamforged added several models which use a marker mechanic, and decided to provide sculpted pieces to use with them.
Mother with Nest Markers
They’re nice inclusions, although I wish it were easier to have the base of the model flush with the base. Or that I was less lazy about it.
Mother
Mother herself echoes the designs of the Mechanica models in Engineers. Mostly wood, with some metal mechanical bits and armor plates for texture. I followed the same scheme I’ve been using for the rest of the Engineers.
Season 3 for Guild Ball is released. It seemed to have radically changed the Engineers. While I’m not particularly attached to the old versions (I picked the faction based on looks, after all), I do feel that it’s changing faster than I can keep up with.