Category Archives: Battle report

Rangers of Shadow Deep: Tor Varden

The Lower Level

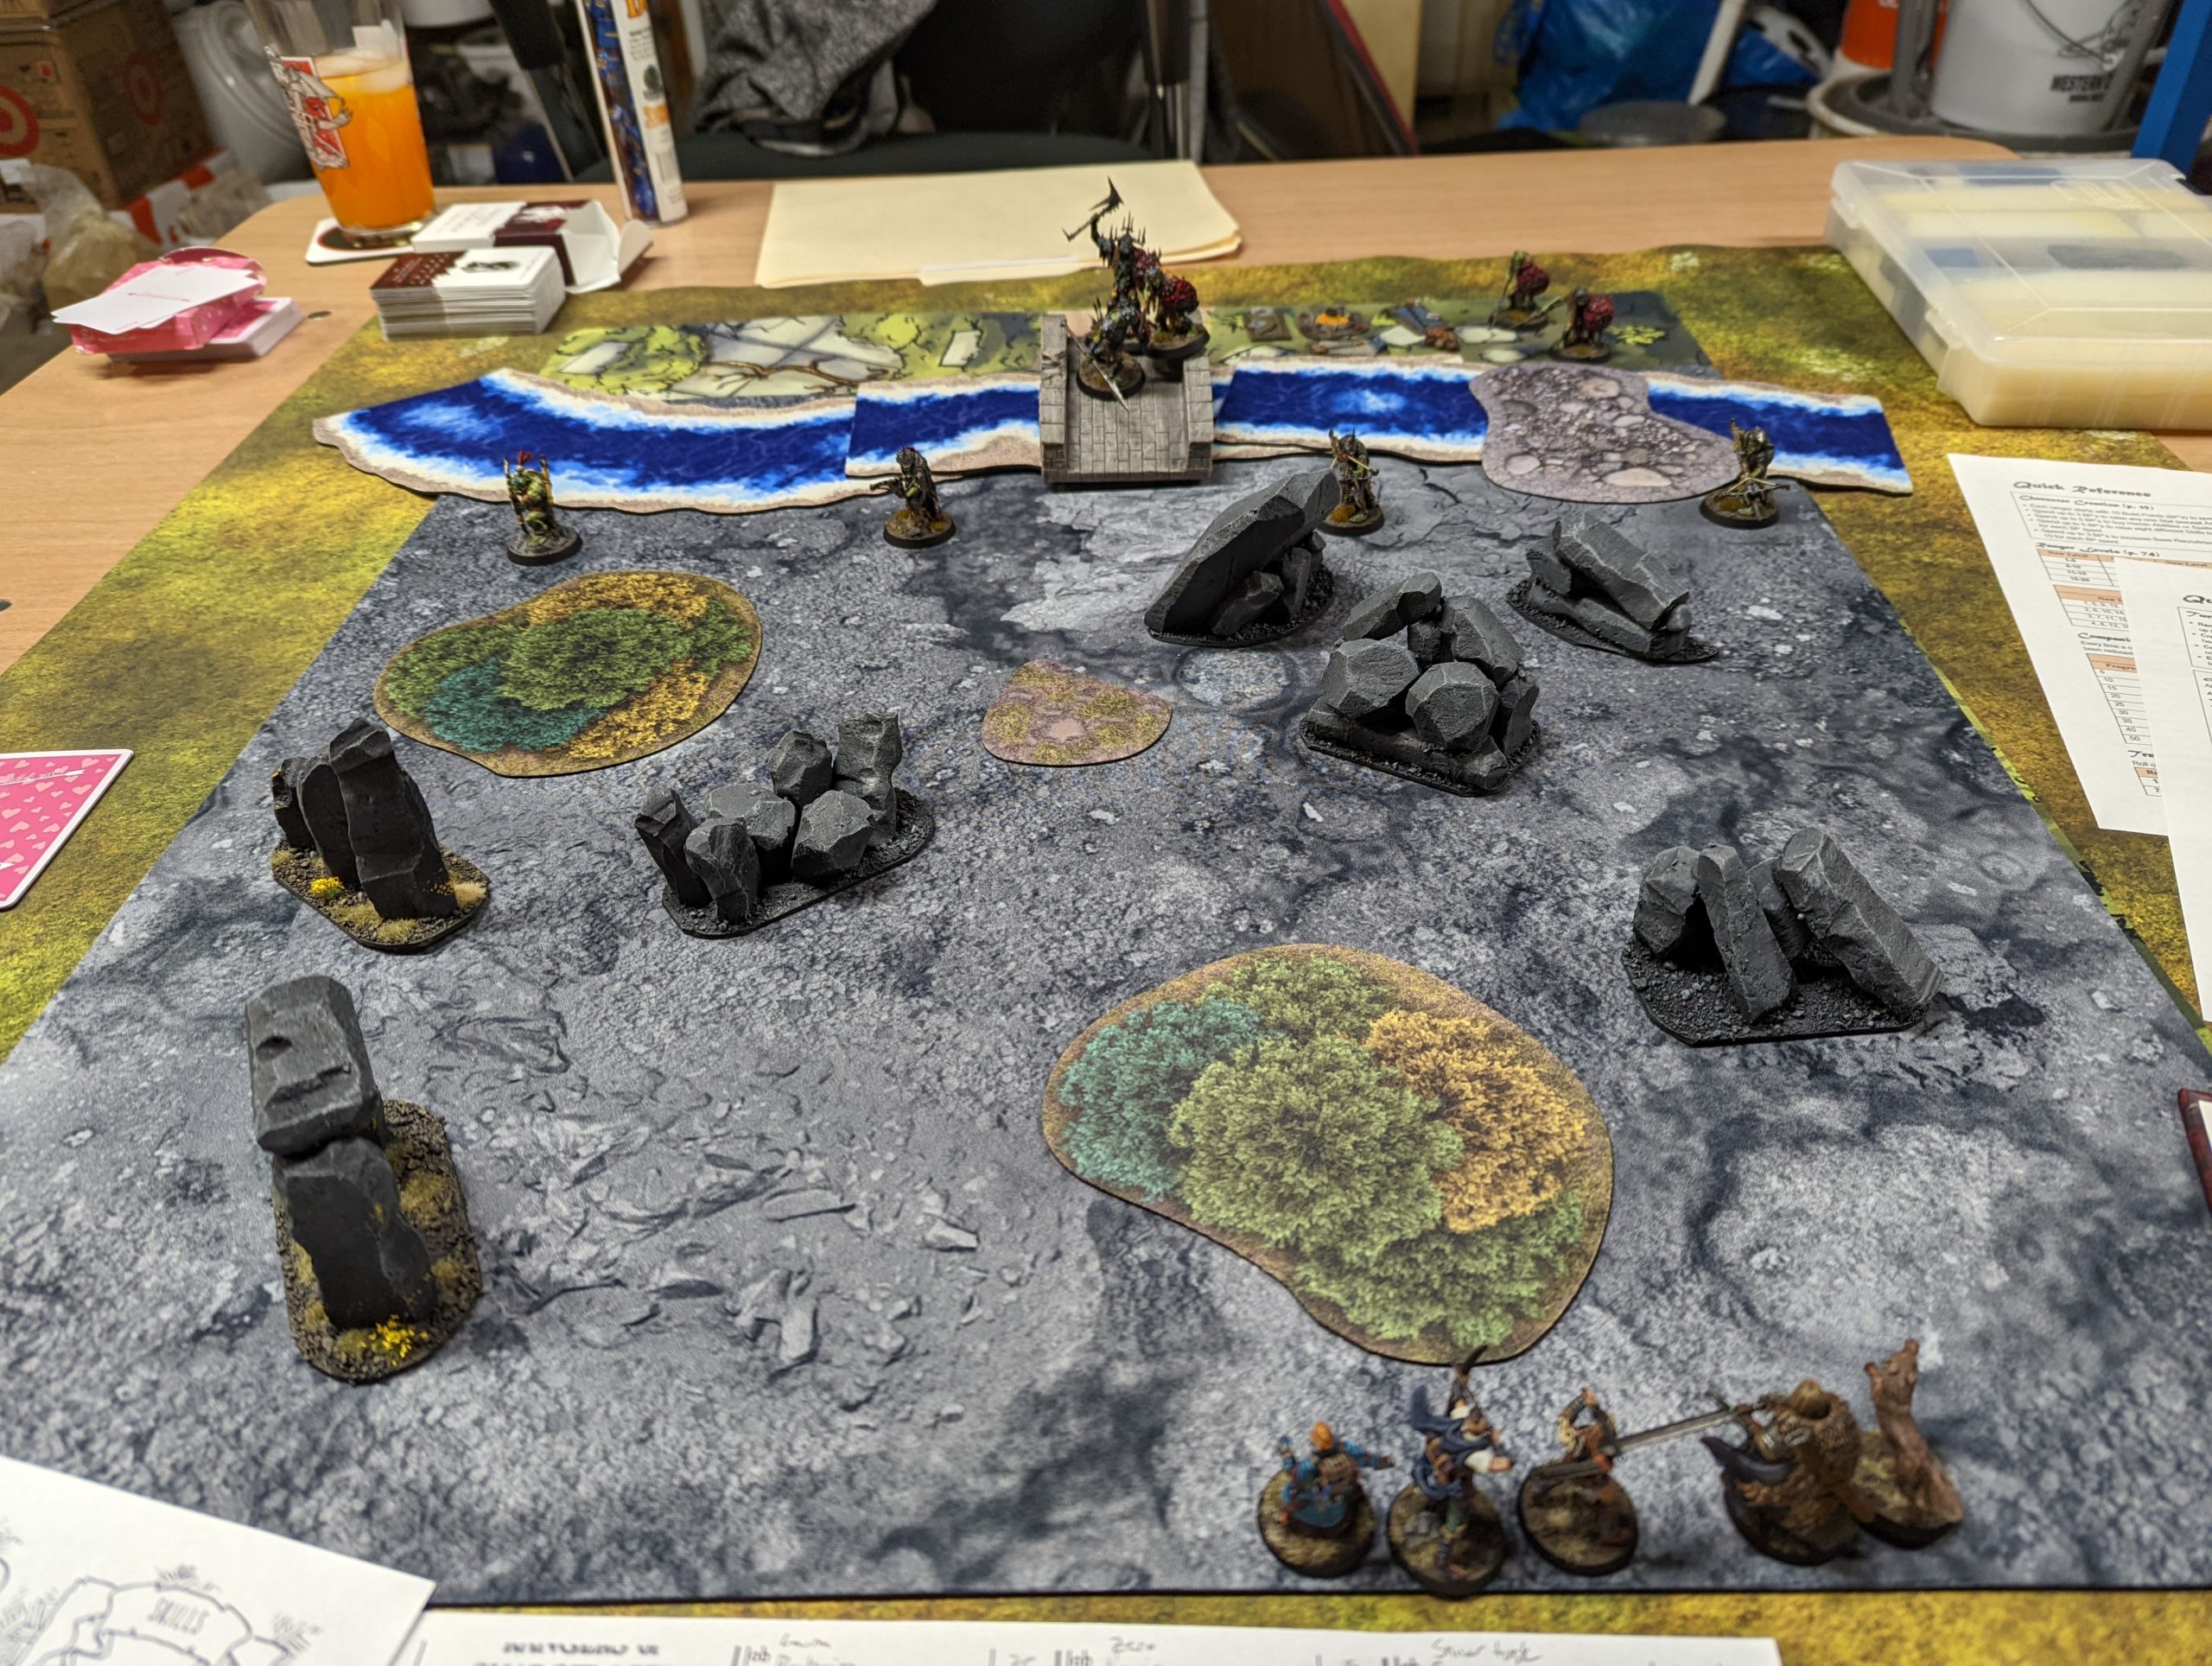
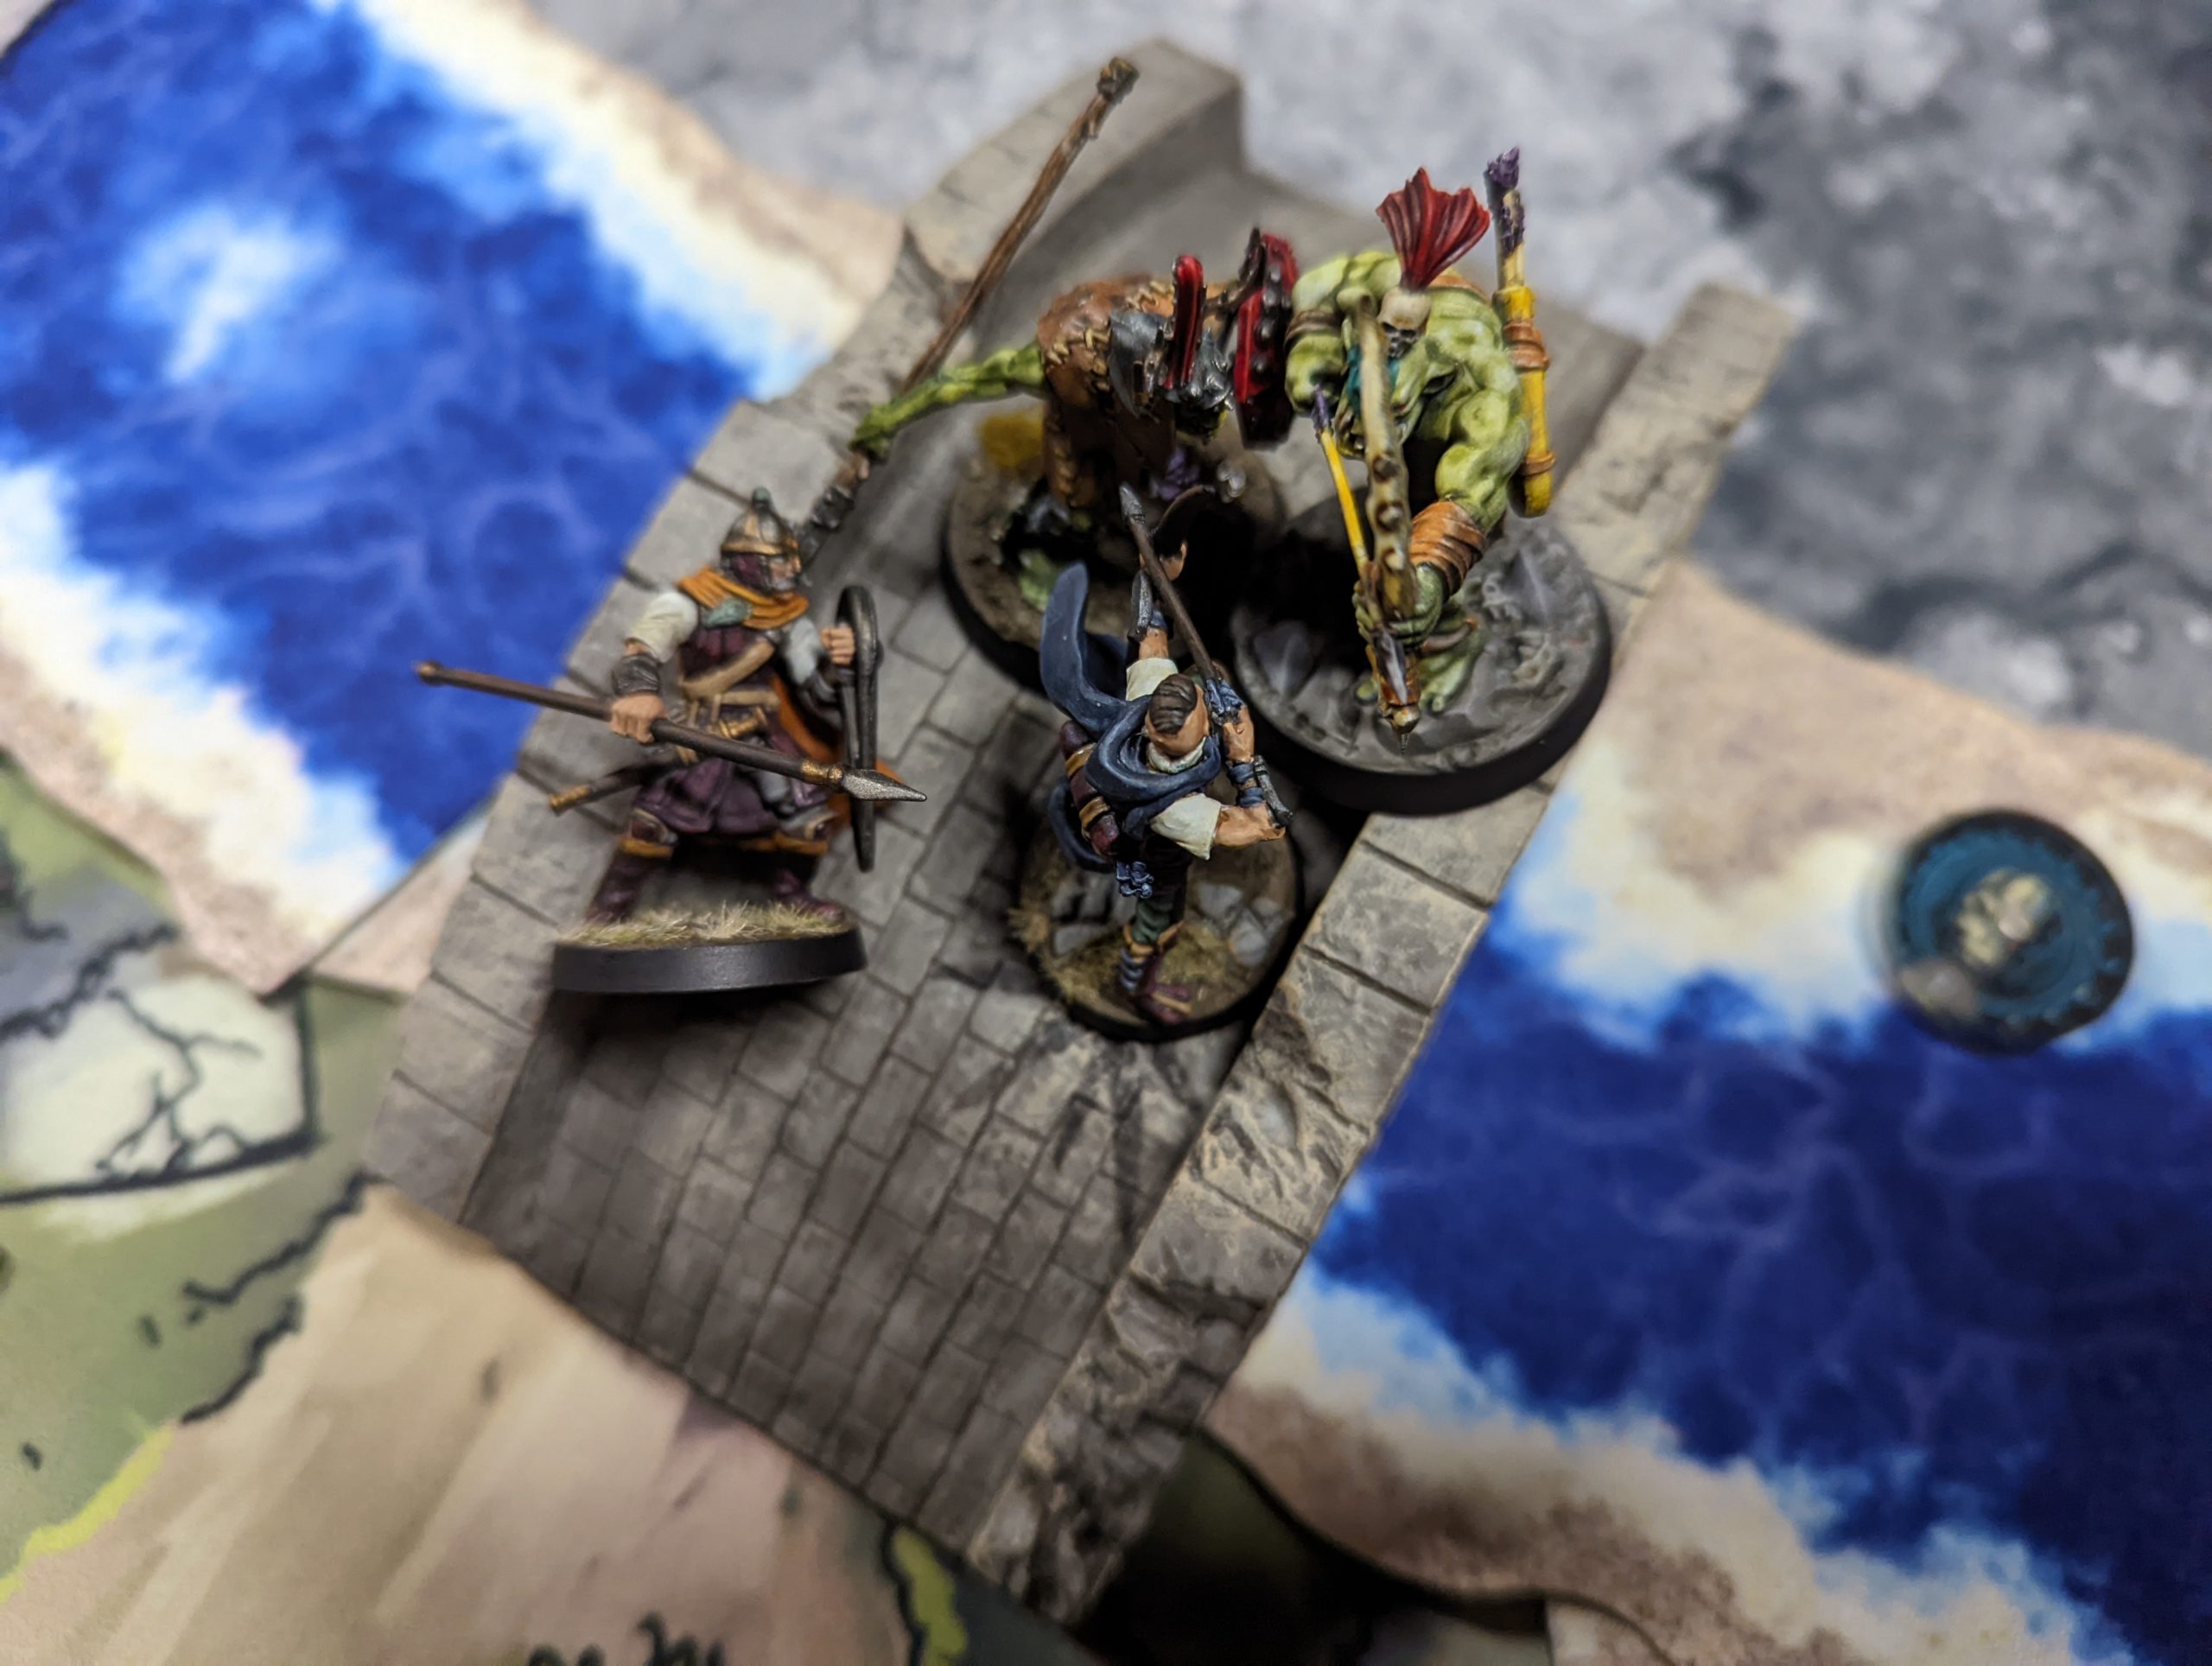
Dralthar had made his way past the bridge guards. Now it was time to retake the tower Tor Varden.

The first chamber contained a grisly sight. Whatever it had once been, it was now a shaman’s workshop. The furniture was all covered with gore from unknowable experiments. In the center, the ork shaman was putting the final touches on some unnatural flesh golem.

Dralthar charged in, quickly cutting down the shaman. But Roger, the rescued soldier from the bridge, fell to the shaman’s guard, out of the fight.

The next room contained an armory, along with more ork warriors. In the fierce combat, Shivertusk and Laura were both wounded and out of the fight. Now it would just be Albert the Conjurer to assist Dralthar. Once the enemy was defeated, Albert searched the room, finding both the captain’s log and some fury leaves.

The final chamber in the lower level was a makeshift torture chamber. Several civilians were chained up along one wall, while an unarmed soldier was being whipped by an ork sergeant in the center. The solider used Dralthar’s sudden entrance to try to escape, but the ork sergeant cut him down.

Dralthar fired one shot, hitting the sergeant straight in the eye. Dralthar and Albert managed to kill the rest of the opposition.

Dralthar gathered up his wounded companions, patching them up for the upper level. Laura stayed to guard the civilians while Dralthar led his team upstairs.

The Upper Level

Up on the tower top, a Shadow Knight along with an ork soldier stood near the wood pile, with another helpless solider chained atop. Surrounding the tower, on wooden scaffolding, three ork archers stood by.

Dralthar took a hard crossbow hit, while Roger charged in towards the wood pile and was cut down. Shivertusk, undaunted, spread a philtre of fairy dust over his blade and engaged the Shadow Knight. The magic of the fairy helped Shivertusk to destroy the knight. When Shivertusk looked up, Dralthar, and Albert had both been laid low by crossbows. Now it would be up to him to finish retaking the tower.

Flames lit up in the distance — the beacon towers of Tor Dargos and Tor Hammel. But they had a sickly green glow. Shivertusk managed to shake off the ill effects.

Shivertusk hid around the corners of tower, baiting the archers into coming closer. When the time was right, he leapt out, and took each and every one down.

Now alone, Shivertusk gathered his companions, including his leader, Dralthar the Ranger. The tower was taken, but at terrible cost. Both Albert and Roger would never fully heal from their wounds. But they would still be needed to keep the Shadow Deep at bay.

Rangers of Shadow Deep: The Bridge Guards

Dralthar the Ranger got the order to proceed to the beacon tower of Tor Varden to determine why contact was lost. He gathered his companions and headed out. The first task was to get past a river bridge guarded by orks.

The weather was overcast. Dralthar hoped to use the rocky approach to get near unseen, draw off and eliminate a guard or two, then get to the other side. A camp on the far side of the river promised to contain hints about the tower, and possibly treasure.

The approach

Just when they were ready to spring the trap, Albert the Conjurer tripped and fell into a pit trap. He only suffered a cut arm from his bottles breaking, but it was enough to raise the alarm. The orks swarmed Dralthar’s band.

Zero the Warhound leapt into action, pulling one ork away while Laura the Barbarian ran to tackle another. Faithful Zero was swiftly cut in two.

Stealth has failed

The scrum continued, with heavy losses on both sides. Albert went down to a lucky crossbow shot through the rocks. Laura was overwhelmed. Dralthar let loose with a fireball, but it wasn’t enough and even Shivertusk was incapacitated.

That left Dralthar alone to continue the fight. His bowstring sang as he eliminated the one ork that could see him, then ran behind an outcropping. The remaining orks organized a search.

Dralthar hides and waits for his moment

Heavy rain began to fall, hindering the search parties. Dralthar saw his opening and ran for the bridge. But it was too much, and the orks caught up with him.

Dralthar holds out on the bridge

Just when all appeared lost, a figure emerged from the mist. Jeddak, the quartermaster from Tor Varden, had survived whatever befell the tower and made it to the bridge. He rummaged through the ork’s campsite, finding the keys to the tower, then joined the fight on the bridge.

An epic battle ensued. There was a moment when Dralthar had the chance to withdraw towards the tower, leaving Jeddak to cover. But Dralthar couldn’t leave the warrior behind. It was an ill choice, as the fight turned against them immediately after. Evading a killing blow, Dralthar pulled the wounded Jeddak into the cold blackness of the river, ending the fight at the crossing.

Even with Jeddak’s help, it isn’t enough

Dralthar awoke on shore downstream, away from the crossing, with still lying beside him. They quickly linked up with the surviving companions. Albert was able use his magic to heal Laura, Jeddak, and Dralthar. Shivertusk’s wounds would take time to fully heal.

The battle at the bridge may not have gone well, but they did eliminate some of their foe. Perhaps more importantly, they had recoverer the keys to the tower, along with a new companion familiar with the area. Dralthar and his companions continued towards Tor Varden.

Fallout: Into the Wasteland Game One

Ever since the release of Into the Wasteland, the solo/coop focused expansion for Fallout Wasteland Warfare, I’ve wanted to give it a go. Finally I made the time today for the first game in the included mini campaign.

Initial deployment, including a grazing brahmin

The game is played on a small number of 1’x1′ squares, with a layout depending on the scenario. For the first game, it’s a row of three. The small game is easy to fit on the dining table, and is a perfect fit for the now discontinued Secret Weapon Tablescape tiles.

I played as the Survivors, with a heroic Sole Survivor, Dogmeat Guard, Sturges (for some random free weapon mods), and a Settler to round things out. The campaign starts with just the basic equipment from the AI card.

I ran into mole rats and radroaches. The radroaches skittered around behind me, until it suddenly leap into my back and got squashed. The mole rats were in the front, and jumped on the overextended Dogmeat. It took a few turns, but eventually Dogmeat bit his way through while the humans picked up the loot. There was also a brahmin grazing in the background that kept to itself.

The game took a while to set up, especially since it’s been many months since I’ve played Fallout. I didn’t print the natural behavior AI cards, which was probably a mistake. I really wish I could buy a card pack, either mass production or made to order like Wargame Vault. I may get a set printed.

For game two, I have a bunch of new equipment I managed to find on the battlefield. And maybe I’ll have more creatures to destroy.

Malifaux: Gremlin Zoraida vs Sonnia

Last week I was able to get a game in with Alfonso, a local player that I’ve chatted with a few times, but had never played with.  I decided to take my new ToMB Gremlins.  Alfonso took Guild.

  • Deployment: Standard
  • Strategy: Reckoning
  • Schemes: A Line in the Sand, Vendetta, Bodyguard, Protect Territory, Frame for Murder
  • My crew:
    • Zoraida with Crystal Ball and Hex Bag
    • Francois LaCroix with Dirty Cheater and Hide in the Mud
    • Raphael LaCroix
    • Rami LaCroix with Dirty Cheater
    • Pere Ravage
    • Silurid (via Entrall)
    • Nurse (via Enthrall)
  • Alfonso’s crew:
    • Sonnia Criid with Cherufe’s Imprint, Reincarnation, and The Mask
    • Samael Hopkins with Witch Hunt
    • Guardian
    • 3x Witchling Stalkers
    • Austringer
    • Death Marshall

We both declared Protect Territory.  I took Frame for Murder on the Silurid, under the theory that he’d get killed in an attempt to deny Protect Territory, but I could Reckless-run somebody up to occupy the markers as needed.

Turn one, Zoraida summoned the Voodoo Doll, who hemmed Pere Ravage, then Interacted with the Doll to move Ravage forward.  The Nurse jammed the Doll full up Uppers, so Ravage could shoot all the way across the board.  Rami used Reckless to Focus, shoot and completely erase a Witchling Stalker, then take a swig from his Flask to heal back up.  Raphael, the Silurid, and Francois moved up to get into more interesting positions.  The Death Marshall tried to Pine Box Ravage, but failed.  Sonnia, noticing how brutal Rami could be, put up her Flame Wall to block his LoS to most of her crew (and kept it up the whole game, tweaking the location by turn), then put some hurt on Ravage.  Samael used his Burn Them Out to put Burning on Ravage.  At the end of the turn, Ravage was down to one wound, with the Guardian and the Death Marshall in close range, plus Sonnia in range of Ooops.

Pere Ravage ready to blow

Turn two initiative was excting – could I get Ravage to suicide himself before Alfonso could neutralize him?  He flipped a 12, and I flipped low.  Despite the long odds, I decided to burn a stone, but still lost initiative.  The Death Marshall activated and killed Ravage.  This put wounds on the Guardian and the Death Marshall, but summoned another Witchling Stalker.

Otherwise, Francois ran up and killed the Death Marshall, before getting ganged up on and killed, giving Alfonso a Reckoning point.  The Austringer got hemmed.  The Silurid kept dropping markers along his flank.  Rami took more potshots, and Raphael put the hurt on a Stalker.

Turn three, Zoraida stabbed the doll to kill the Austringer (including cheating the defensive flip down with the black joker).  Rami and Raphael finished off the Guardian.  The Silurid kept leaping around, dropping scheme markers.  Sonnia took the bait, and killed the Silurid dead (giving me full Frame for Murder points), and clipped Raphael with extreme blasting as well.  Zoraida stabbed the doll, killing both it and the Austringer.  The Austringer’s Finish the Job meant that there were two scheme markers in base contact.  Alfonso revealed Bodyguard on Samael, and kept him hiding behind a building and Sonnia’s Flame Wall.

It was getting late, so turn four would be our last.  Raphael repositioned to be in Protect Territory range of the scheme markers, but got killed.  A Witchling Stalker came out from behind a corner and sat right next to the two scheme markers.  Sadly, it wasn’t quite in base contact, so Zoraida couldn’t Obey it to Interact them away.  Instead, Z Obeyed it to walk away, and came out and dropped her own marker.  The Nurse and Rami did the same.  Samael came out of hiding and sat next to the two markers that the Witchling Stalker had abandoned.

The game ended, with a 7 to 6 win for Alfonso.  We both got full points for our schemes, and Alfonso got one Reckoning point.  Alfonso played a great game.  He kept his models safe behind the Flame Wall, which forced me to either spend AP repositioning Rami or hit suboptimal targets, or both.

I had a blast with the Gremlins.  Reckless and Dumb Luck are both a ton of fun.  Dirty Cheater is a very handy little upgrade, and mostly erases the down sides of Reckless.

One key mistake was activating Pere Ravage early in turn one.  If I had held him back until later in the turn, Alfonso would have had less of a chance to try to take him down.  Hitting him with the Uppers and Hemming him (and using Dance Puppet) was probably overkill, too, without getting him to blow on turn one.  Next time, I might try to hit him with the Nurse, Obey him forward with Z, then blow him on his own activation.  Or just run him forward with Reckless late in the turn, then blow at the start of turn two.

I’m also still not quite sure what to do with Francois.  He seems to want to be in melee, but died pretty quickly unsupported.  Maybe I should keep him back as a shooter, and only move forward to respond, or protect the rest of the gunline.

I’m looking forward to more Gremlins, and having enough models to use Ophelia at 50 stones.