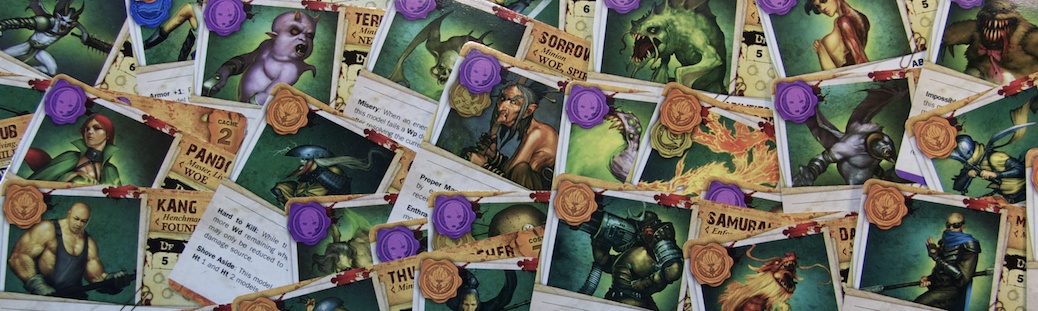
I’ve decided to take part in Ben Sime’s continuation of Tale of Malifaux Bloggers. As a quick recap, the idea is to build up a collection over time. Each month you get an allowance to buy, then build, paint, play, and finally ruminate on a set of models. As Ben is in the UK, he’s established £60 for the first month and £25 in following. I’m interpreting that as $60 and $22.50.
After being inspired by Episode 19 of the Before We Begin podcast, I’ve decided on Zoraida. Yes, I’ve already got a ton of Neverborn. That actually makes it a little more interesting, because I’ll want to avoid anything I already have. There’s also the possibility of expanding into Gremlins.
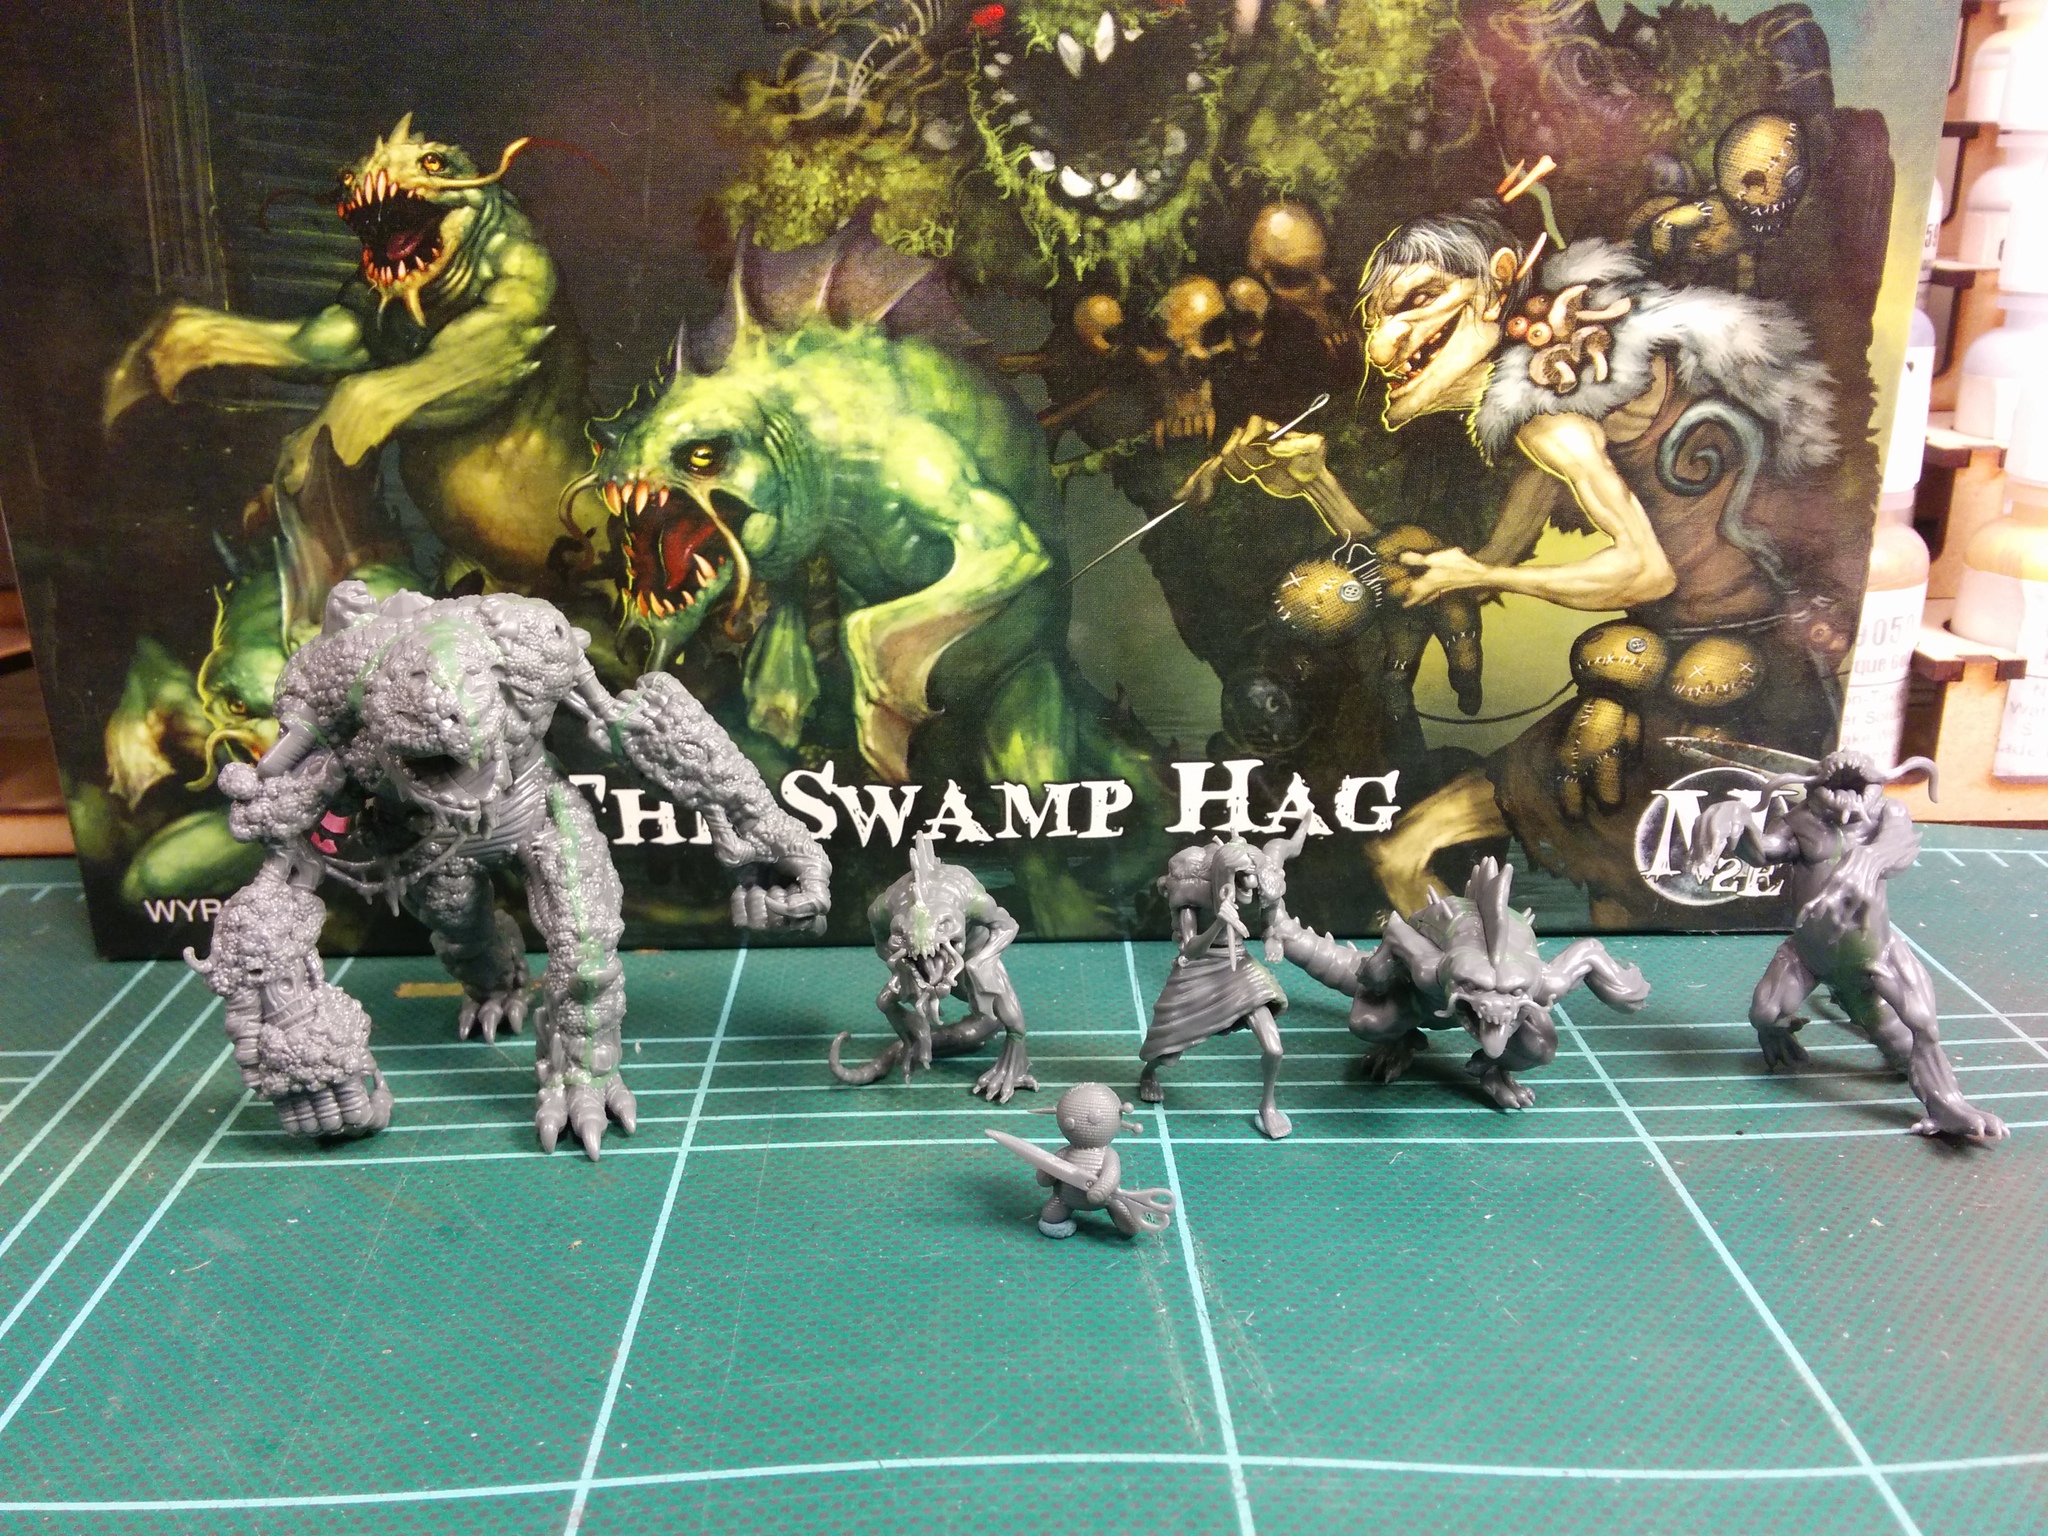
Zoraida and friends
In Before We Begin, Ewan Smart describes a Zoraida crew based around a bunch of Swampfiends being annoying everywhere, plus the Voodoo Doll comboed with a Sorrow. That sounded pretty awesome, so I’m going to see if I can put my own twist on it.
For the first month, I’ll start with the Swamp Hag box. I’m a firm believer in paying where you play, so I picked it up at Game Kastle while I was playing the league game. That uses $50 of my $60 first month budget. I’ll save the rest for next month.
I played in the first week of a Rapid Growth league at Game Kastle Fremont today. I had a great game with Jennifer, a player I had seen around but hadn’t ever actually met.
As this is the first week of Rapid Growth, the game was played at 26 stones. We both declared Neverborn.
Deployment: Standard
Strategy: Reckoning
Schemes:
A Line in the Sand
Murder Protege
Protect Territory
Distract
Plant Evidence
Even though I know it’s not always the best tactically, I decided on most of my crew before I left the house. I recently finished painting up my Lilith box, and I figured this kind of small scale game would be the perfect place to learn it. I figured I’d swap out the Cherub for Primordial Magic, though, to save another stone for upgrades. In the end, I decided on:
We chose schemes, and ended up revealing everything: Murder Protege and Protect Territory for me, and Murder Protege and Line in the Sand for Jennifer. Barbaros (both of him) was going down! Unfortunately, the Nephilim Gladiatus was going to be pretty useless, since Primordial Magic was the only non-Nephilim model on the table.
Jennifer deployed first, and bunched up in the corner on my left. I went more towards the middle, with one Tot and Primordial Magic hiding in the far right corner, ready to pop out late game and take care of Protect Territory.
The first turn we just kind of moved in a bit. Jennifer’s Barbaros started going towards my Tot/Puke Snake pair, while the rest moved towards the center line along the left flank, ready to pop scheme markers next turn. I moved towards the center, and tried to Tangle Shadows on an enemy Tot, but failed to consider the double-mask target number and fizzled.
On turn two, things got ugly. Jennifer moved her Lilith closer to try to Tangle Shadows one of my Tots, but didn’t get it off. This left her close enough for me to Tangle Shadows (using a stone for the second mask) her Lilith in retaliation, pulling it into my web. With the two AP left I was able to Severe and Red Joker on damage, killing the enemy Lilith.
Lilith vs Lilith
Meanwhile, Jennifer’s Tots laid a bunch of scheme markers on the center line, and her Barbaros kept moving towards my Protect Territory buddies. My Tots moved up to try to interfere, and my Barbaros took out a Tot, netting me a point for Reckoning.
Turn three, I was able to trap her Barbaros with another stoned Tangle Shadows, putting my own Barbaros into base contact as well.
Somewhere in turns three and four, her Cherub hit my Lilith, pulling her out of position and making her slow. Her Barbaros managed to Bull Rush my Barbaros to pull me totally out of position. The following turn, another Tangle Shadows (with a high mask card this time) pulled them back in, and Barbaros went down, netting me three points for Murder Protege.
With all the heavy hitters down, I was able to mop up, killing all of Jennifer’s models and removing enough scheme markers to keep her from getting A Line in the Sand. I did lose one Terror Tot in the process, although I was able to use Brood to keep her own Tot locked down.
Final score was 9 to 0 (3 for Protect Territory, 3 for Murder Protege, 3 for Reckoning, including one on turn 7 after Jennifer was tabled).
I had a lot of fun this game, and I certainly hope Jennifer did as well. Tangle Shadows really pulled a lot of weight for me this game, once I realized what I’d need to put into it to get it done. Barbaros has enough speed to come back even if it ends up putting him pretty far out there. I think Primordial Magic was a good choice, but the Cherub’s shoot-slow-push can be pretty scary, too.
It turns out we both had recently bought the Zoraida box, so we’re talking about doing another mirror match in a couple of weeks.
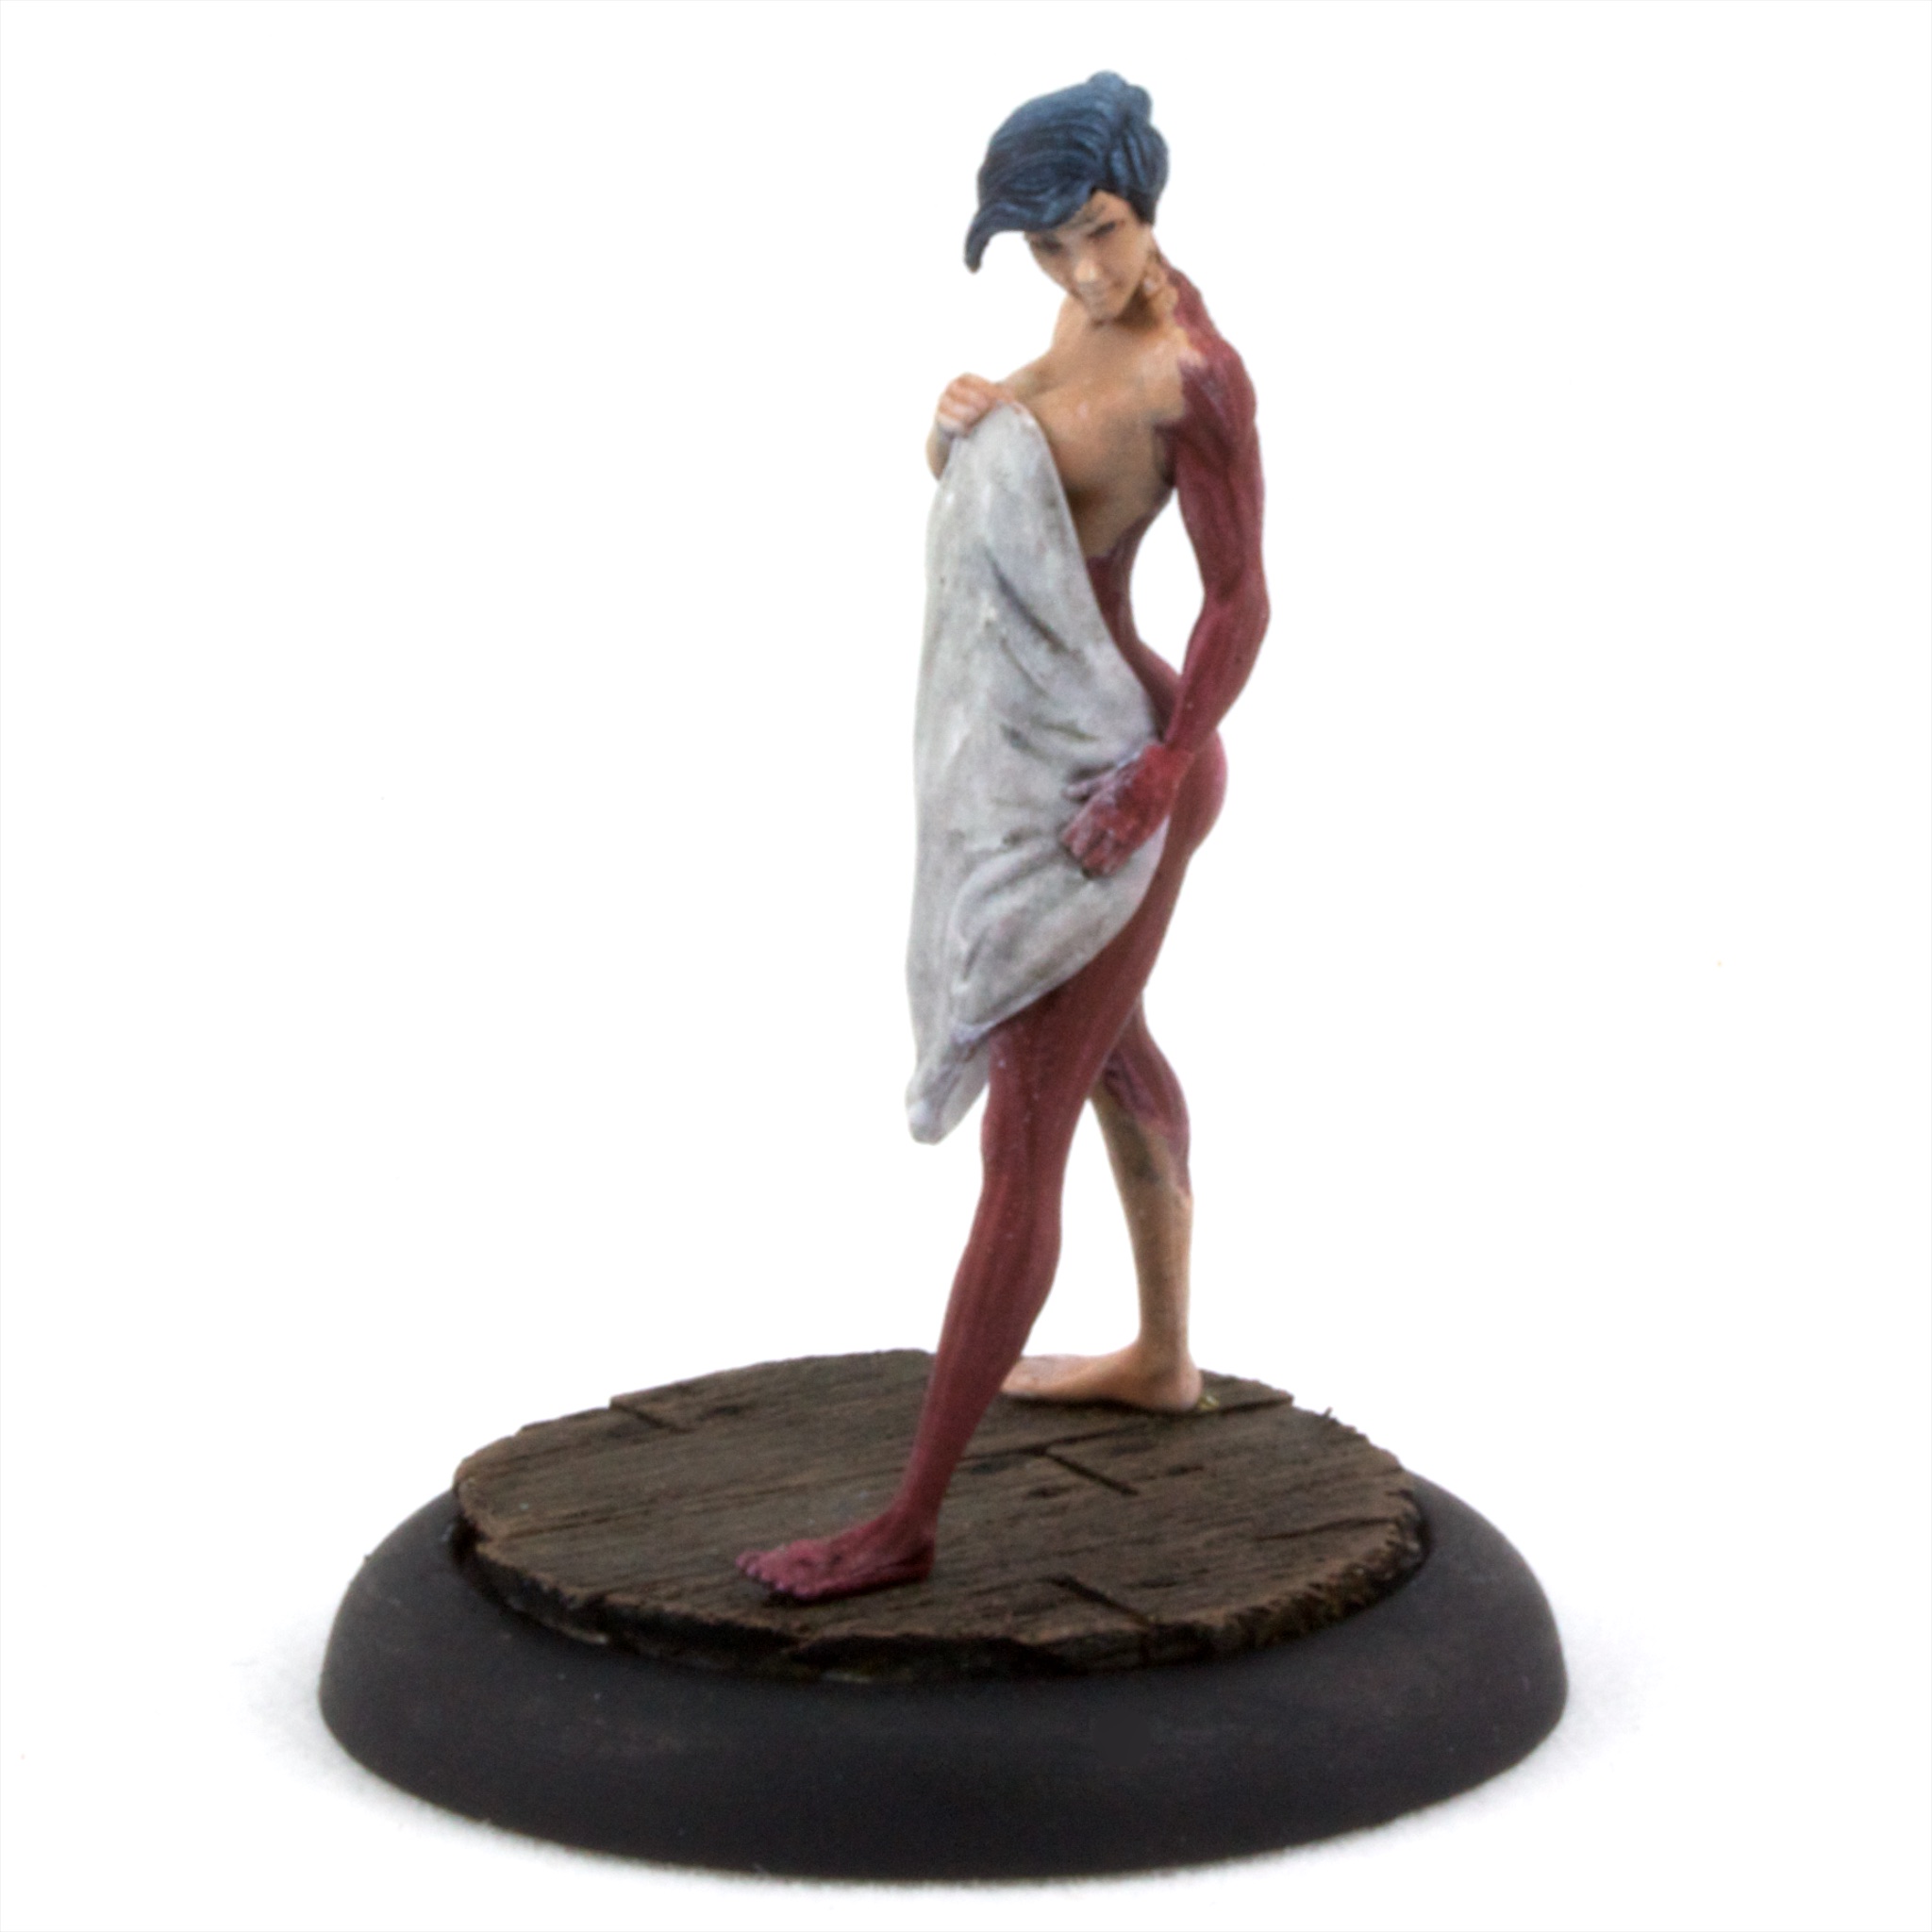
Continuing to round out my Neverborn, the Doppelganger sneaks her way into my collection.
Doppelganger
I originally painted the towel thing flesh tones, as in Wyrd’s art. It didn’t stand out enough, so brought it to a different, redder, flesh tone. It still looked weird, so I ended up just re-doing it in white.
I’m not entirely fond of how the vertebrae worked out, but I like the rest of the musculature.
I tried something new when pinning this model. It’s been very difficult to drill into the small feet of many Malifaux models. This time, I took an actual pin (for sewing) and heated it in a cancel for about ten seconds. Once it was nice and hot, I pushed it into the foot. When cool, I cut off the head of the needle.
It worked fairly well, although you can see it a bit on the skinless foot.
The weather hasn’t been conducive to dullcoting. The humidity finally dropped so I could finish off some models.
Primordial Magic
I tried to use some green weathering power to give a bit of OSL from the magic spewing from Primordial Magic’s mouth, but I didn’t end up liking it too much. The dullcote toned it down a bunch, so it’s very subtle.
It was surprisingly difficult to base this model. It’s hard to tell what part is going to be flat, so it’s hard to tell at what angle to put the pin. In the end I only used one very short pin, and hope that the large contact area will help me out.