I may not have posted for a while, but I’ve been busy painting. First up, the Phoenix command gunship for Dropzone Commander.
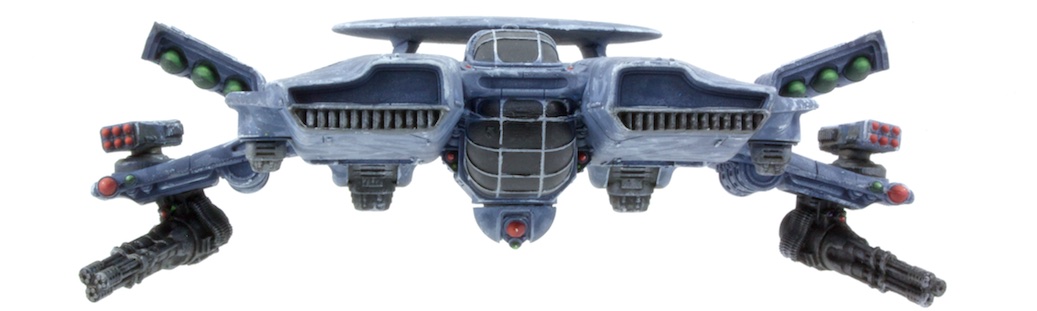
Phoenix (top)
I decided to pose it with the missile bays all the way open. I’m not sure it’s a great look, and probably would do it closed if I were paint another.
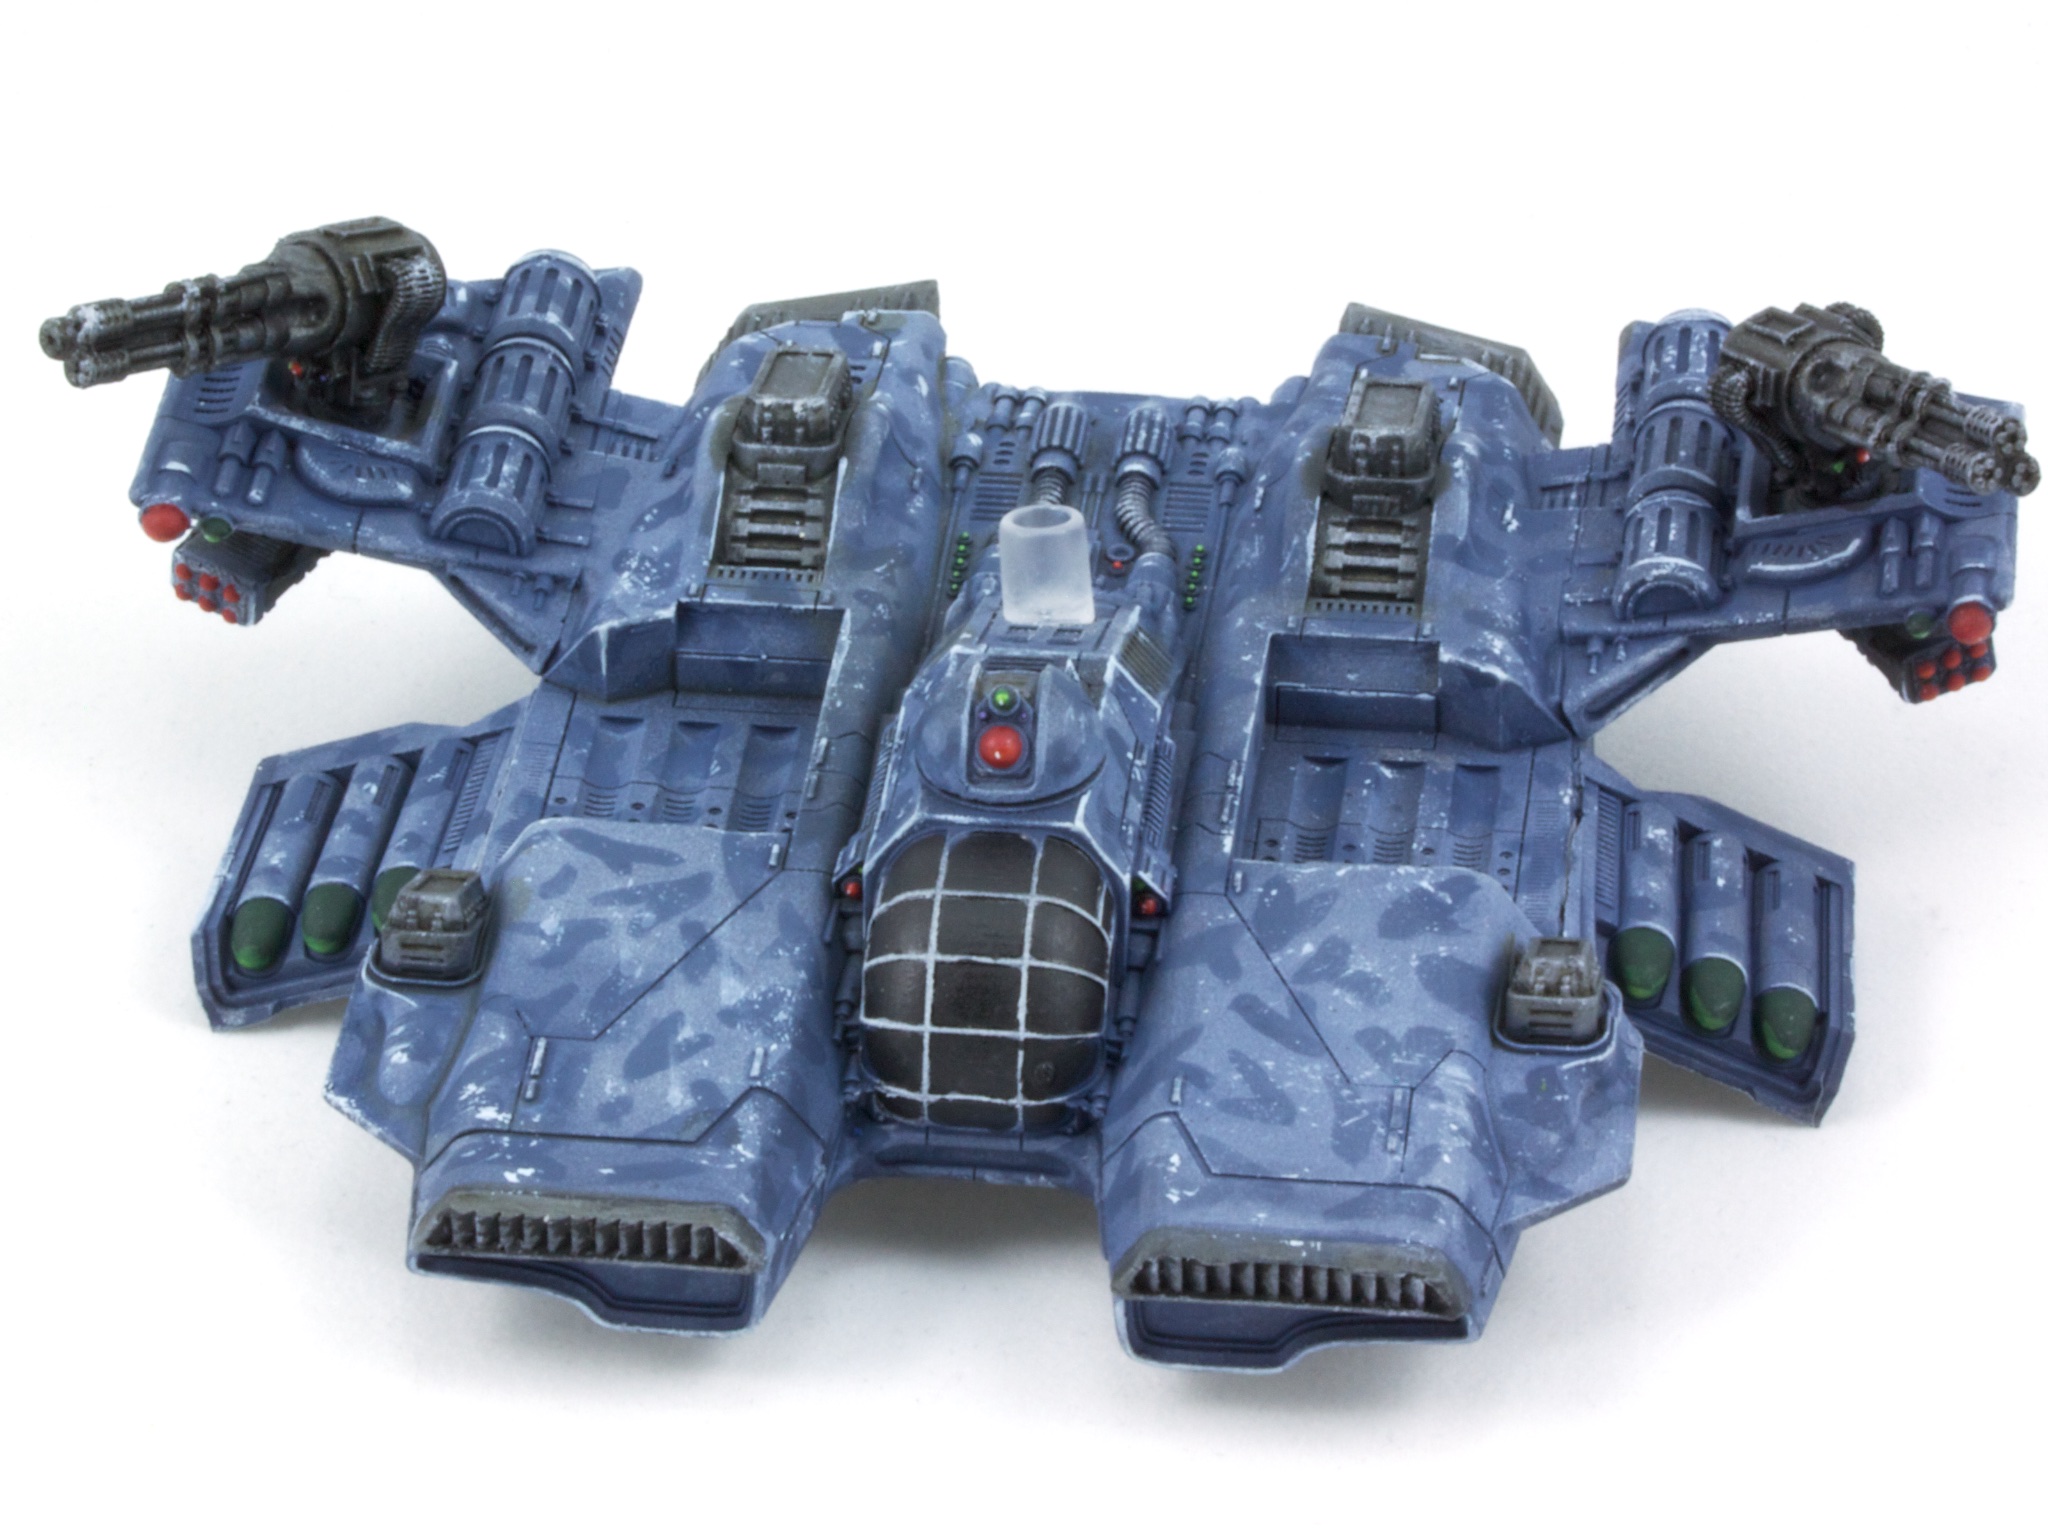
Phoenix (bottom)
Like so many of the UCM aircraft, the underside of the model looks way cooler than the top. Lots of engine detail, a second canopy, and targeting array are hidden down below.
All the cool kids tell me how awesome this model is in game, though I have to admit I miss the Kodiak when I use it. This can do quite a bit of damage, but the Kodiak’s orbital strike can usually delete one key model a turn.
Killjoy had been just below the cutoff on my buy list for such a long time. I’m glad I finally picked him up.
Killjoy
He’s a pretty straightforward model, although I’m sure I’ll snap off the chain before too long. I got to do some blood effects, and I like the mottled texture the skin ended up with.
I’ve only gotten in one game with Killjoy, paired with Pere Ravage. Ravage ran up, as usual, then when he blew Killjoy was ready to mop up any and all survivors. Of course, that made up nearly 40% of my crew, so ought to be good.
Gracie makes the final pig in the queue (for now).
Gracie
I had considered doing something different for the skin, along the lines of the variety in Piglets. After all, I’ve already got big pink models in Old Major and a War Pig. I decided the light colored pink would give a nice contrast to relatively dark improvised armor and bags.
The model ended up less colorful as I sometimes like, but I like it. I especially like how the bottles turned out.
I already have one War Pig in the form of the War Wabbit. But one is never enough. Although with my poor effectiveness with summoning Ulix, perhaps one was actually enough.
War Pig
There was a nasty seam line down the centerline of the pig. Along the back the hair hides it pretty well. On his chest, not so much. Green stuff to the rescue.
If I decide to do more War Pigs, I think it would be fun to do more animals. I’ve already got a pig and a rabbit. Maybe a giant beetle? Or a cow? A goat?