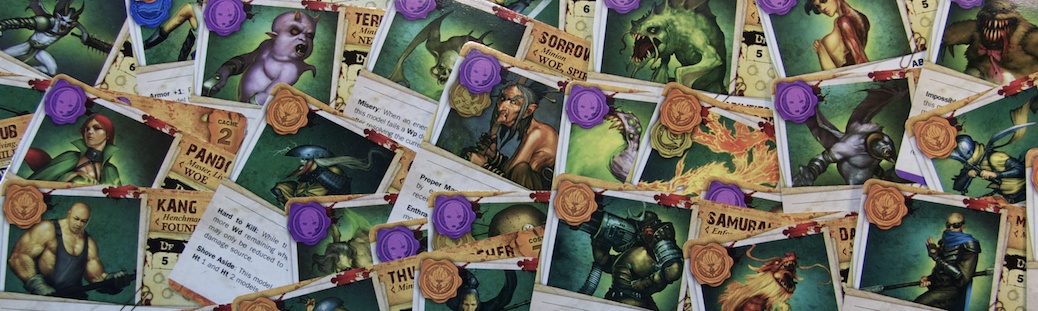
My wife took my five-year-old daughter to the game shop to pick out a Christmas present for me. I’m told that she was certain that I wanted this one, a Major Demon from North Star’s Frostgrave line. I’ve thought about Frostgrave, but haven’t gotten a demo or anything. I figure I can use the model as a proxy for a Mature Nephilim, as long as my opponent isn’t a stickler for the GG 66% Wyrd rule.
Mature Nephilim (Frostgrave Demon)
The model had some pretty significant mold lines, although it cleaned up pretty well.
I was given explicit instructions to paint it like the studio model. I managed to get a concession to paint the gem purple, to tie it a bit to my Neverborn.
I watched the Team Yankee pre-launch hype late last year with some interest. The period (modern-ish) and scale (15mm – big enough to be visceral, but still small enough to have swarms of tanks!) was interesting. But I was pretty sure I didn’t have room for another miniatures game in my life.
When Endgame announced a build & play launch event, I failed my willpower save. So I put in my order for the rulebook and US starter. Unfortunately, every else bailed. So I hung out and built, but didn’t get to play. On the upside, I didn’t have to break my streak of playing with only painted models.
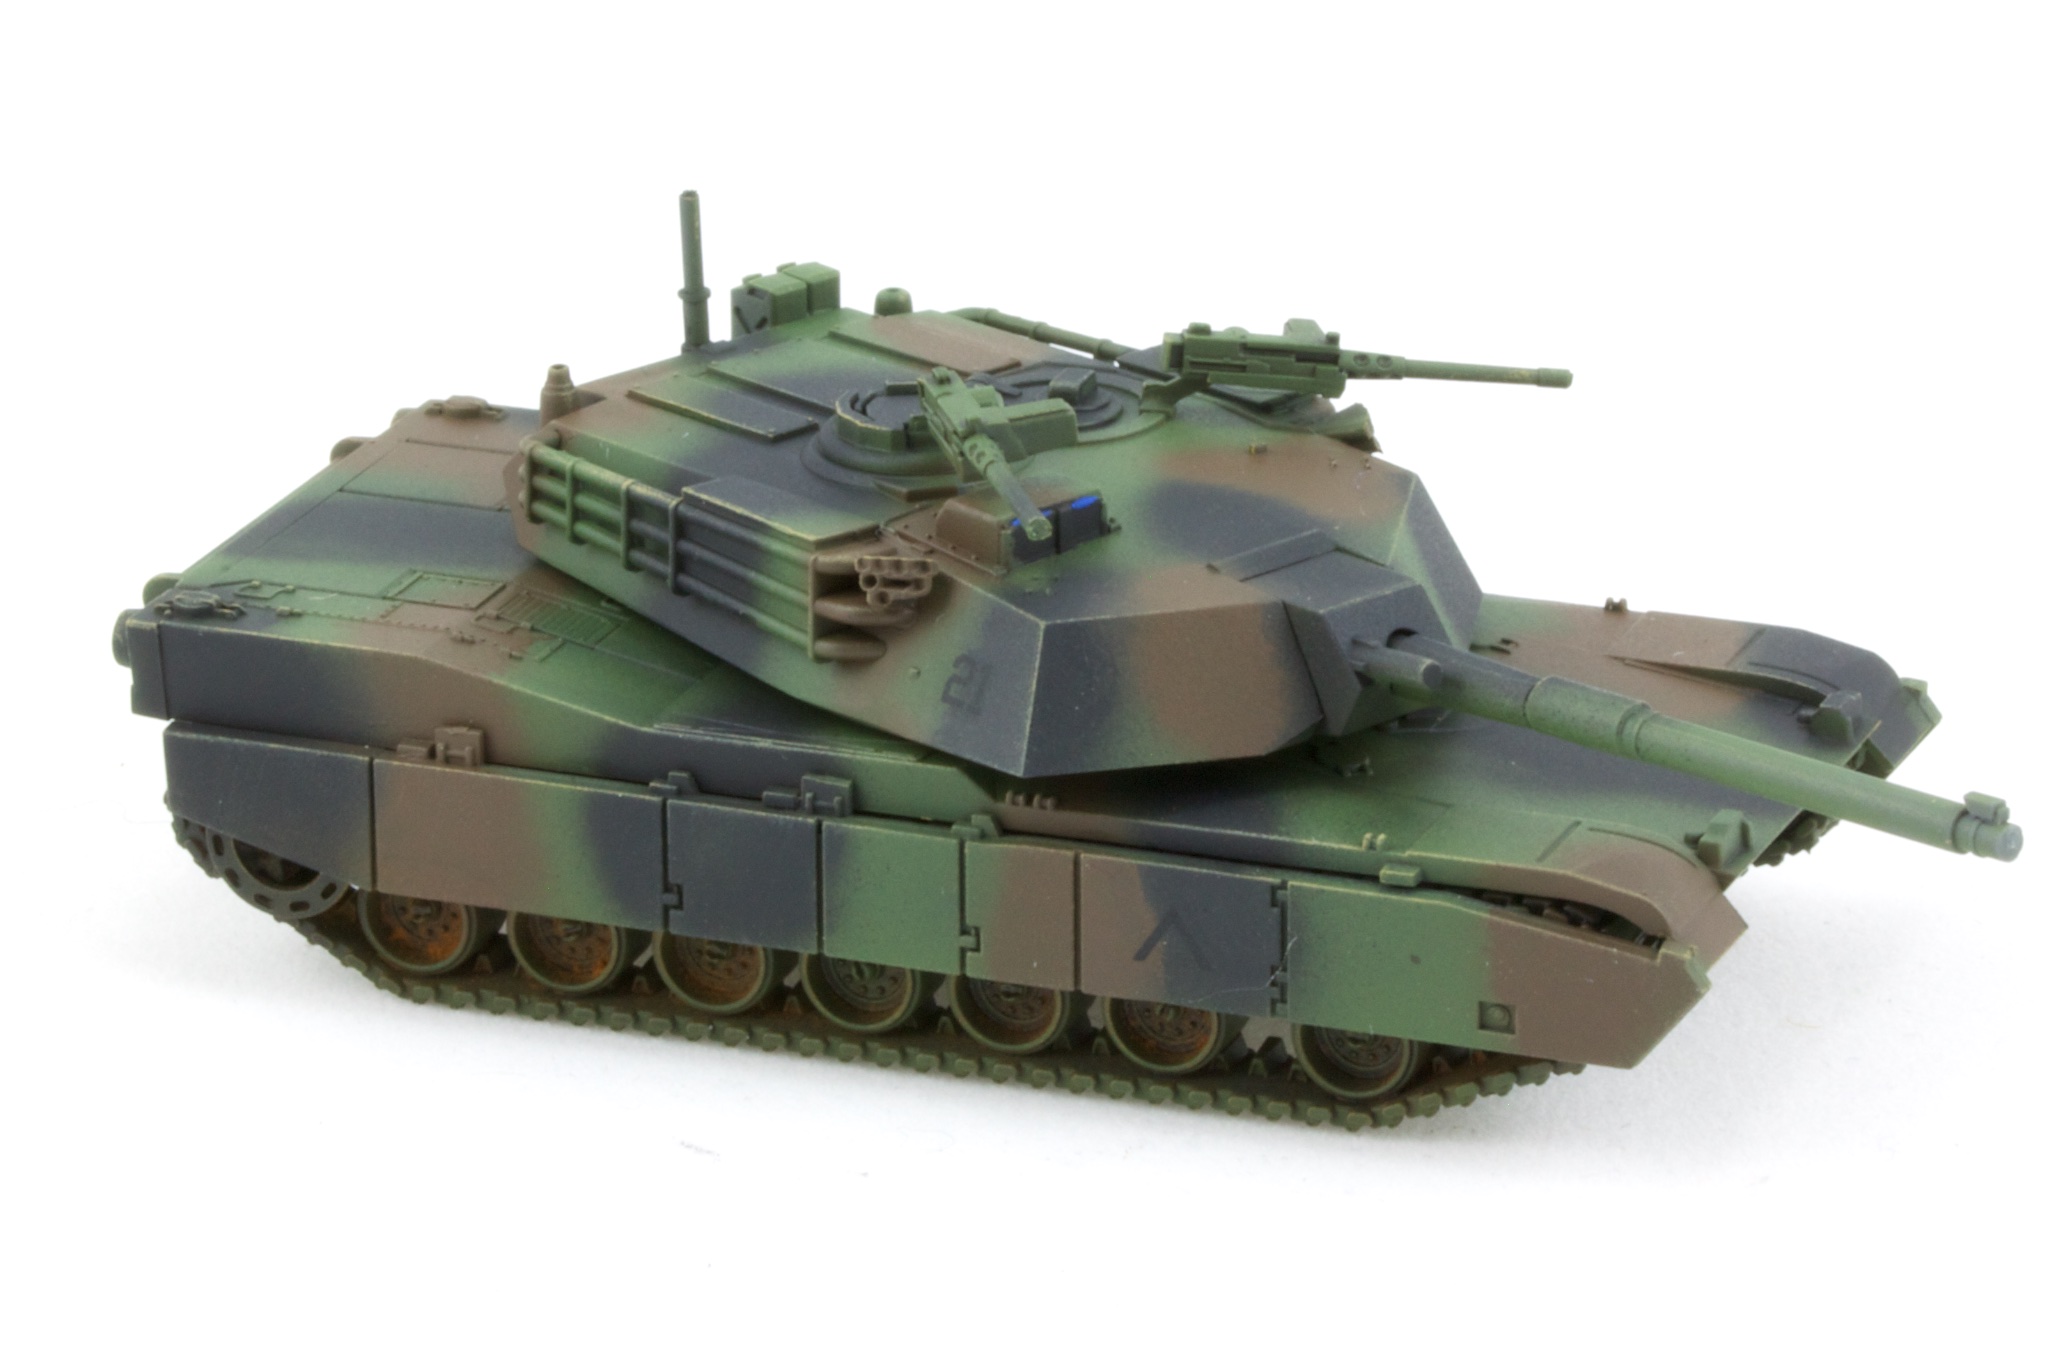
In prep for a future in which I play the game, I’ve gotten painting. I settled on the NATO tri-color scheme, even though it’s slightly anachronistic, and picked up some Vallejo Air paints designed for the pattern.
M1 Abrams
This was the first time I’ve used my airbrush for camo work. I tried to follow the pattern, but didn’t really have the control to follow the lines. The edges are also much softer than I wanted. You gotta start somewhere.
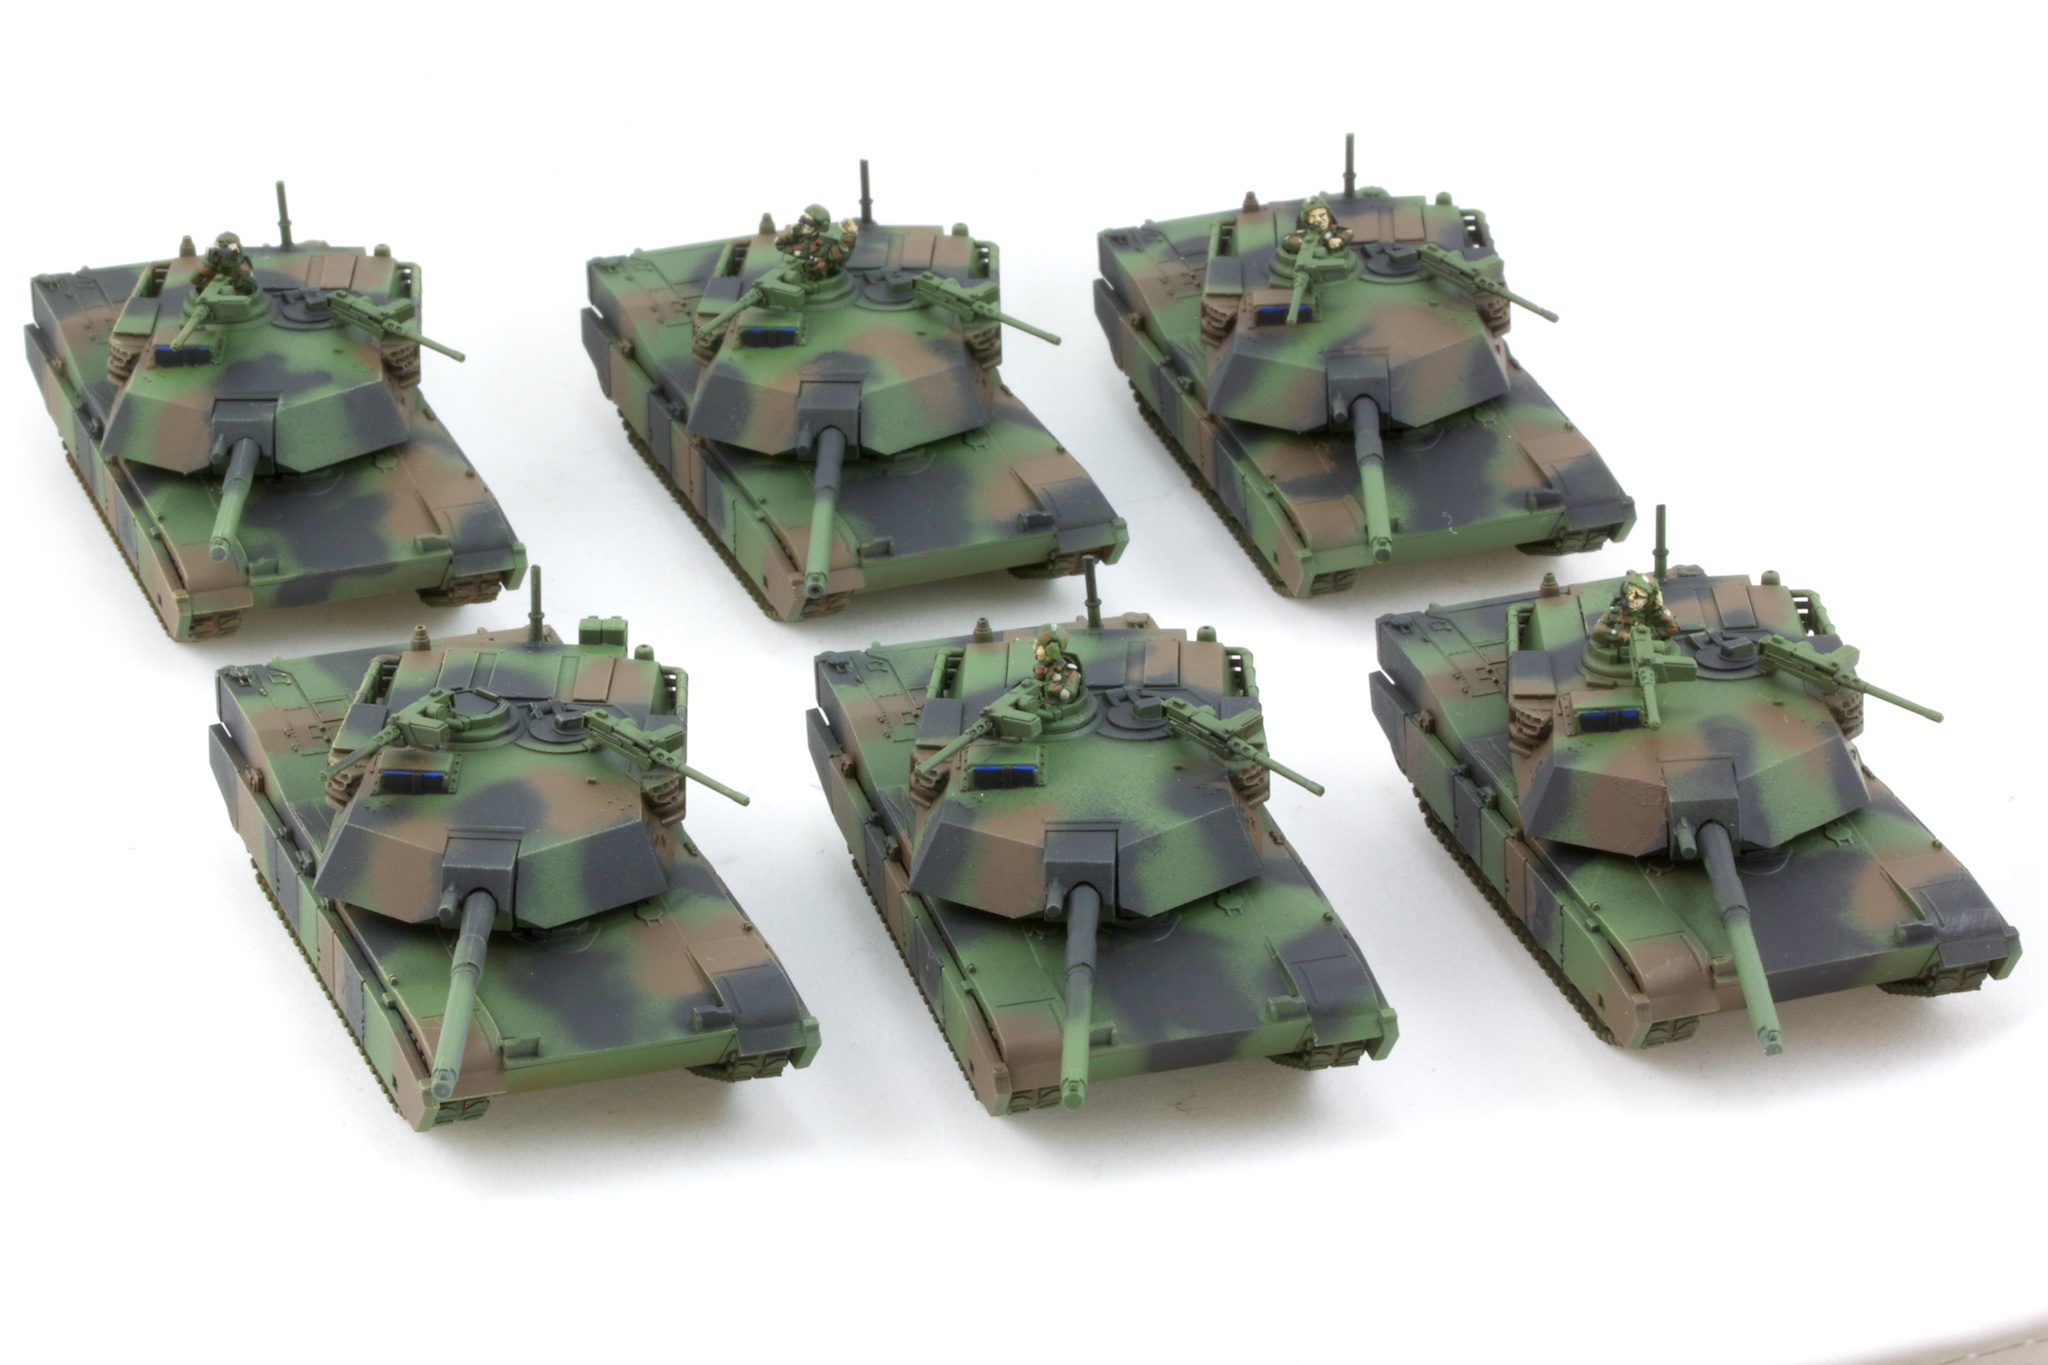
M1 Abrams (group)
The start of an armor horde. Although if I really wanted a horde, I probably should have picked the Soviets..
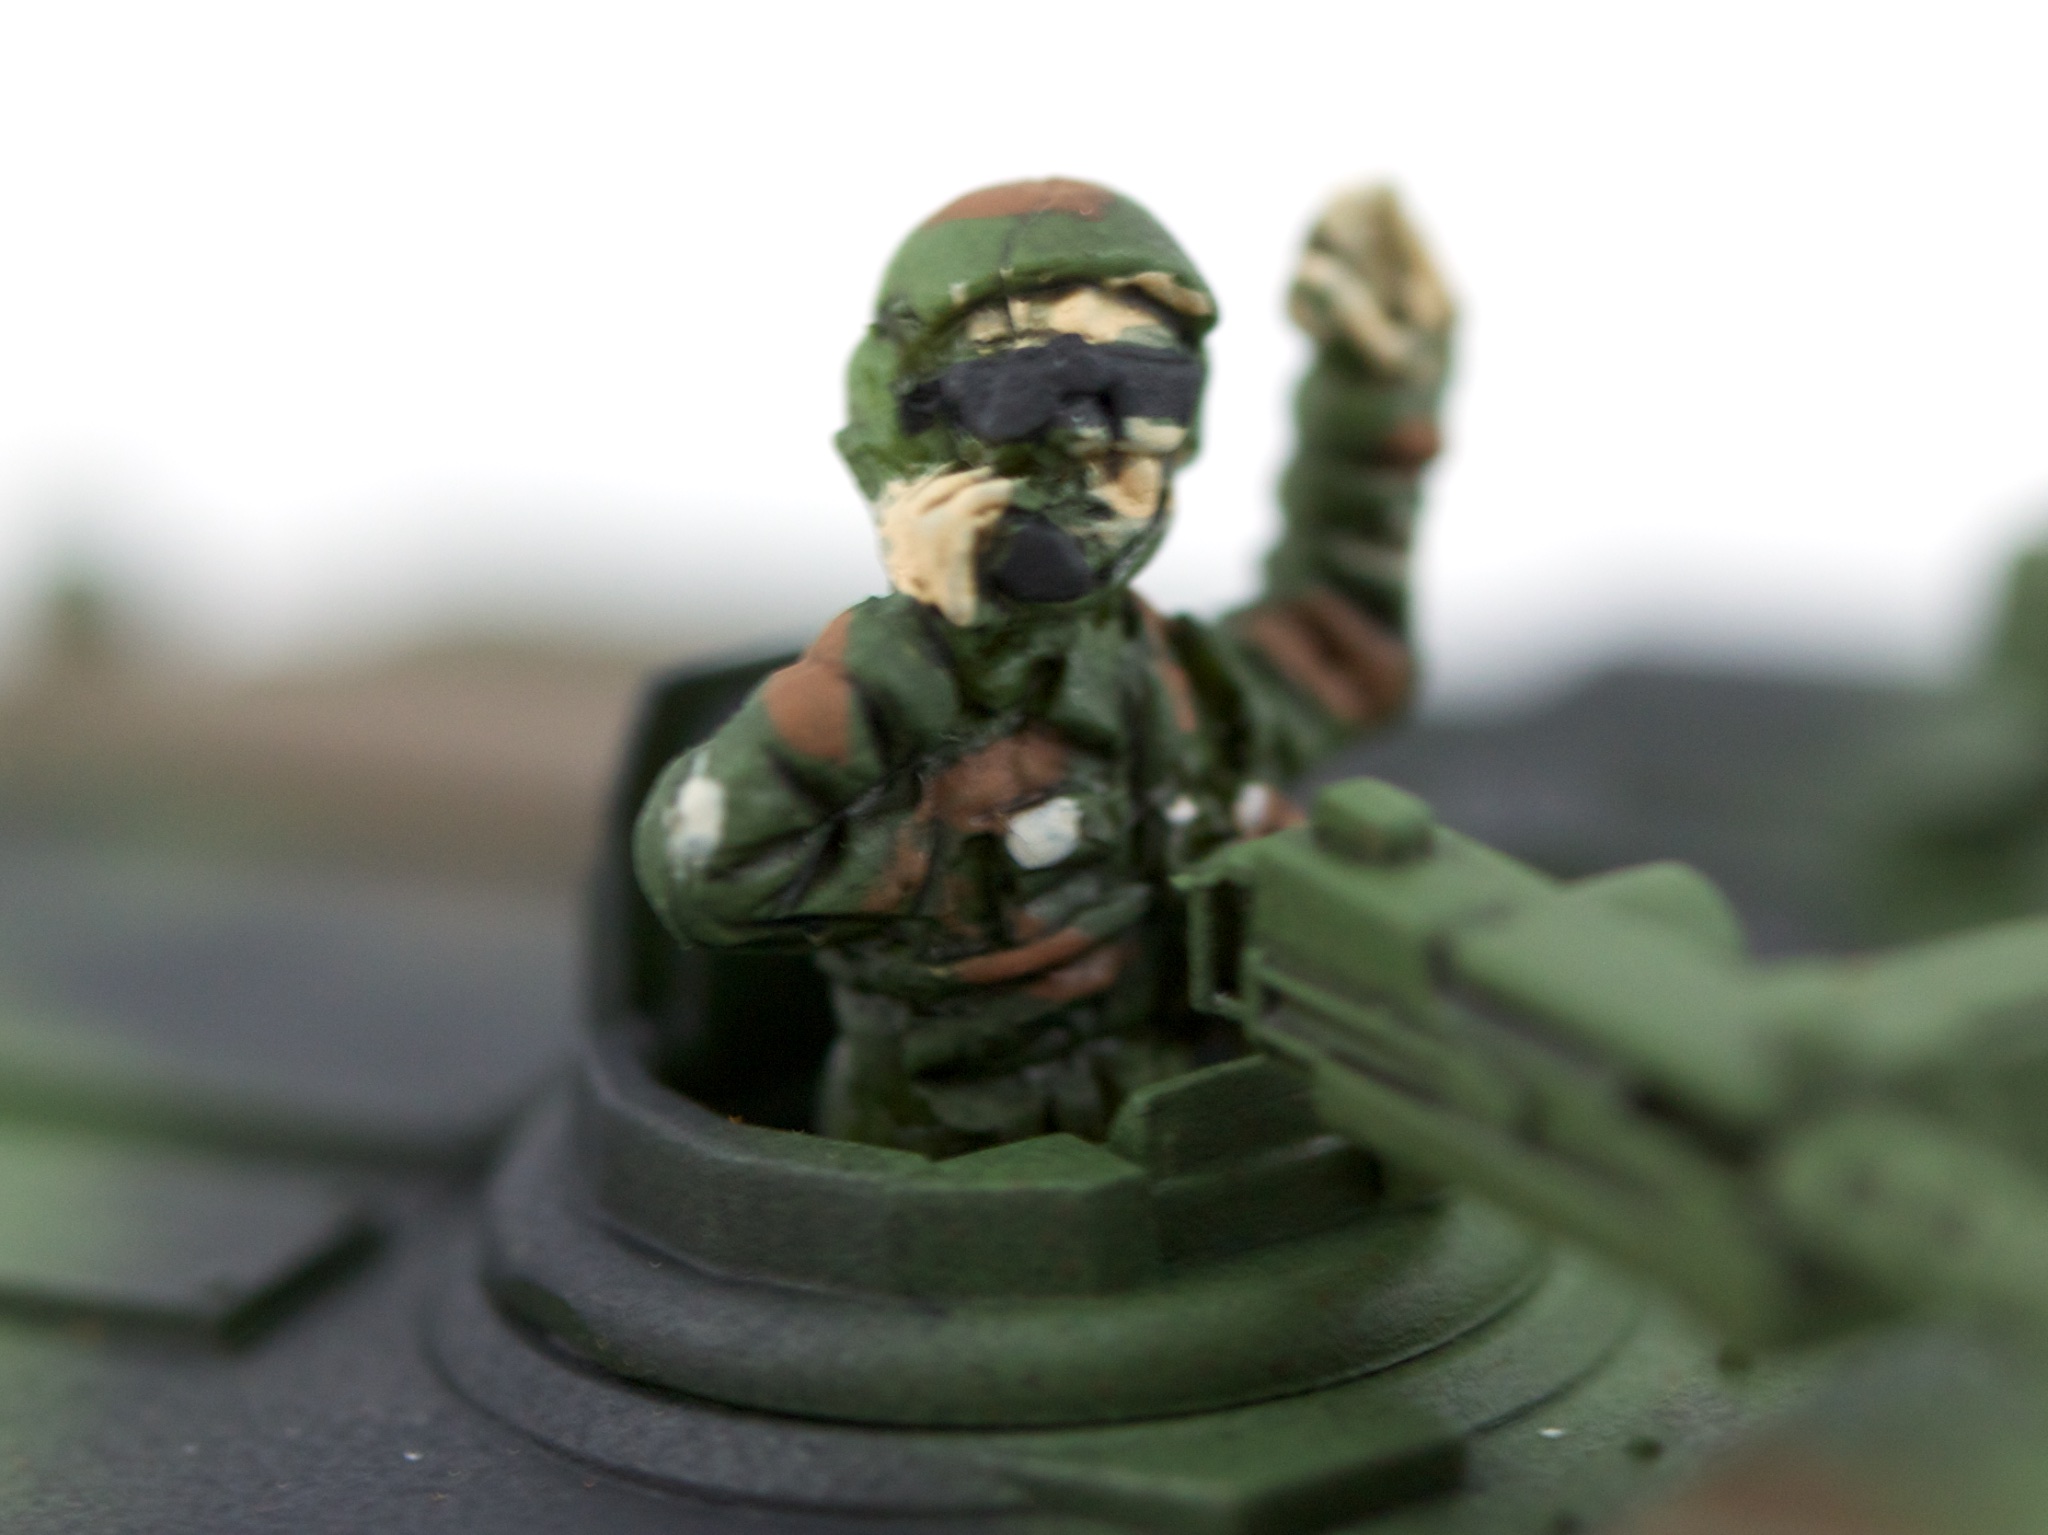
M1 Abrams (detail)
15mm dudes are small. I probably should have been a little neater with the flesh tone.
Next, the Cobras. Then finding time and an opponent to actually play the game.
I’m a total sucker for limited editions. And Malifaux’s skirmish nature means there’s less of a “I’ll never use it” argument holding me back.
The Through the Breach Hannah has been tempting me for quite a while. The regular model is pretty ungainly, which is both an aesthetic problem and a practical transportation one. But it’s pretty scarce, and the ebay price was more than I wanted to pay.
Finally, my patience paid off, and I snagged one on sprue for a small premium over the regular Hannah price. Everyone’s favorite power armored librarian was mine.
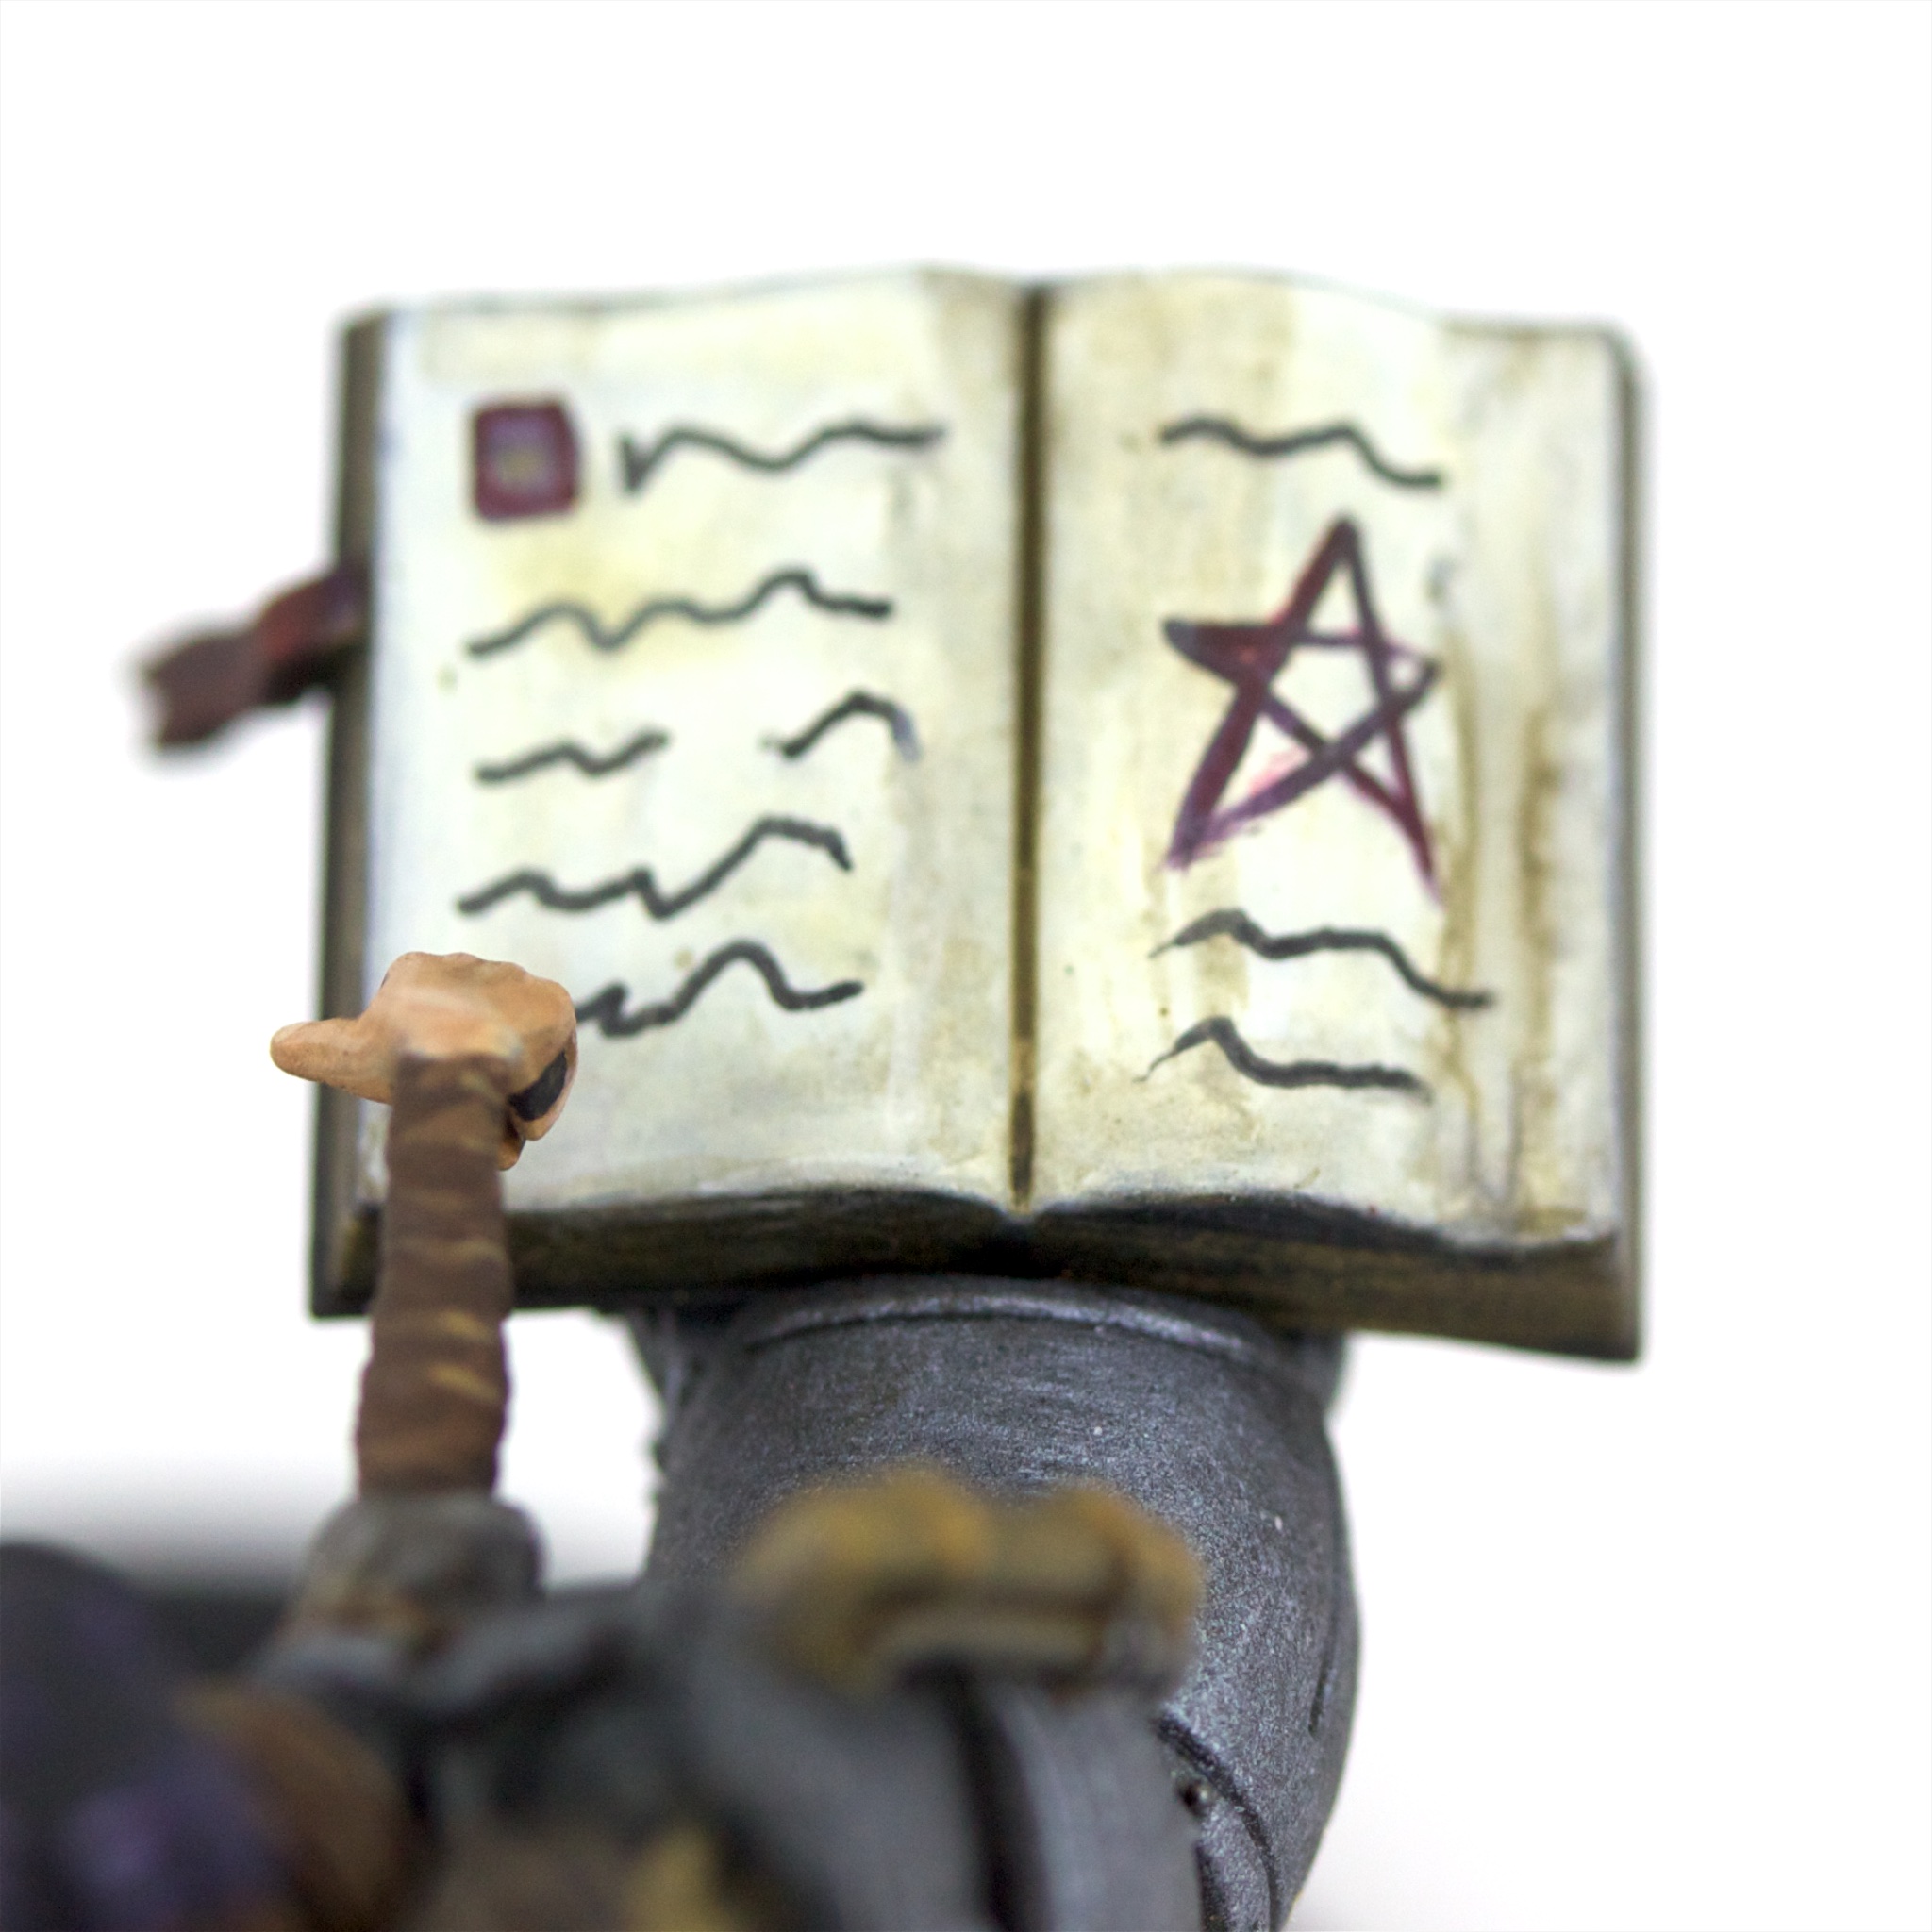
Hannah
I knew I couldn’t leave the pages blank. It’s simplistic, but it still adds a bit of character. I briefly tried doing some kind of magic glow at her finger, but it looked stupid so I washed it off.
Hannah (detail)
I had a chance to play Hannah at the Henchman Hardcore at Adepticon. My list was:
Hannah with Ancient Tomes
Nothing Beast with Void Shield
Void Wretch
Void Wretch
The idea was to bury a key model with Ancient Tomes to steal an activation. If lucky, bury another with the Nothing Beast, nibble with the Void Wretches, and unbury outside of the Turf War area. Hannah could also Make a New Entry off of the Nothing Beast’s attack. It worked out pretty well, and I was able to steal activations from the opposing Henchman several times. It was also pointed out to me during lunch that I could just sit a model on top of the Void Marker to send the buried model back to the deployment zone, and possibly out of the fight, which I used to good effect in the final round.
I picked up Aionus along with the rest of my Black Friday goodies. It’s a different material, a softer PVC rather than the standard hard plastic Wyrd uses. The material itself was okay, although a little harder to clean up seams. I wish it hadn’t been pre-assembled, however. The upper and lower torso were a bit out of alignment, and needed a fair amount of green stuff and filing to smooth out.
Aionus
I tried to do a bit of OSL shading with this model, to try and give the clocktower an etherial quality. I’m not sure whether I think it works on the basing, or just looks like I was sloppy when painting. On the legs and arms, though, I think it works pretty well. I’ll keep experimenting.
Aionus (detail)
I’ve taken Aionus in one game, to fill out my Tara crew. Unfortunately, he mostly just stabbed people with his bony finger, and I didn’t get a chance to use his cool marker manipulation abilities. Next time!