
I’ve been eyeing Resistance from Dropzone for as long as I’ve been playing the game. Who wouldn’t love a bunch of Mad Max dudes in heavily weathered military and civilian gear? Rich from Green Stuff Industries suggested we could do some kind of escalation league, so I took the plunge.

Every time I start something new, I try to do some new modeling techniques. This time I added hairspray chipping and oil washes to my repertoire. I undercoated the primed models in rusty browns, reds, and oranges from Secret Weapon’s rust acrylics. After letting it cure overnight, I covered with two coats of hairspray. I bought the cheapest I could find at the store that didn’t claim to be humidity resistant. The goal is to have it come off in humidity, after all. I should have bought unscented.

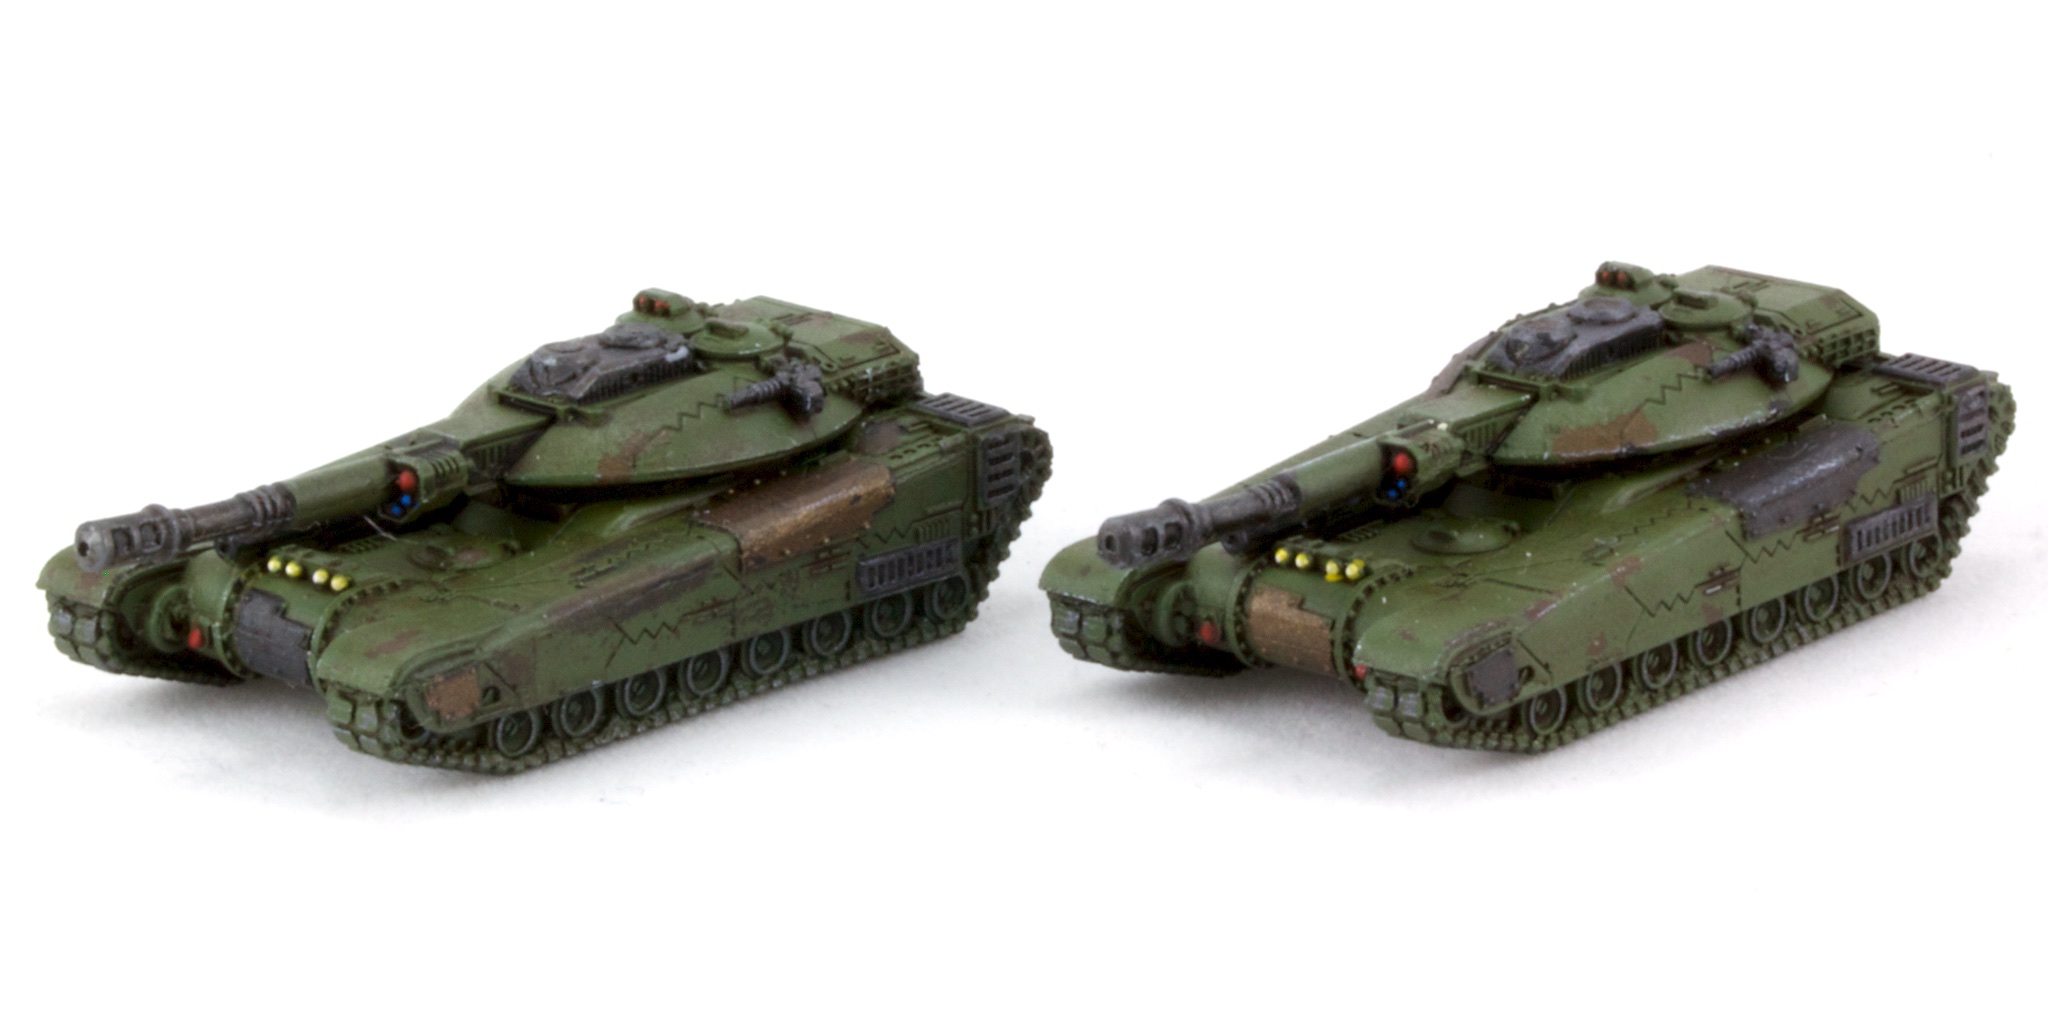
After letting the hairspray dry, I went back to airbrush the main color — NATO green for the military vehicles, others for the Gun Wagons. After an hour or so, before it fully cured, I started wiping off the topcoat using a brush with warm water. This dissolves the hairspray, pulling off chunks of topcoat. It’s hard to control, but makes nice chaotic patches that are rusted through. I had a few parts where I took off the primer, too, but that can be covered with more rust colors later.
Once that’s all dry and cured, I hit it with a later of glosscote to prevent any more chipping later. I painted the metallic parts before putting on another layout of glosscote to prepare for the oil wash.

I made the oil wash with Winsor and Newton oil paints from the craft store. I mixed a dab of burnt umber with odorless turpentine until it had a consistency like melted butter. Then I slathered it on everything. I can clean it up later. In a few places (like panel lines), I added a little black to the mix to make it stand out a bit more.

After letting it dry overnight, the oil can still be wiped off. At first I used Q-tips, but it left little fibers everywhere. I bought some foam swabs and life was better. Just wipe anywhere you don’t want the wash. With a little care, going over texture will leave it in the recesses. Once done, a layer of dullcote seals it in, and brings it back towards my preferred matte/satin finish.
That all done, the final details of lights and lenses could be picked out. I also tried edge highlighting via paint pencil. Jury’s out on whether I stick with it, but at least it’s fast.
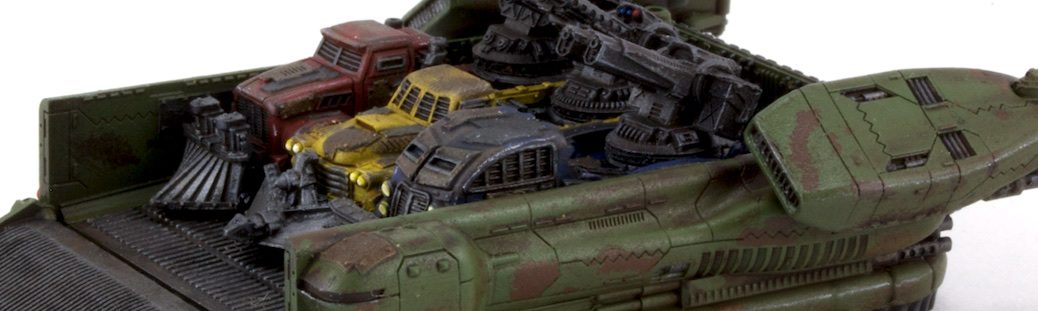
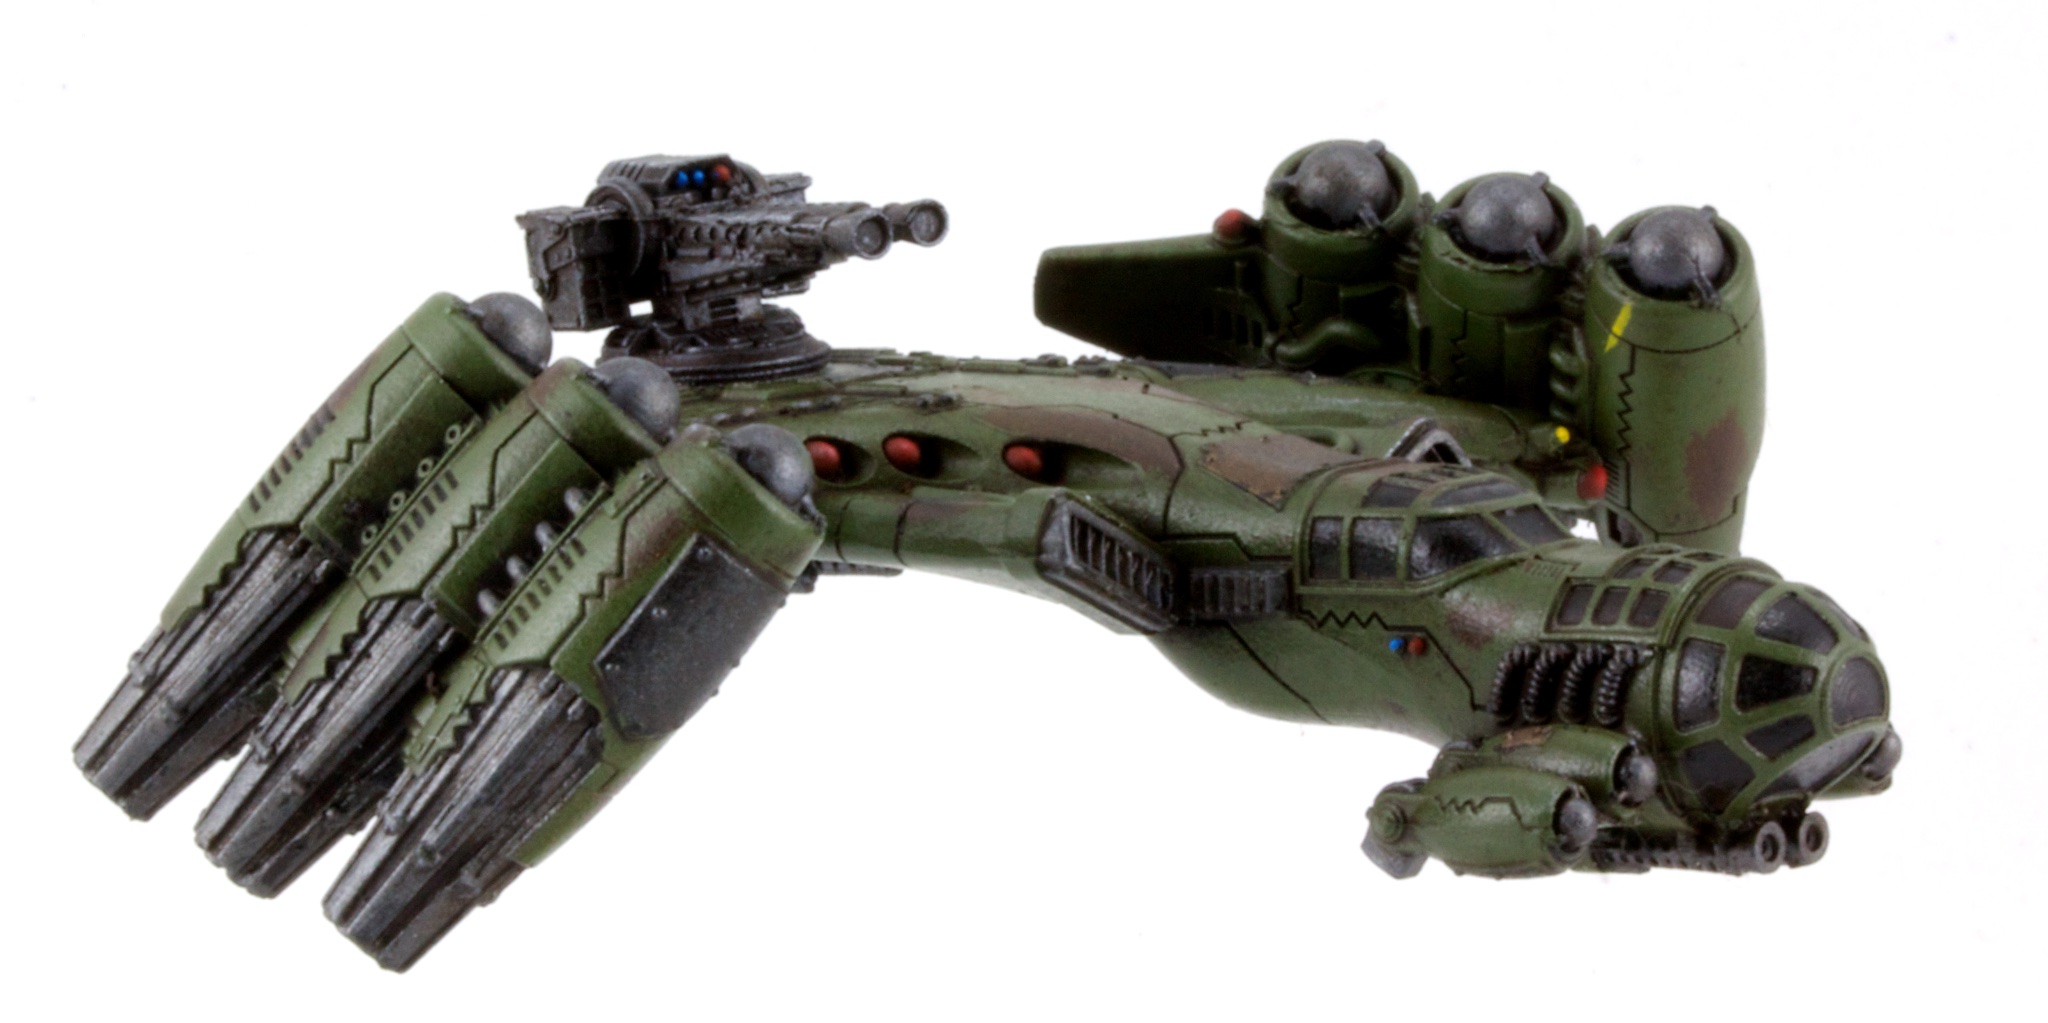
Another choice I made for this army was to magnetize the transports. I decided not to do it for UCM partially because that would mean doing something about the turret arms for pretty much all the tanks, and I didn’t want to deal with it. I think that was the right choice, but empty transports aren’t cinematic. The challenge for Resistance is the hole for the Lifthawk flight stand overlaps with the central mount point. I relocated the hole forward, in the nose. That makes the model really back heavy. To keep it from toppling, I had to weigh the base. At first I just used some loose bits of metal. Combined with green stuff, it would make a hill. Then I realized I had an ancient metal Epic Thunderhawk that’s been sitting around for over a decade. I cut it up to make into multiple crashed wrecks.

I’m really happy with how these models turned out, although all the dull/glosscote trips can slow things down. Especially in the winter, where the weather doesn’t always cooperate with rattlecan action. Maybe I can switch to spraying Future through an airbrush for some of them.