
Along with miniature painting, I’m interested in making of just about all kinds. I usually don’t scratch that itch more than reading and watching videos, but I decided it was finally time to go for it, using the Halloween as an excuse.
I’ve watched a number of videos from Punished Props on making armor out of EVA foam, and put it to use making armor for the kids. I sold them on the idea of being knights for Halloween, but after looking at reference materials from the library, decided that would be boring. So I went for a more fantastic approach.
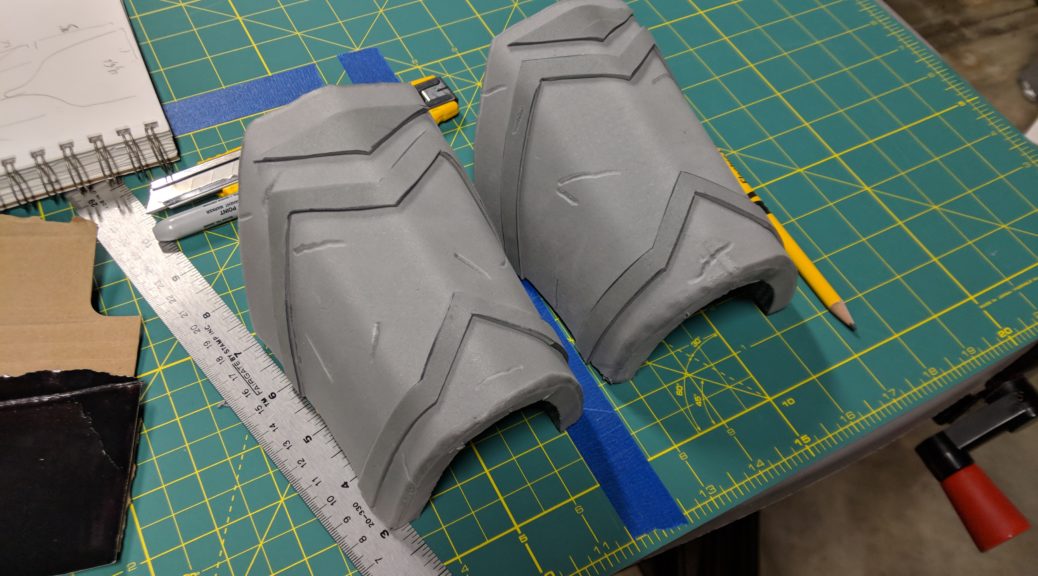
I started out by making bracers for both kids. I first made patterns out of posterboard, inventing and making best guessing for the dimensions. Then I cut them out of 1/2″ floor mat foam, cut out divits to give it some shape, and added some trim. This was done in early October, plenty of time.

Other projects and procrastination struck. A distant wildfire smoked me out of the garage one weekend. With a Friday deadline and no further progress on the Saturday, I just had to fabricate the chest pieces, paint everything, and figure out how to strap it to the kids in a week. Without really knowing anything. No problem.
I used tshirts for each kids as rough patterns for the chest pieces and Barge cement (from a stupidly large can — one quart is way too much) connected the left and right halves together, and closed in darts eyeballed around the armpit.
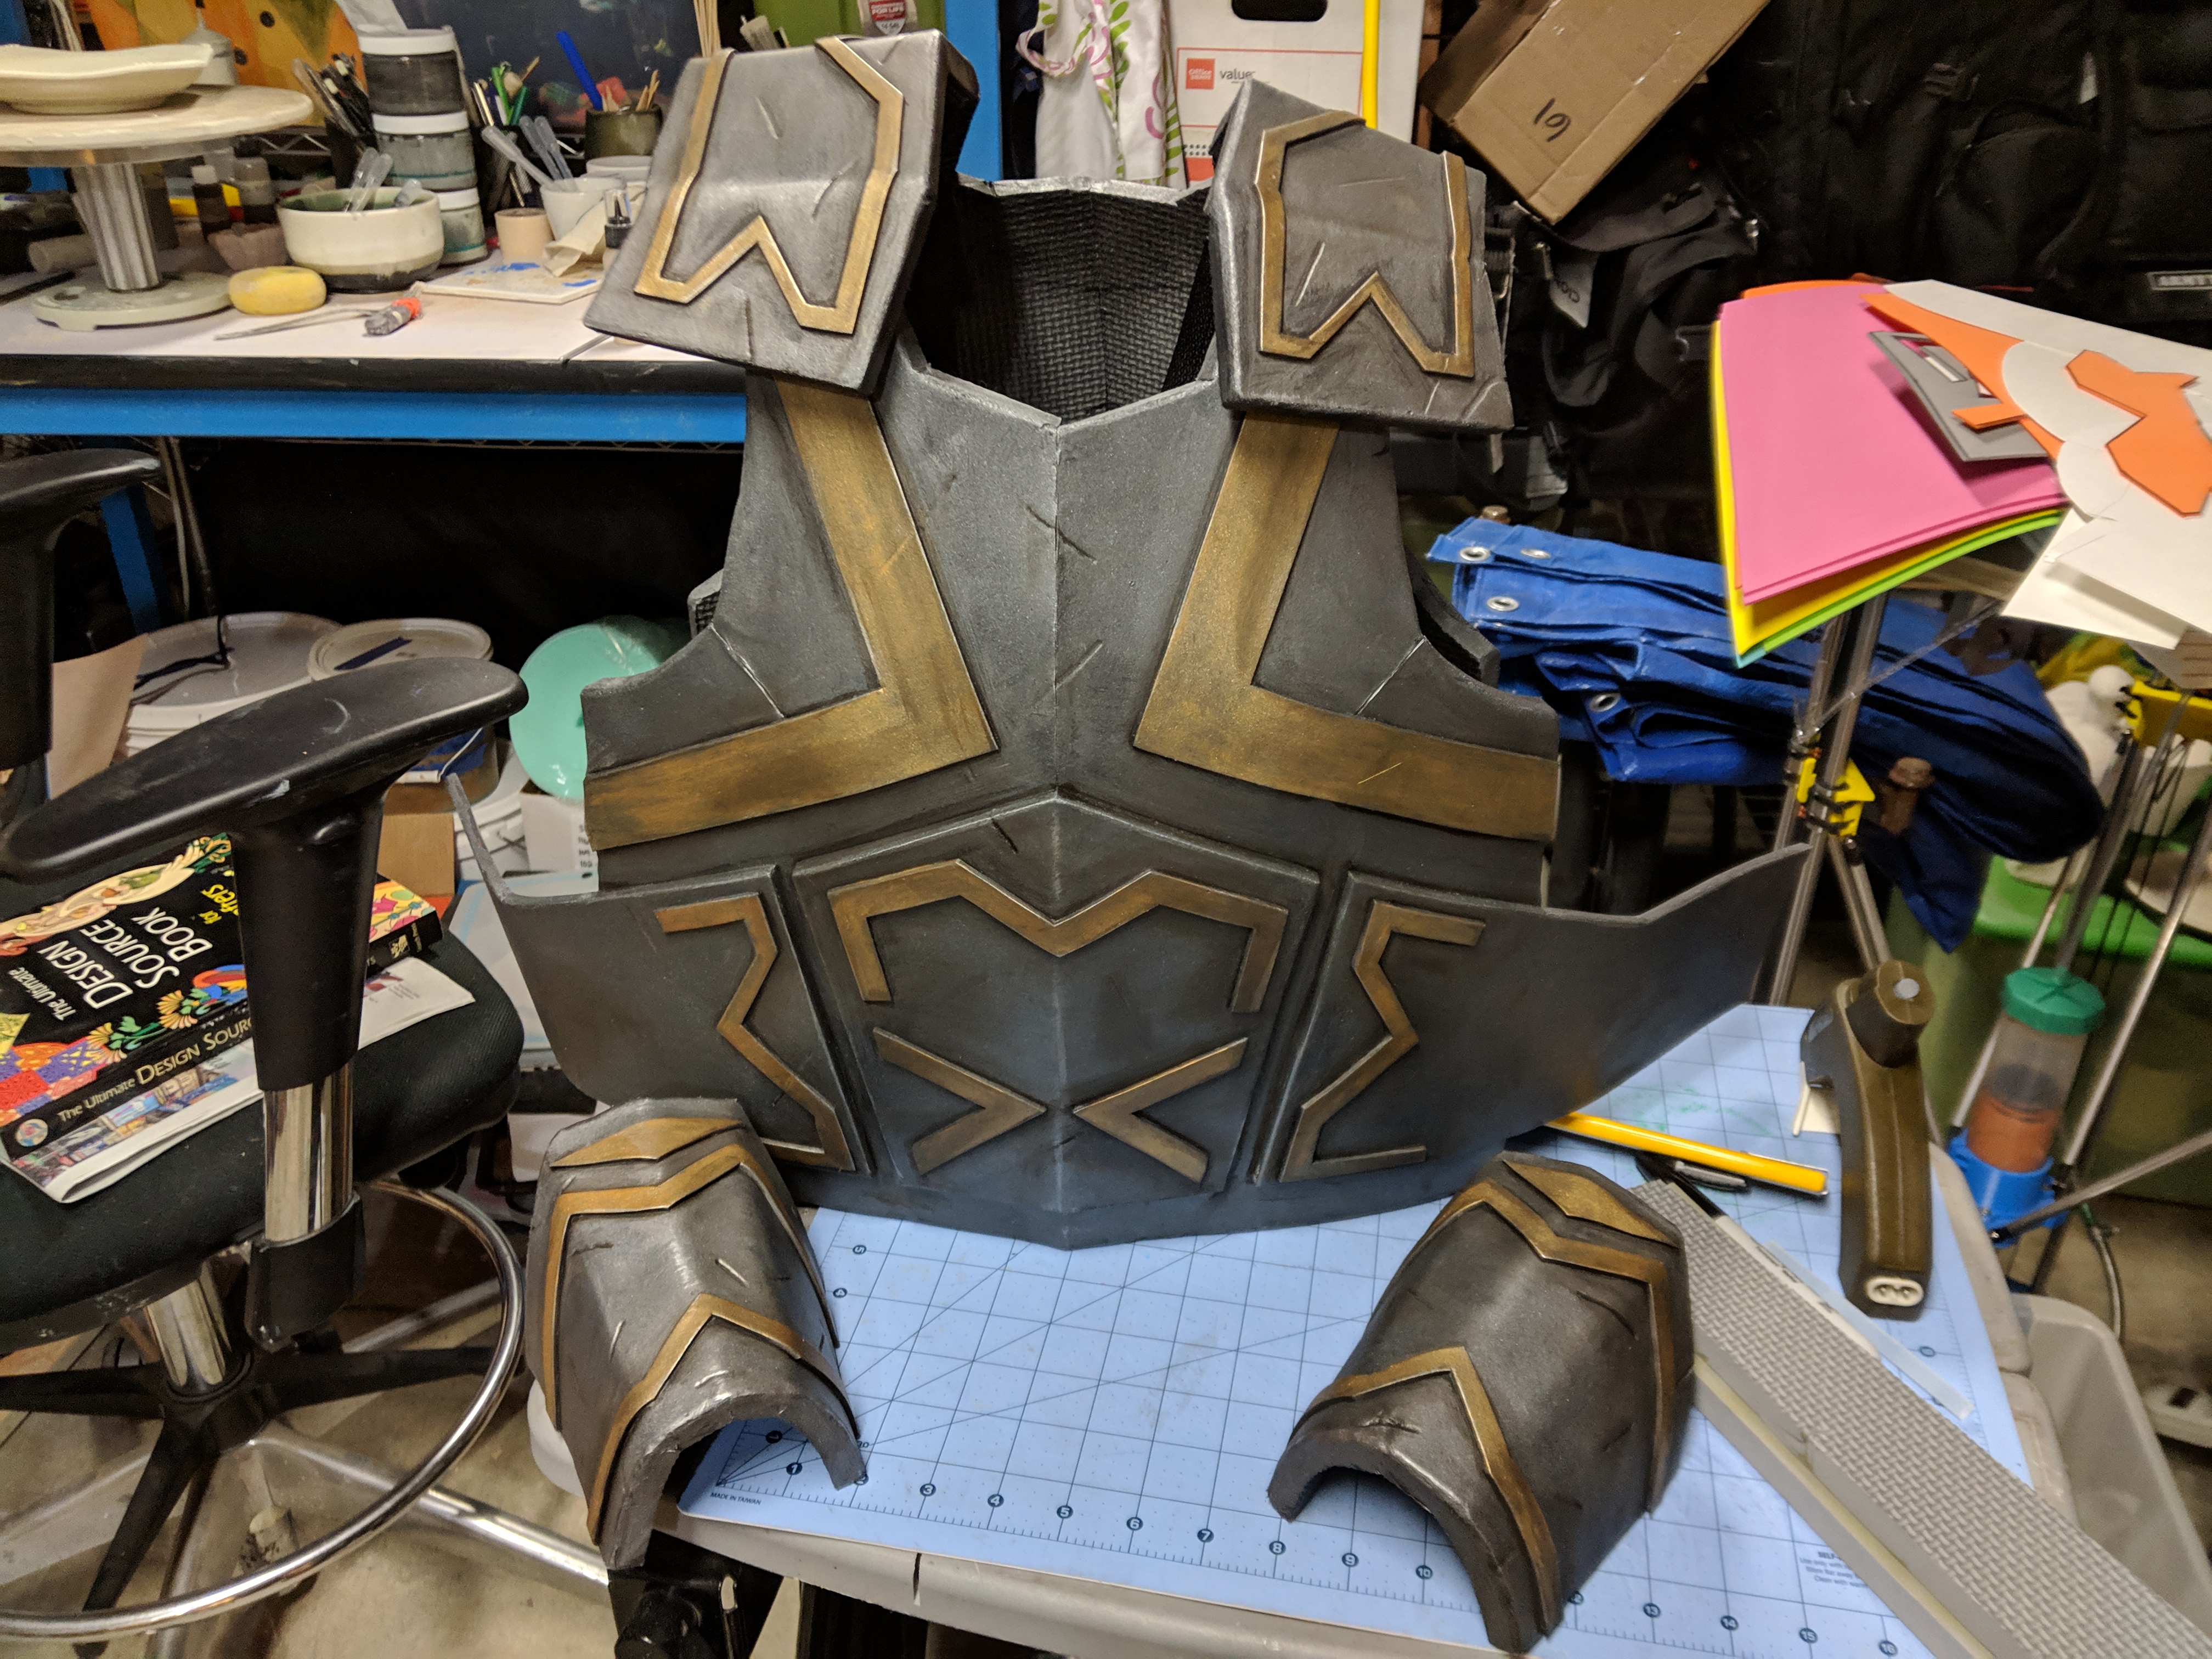
Max’s armor is heavily inspired by dwarven armor from the Lord of the Rings movies. It’s all angular. I tried to sell him on runic writing, but he refused. Instead I snuck M’s and X’s into the trim.
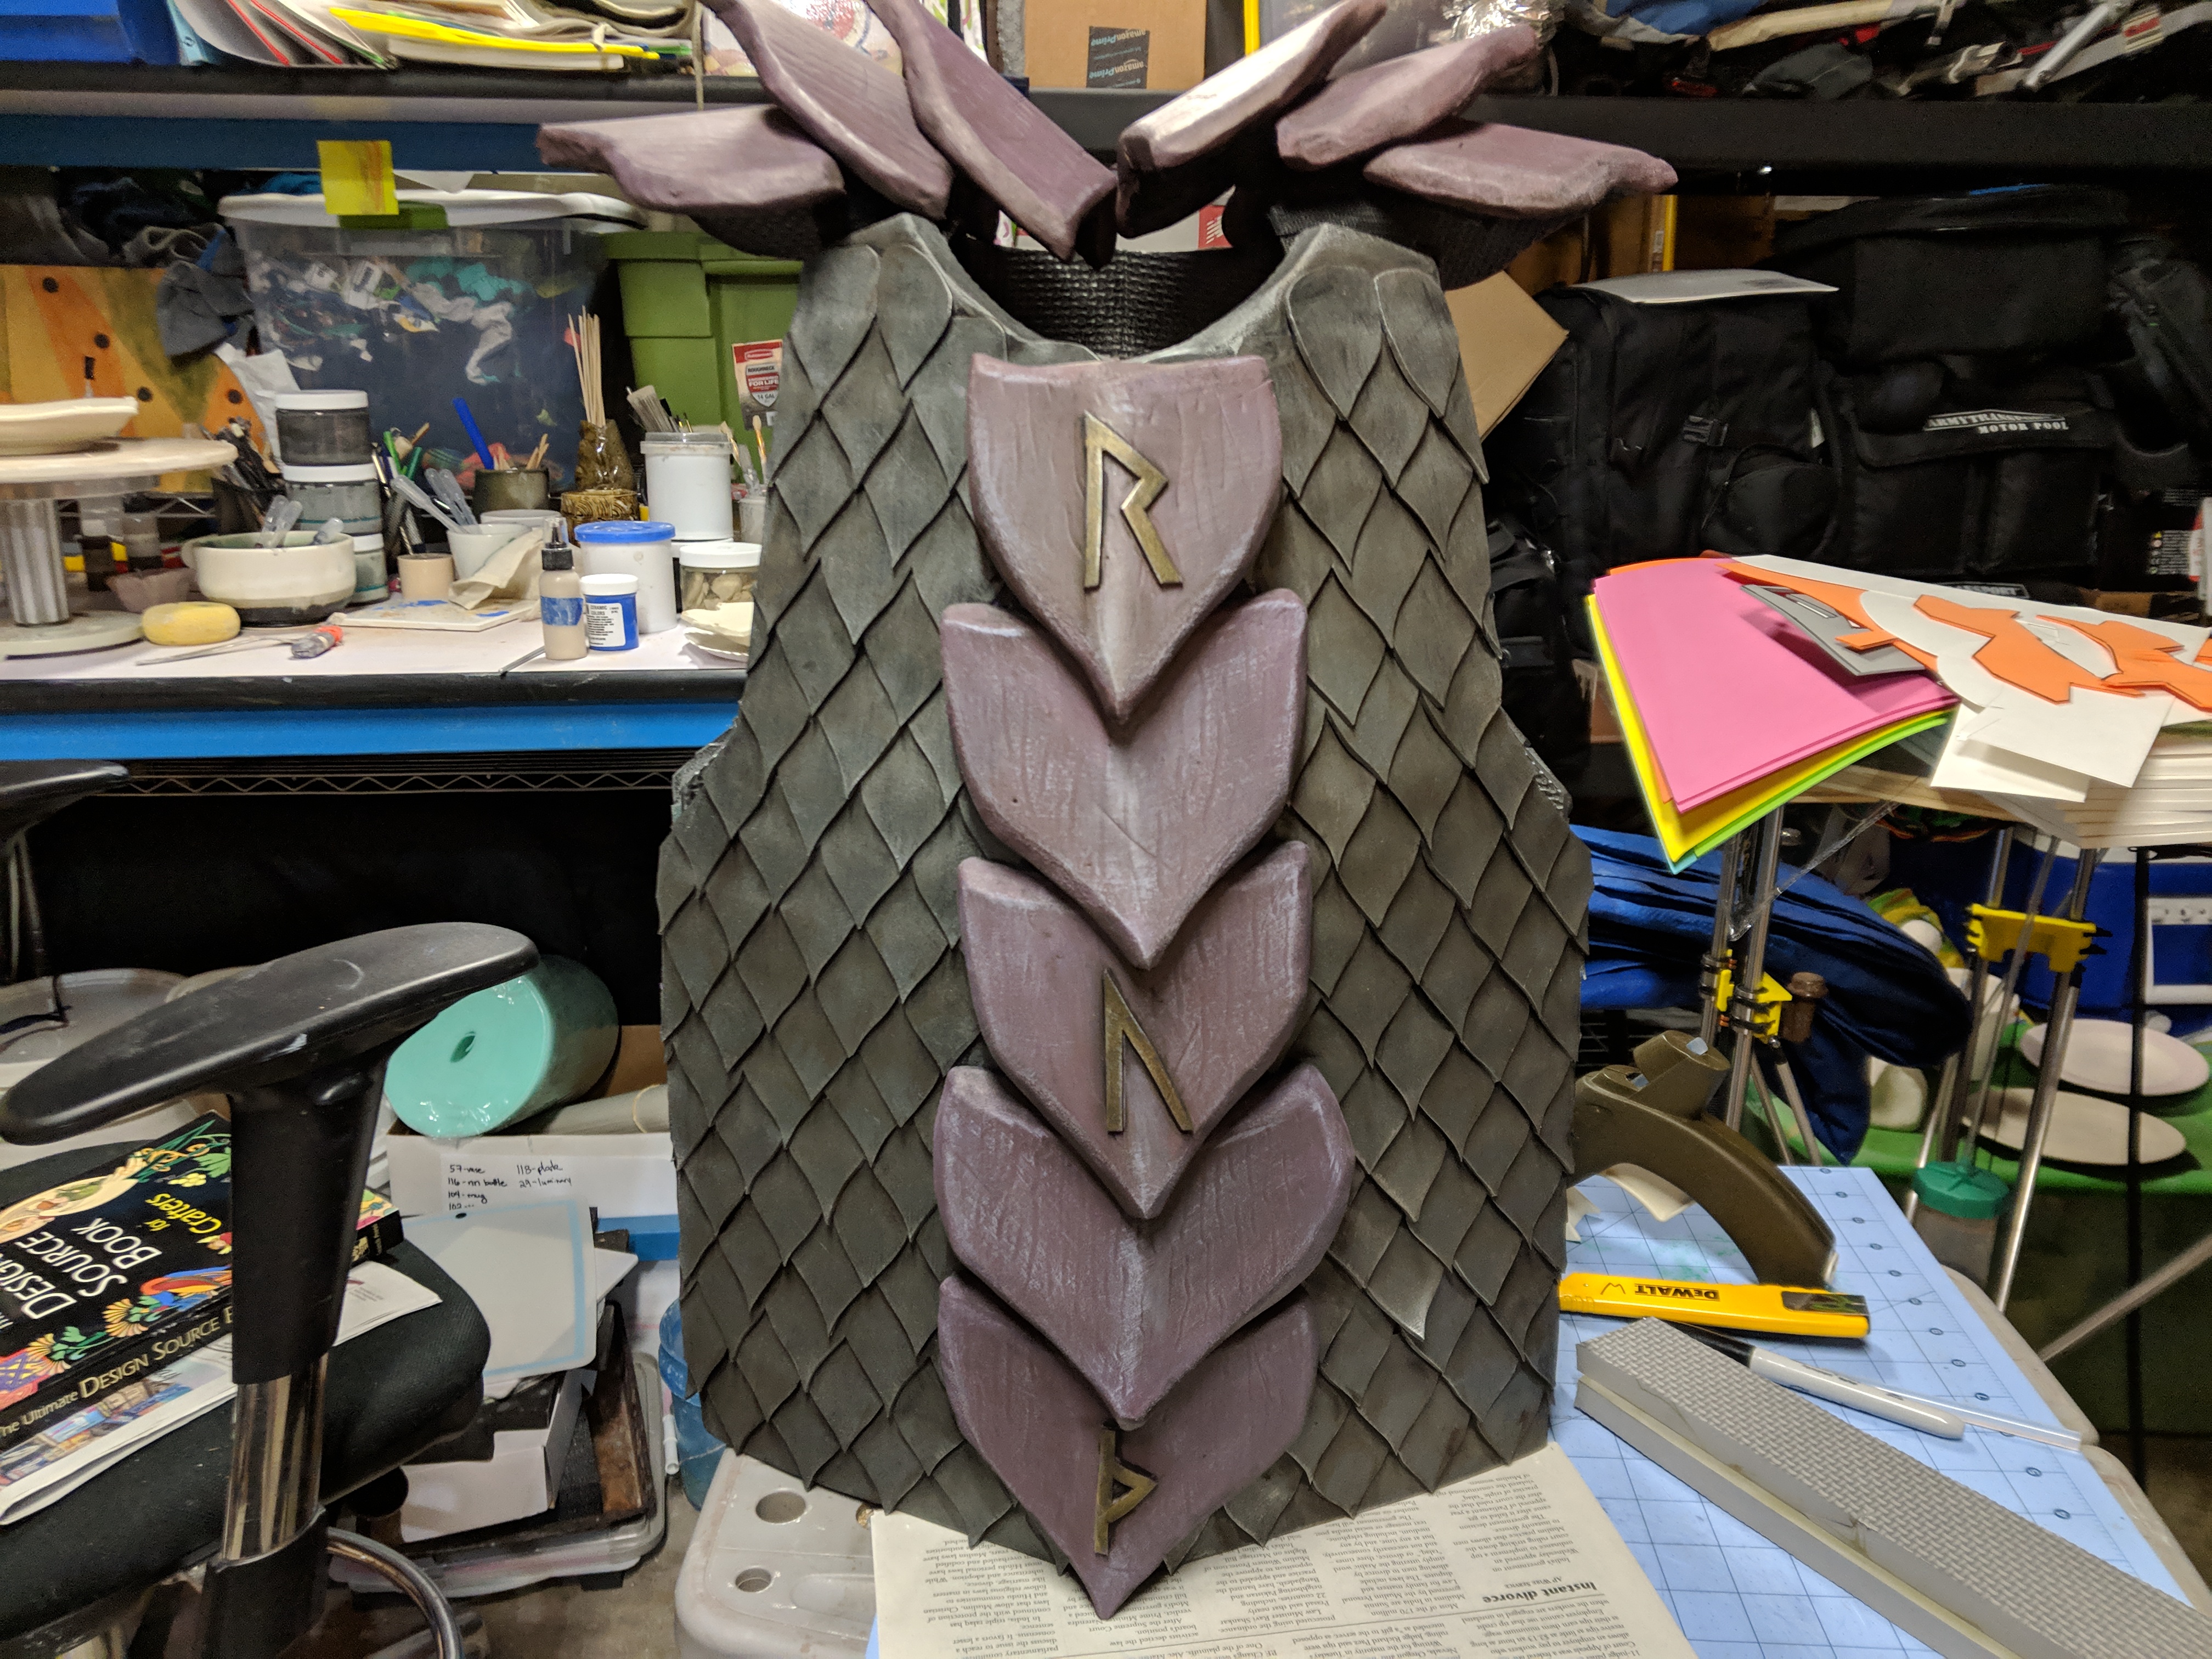
Ruth’s is dragonscale. She wanted pink, but I interpreted that as the lilac shown. She seems satisfied. The bracers got turned into shoulder pads. The scales along the body are many sheets of thin foam carefully cut into strips with the curved scale points cut into them. One key point was sizing them so that I could use both sides of the scales cut, halving the cuts needed. Still it took a full bottle of CA glue to get the scales down.
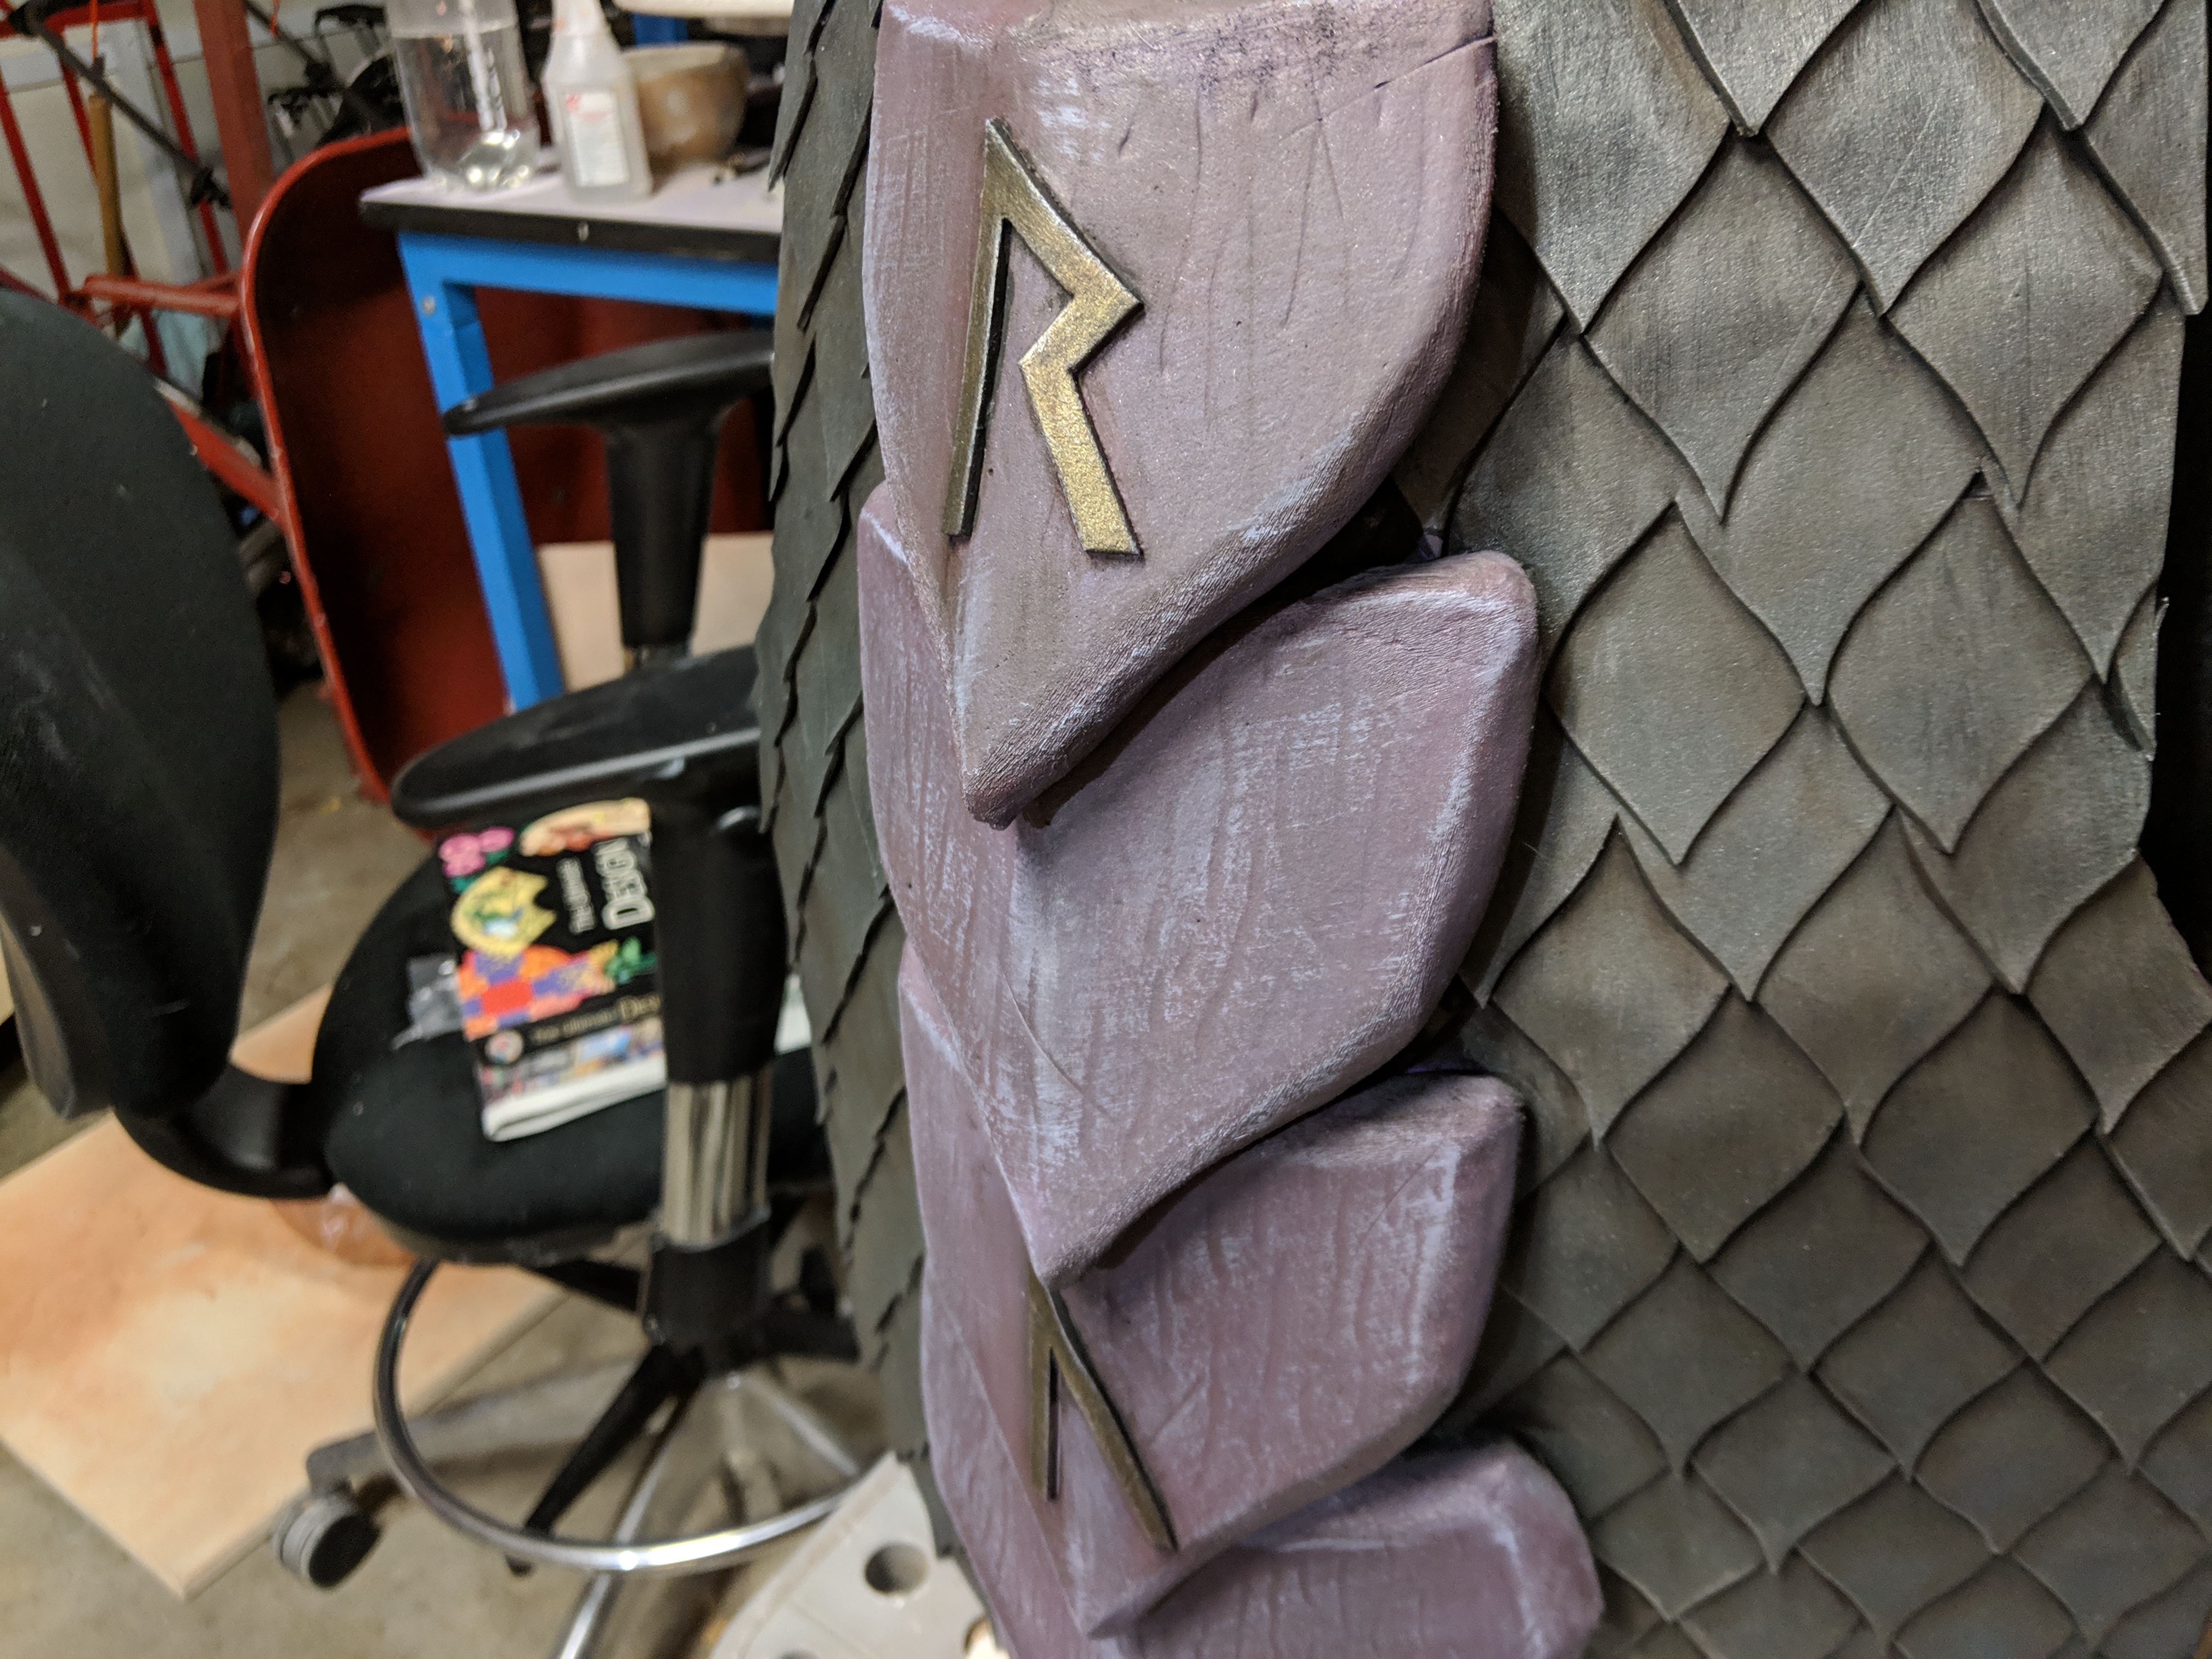
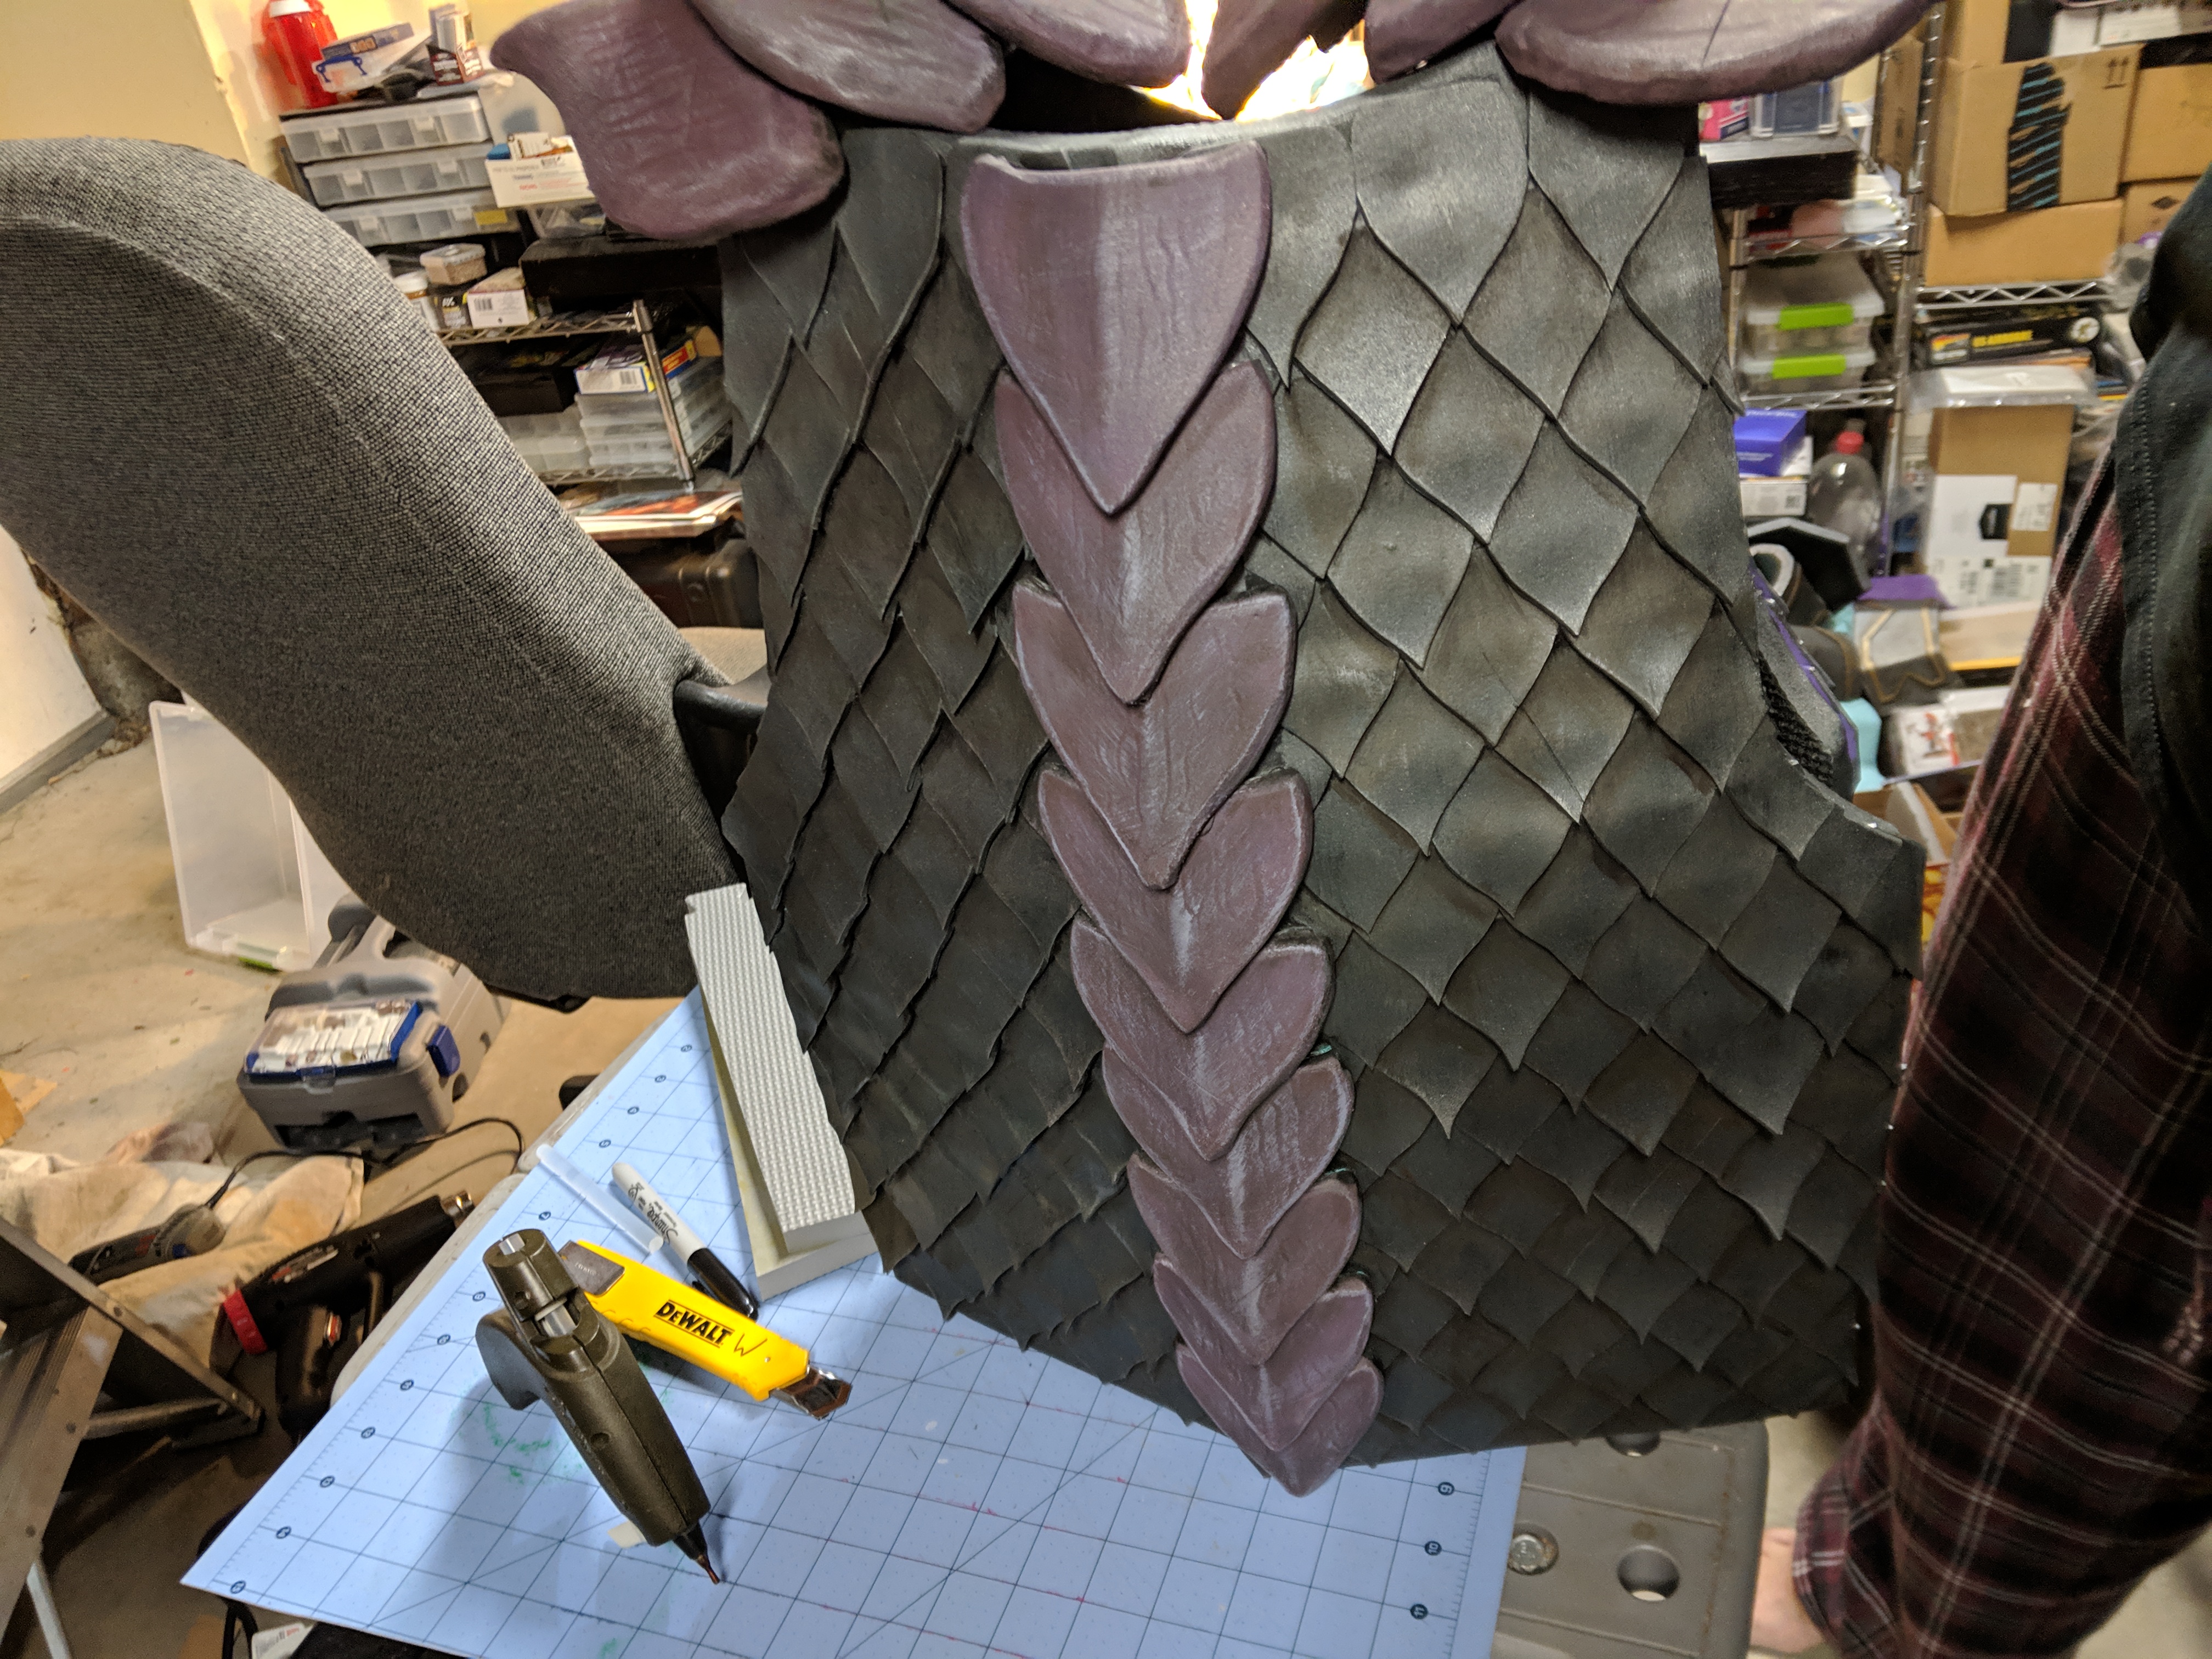
Ruth got excited about the runes when I tried to sell them to Max. So she got an Elder Futhark rendition of her name along the big chest scales.
To paint, I first primed with two coats of Plastidip. Over that I used super cheap craft paint from Michaels. One of my fears of this project was that it would look like just a flat painted toy. And it did. Until I broke out one of my model painting tricks — oil washes.
I mixed a dab of black and burnt sienna with a generous helping of thinner. I ran that sloppily along all the seams and crevices. After doing a section, I did it again, this time just with thinner, then vigorously rubbed it away with a paper towel. That left it in the seams, and discolored the rest a bit. It really gives the whole thing depth, texture, and a sense that it’s lived in. One final drybrush of a lighter shade and paint was done.
Finally, the strapping. I recruited my wife, Anne, to help sew strapping to velcro and elastic. The whole project was done around midnight the night before it was due.
I’m really happy with the results. I didn’t get the time to do helmets, but what’s done looks complete. You wouldn’t mistake them for professional costumes, but they’re a lot more interesting than a lot of what you can buy.